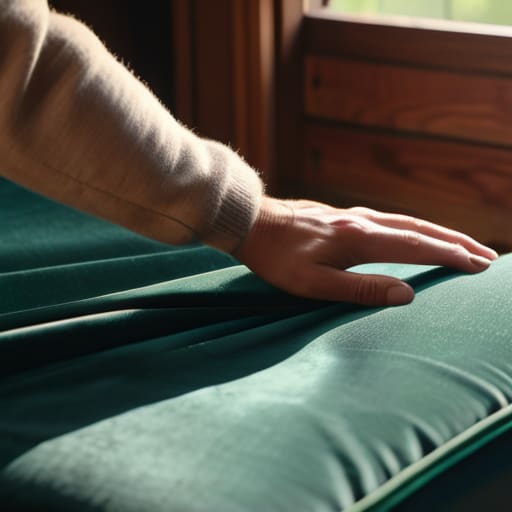
I was standing in my living room last Saturday, staring at this gorgeous, mid-century modern armchair I’d found at a garage sale, feeling completely defeated by its faded, scratchy fabric. I kept thinking that unless I hired a professional, I’d just end up with a lumpy, DIY disaster. But here’s the secret: you don’t need a degree in upholstery or a massive workshop to transform your furniture. Learning how to reupholster a chair is actually much more approachable than the intimidating tutorials make it seem, and it’s one of the most rewarding ways to breathe new life into your home without breaking the bank.
In this guide, I’m stripping away all the complicated jargon and fancy equipment you don’t actually need. I’ll walk you through my personal, tried-and-true process—from picking the perfect fabric to mastering those tricky corners—so you can tackle this project with confidence. My goal is to give you a stress-free roadmap that turns a daunting task into a fun afternoon project. Let’s grab some tools and turn that tired old seat into your new favorite spot in the house!
Table of Contents
- Step-by-Step Instructions
- Gathering Your Essentials Essential Upholstery Tools and Supplies
- The Art of Preparation Removing Old Fabric From Furniture
- Pro Tips for a Flawless Finish
- Quick Tips for a Successful Refresh
- A Little Bit of Soul for Your Space
- You Did It: Enjoy Your New Piece
- Frequently Asked Questions
Guide Overview
Tools & Supplies
- Staple gun and staples for securing fabric
- Pliers for pulling old staples and fabric
- Scissors or fabric shears for cutting material
- Measuring tape for sizing fabric pieces
- Screwdriver for removing seat components
- Upholstery fabric (1-3 yards depending on chair size)
- High-density foam or batting for padding
- Spray adhesive for securing foam
- Dust cover fabric for the underside
Step-by-Step Instructions
- 1. Before you dive in, you’ll need to gather your supplies. I always like to have everything laid out on my workbench so I don’t have to go hunting for a staple gun mid-project. You’ll need a heavy-duty staple gun, extra upholstery staples, fabric shears, a staple remover (or a flathead screwdriver if you’re feeling old-school), and of course, your stunning new fabric. I also highly recommend grabbing some high-density foam if your current seat feels a bit too much like sitting on a brick.
- 2. First things first, let’s get that old fabric off. Carefully use your staple remover or screwdriver to pull up the existing fabric and padding. I know it can look a bit messy and “naked” once the old stuff is gone, but don’t panic—this is just the canvas for your masterpiece. As you pull the old fabric away, try to keep the original pieces somewhat intact; they act as a perfect template for how much new fabric you’ll actually need to cut.
- 3. Now, let’s inspect the bones of the chair. Take a moment to check the wooden frame for any wobbles or loose joints. Since I love upcycling, I usually take this chance to give the legs a quick sand and a fresh coat of stain or paint. It’s much easier to fix structural issues now than it is once you’ve already spent hours on the beautiful new upholstery!
- 4. It’s time for the fun part: cutting your new fabric. Lay your chair upside down on your new fabric, or drape the fabric over the seat. Using those old pieces you saved earlier, trace around them, but make sure to add an extra inch or two of “wiggle room” all the way around. This extra margin is what allows you to pull the fabric tight and tuck it neatly into the corners without it feeling strained.
- 5. Now, let’s start stapling. Start in the center of each side to create a “cross” pattern. Pull the fabric taut—but not so tight that it puckers—and drive your first staple in. Work your way from the center out toward the corners, always pulling the tension evenly. I like to think of it like smoothing out a wrinkle in a rug; you want to keep everything balanced so you don’t end up with any weird lumps.
- 6. Tackling the corners is where most people get a little nervous, but I promise it’s totally doable. You’ll want to fold the excess fabric neatly, almost like you’re wrapping a gift, to create clean, crisp pleats. Aim for minimal bulk so the corners look professional rather than puffy. If you get stuck, just take a deep breath and remember that even a little imperfection adds to that charming, handmade feel.
- 7. Finally, give your chair a once-over. Check all the sides to make sure no staples are peeking out and that the fabric feels secure. If you’re using a foam cushion, you might want to use a bit of spray adhesive to keep it from sliding around under your new fabric. Once everything is tucked and tightened, flip it back over, grab a cup of tea, and admire your hard work—you just gave a piece of furniture a whole new life!
Gathering Your Essentials Essential Upholstery Tools and Supplies
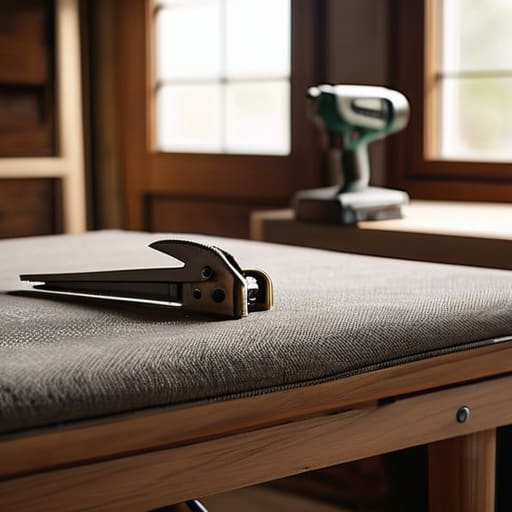
Before we dive into the actual work, let’s talk about setting yourself up for success. There is nothing more frustrating than being halfway through a project only to realize you’re missing a crucial piece of equipment. When you’re gathering your upholstery tools and supplies, I always suggest starting with a solid staple gun. While you can find cheap ones at the local hardware store, investing in a slightly sturdier model will save your hands a lot of grief when you’re working through those tougher corners. I also highly recommend grabbing a pair of heavy-duty fabric shears; nothing ruins a beautiful piece of textile quite like jagged, uneven cuts.
As you prep your workspace, keep in mind that your material choices are just as important as your tools. If your current seat feels a bit flat or lumpy, this is the perfect moment for replacing chair foam padding to give it that “brand new” bounce back. Also, don’t forget to double-check your measurements! I’m a huge fan of using an upholstery fabric yardage calculator online before heading to the fabric store. It takes the guesswork out of your shopping trip and ensures you won’t run short right when you’re reaching that final, satisfying stretch of fabric.
The Art of Preparation Removing Old Fabric From Furniture
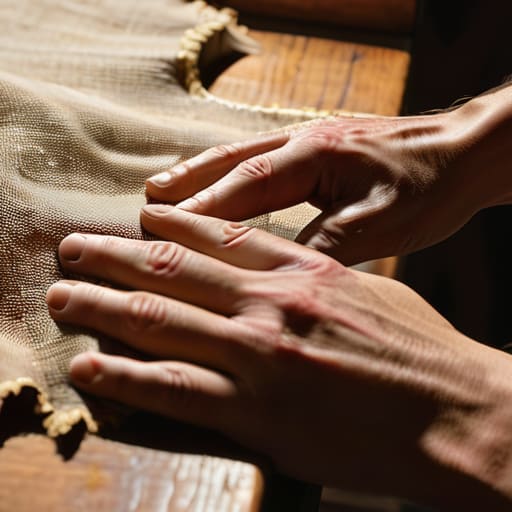
Now, before you dive in, let’s talk about the “unmaking” part. It might feel a little destructive, but removing old fabric from furniture is actually a super important step in preserving the chair’s original shape. I like to think of it like a deep clean for your furniture. As you pull away the old material, try to be as gentle as possible with the wooden frame underneath. If you’re too aggressive, you might accidentally chip the wood or damage a delicate joint.
Here is my biggest pro-tip: don’t toss the old fabric right away! Even if it looks like a rag, I always lay the old pieces out flat. They act as a perfect, free template for your new material, which saves you a ton of guesswork when you’re measuring. While you’re stripping things down, keep a close eye on the padding. If the cushion feels flat or lumpy, this is the perfect moment for replacing chair foam padding to give your seat that “brand new” comfort level. It’s much easier to fix the bones of the chair now than to wish you had later!
Pro Tips for a Flawless Finish
- Don’t toss that old fabric just yet! I always make sure to save the scraps from the original upholstery; they are absolute lifesavers when you need to patch a small hole or cover a tricky corner later in the process.
- Before you start stapling anything down, do a “dry run” with your new fabric. Drape it over the chair to see how it pulls and where the patterns fall—it’s much easier to adjust a wrinkle now than to fix a mistake once the staples are in.
- When it comes to tension, remember that “tight” doesn’t always mean “better.” You want the fabric to be taut enough so it doesn’t sag, but if you pull too hard, you’ll end up with awkward puckering that’s impossible to smooth out.
- Keep your staples consistent. I like to work in a pattern, starting from the center of each side and working my way out toward the corners. This helps distribute the tension evenly and keeps the whole project looking professional.
- Don’t be afraid to embrace the “imperfections” of a DIY project. If a corner isn’t absolutely textbook perfect, just focus on making sure it’s secure and neat. At the end of the day, you’ve given a piece of furniture a second life, and that’s what really matters!
Quick Tips for a Successful Refresh
Don’t rush the prep work; taking your time to carefully remove the old fabric and inspect the frame ensures your new masterpiece has a solid foundation.
Patience is your best friend when it comes to tension—it’s much better to pull the fabric slightly tighter and adjust than to settle for a bunchy, uneven look.
Embrace the learning curve and don’t sweat the small stuff; even if your first attempt isn’t perfect, you’re gaining a new skill and saving a piece of furniture from the landfill!
A Little Bit of Soul for Your Space
“Reupholstering a chair is about so much more than just swapping out old fabric; it’s about taking something forgotten and giving it a second chance to be the heart of your home.”
Emma Thompson
You Did It: Enjoy Your New Piece
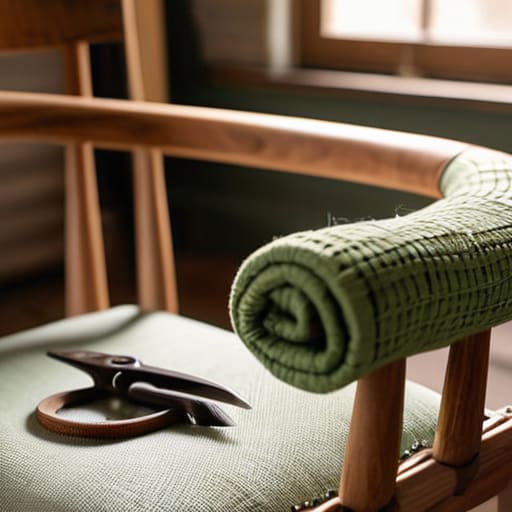
I know it might feel a little intimidating when you’re staring at a pile of old foam and scraps of fabric, but look at how far you’ve come! We’ve gone from stripping away the old, worn-out layers to carefully prepping your tools and getting everything ready for that fresh new look. By taking the time to prep your frame properly and choosing the right materials, you haven’t just fixed a piece of furniture; you’ve mastered the fundamentals of upholstery. Remember, it’s not about achieving professional factory perfection on your first try—it’s about the satisfaction of knowing you took something tired and made it functional and beautiful again through your own hard work.
As you take a seat in your newly refreshed chair, I hope you feel a huge sense of pride. There is something so deeply rewarding about the DIY lifestyle, especially when you realize that you don’t need a massive budget to transform your home. Every stitch and every staple is a testament to your ability to create and sustain. Don’t stop here! Let this project be the spark that inspires you to tackle your next upcycling adventure. Life can get busy and overwhelming, but finding joy in these small, creative wins is exactly how we build a more balanced and fulfilling life. You’ve totally got this!
Frequently Asked Questions
I'm worried about making a mess—do I need to replace the foam padding too, or can I just reuse what's already there?
That is such a common worry, and honestly, I used to stress about the same thing! Here’s my rule of thumb: if the old foam is still springy and holds its shape when you press down, you’re totally fine to reuse it. But, if it’s crumbling, feels flat, or leaves you feeling like you’re sitting on a floor, it’s time for a refresh. Replacing it is a small investment that makes a huge difference in comfort!
How do I pick the right fabric so it actually stays in place and doesn't bunch up or tear while I'm working?
Choosing the right fabric can feel a little intimidating, but don’t sweat it! For your first project, I highly recommend sticking with something mid-weight and durable, like a sturdy cotton canvas or a heavy linen blend. Avoid super thin silks or stretchy knits—they’re a nightmare to work with and tend to bunch or tear easily. Look for a tight weave that feels substantial in your hands; that’s your best bet for keeping everything smooth and secure!
Is there a trick to getting those staple lines to look professional and smooth instead of lumpy and uneven?
Oh, I have been there! There is nothing more frustrating than seeing those little fabric bumps staring back at you. My biggest trick? Pull the fabric taut—but not too tight—and always work from the center outward. Start with one staple in the middle of each side to create a “cross” shape. This keeps everything balanced. Also, grab a pair of pliers to tuck in any loose edges before you staple. You’ve got this!
