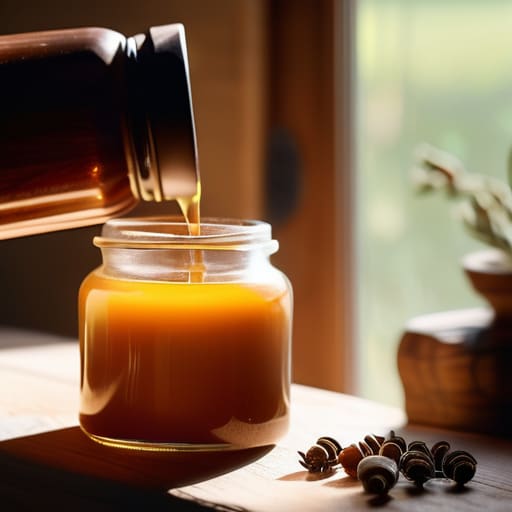
I remember sitting on my kitchen floor last winter, surrounded by a mountain of expensive, half-melted wax and a dozen failed attempts that smelled more like burnt toast than lavender. I truly believed that learning how to make candles required a professional studio and a chemistry degree, but I couldn’t have been more wrong. The truth is, you don’t need a fancy setup or a massive budget to create something beautiful; you just need a few essential basics and a little bit of patience.
In this guide, I’m stripping away all the intimidating jargon to show you exactly how to make candles that actually burn beautifully and smell divine. I’ll walk you through my tried-and-true process, from choosing the right wax to finding that perfect scent balance, without any of the unnecessary fluff. My goal is to help you turn your living room into a tiny, fragrant sanctuary through a process that is completely doable for anyone. Let’s skip the stress and get straight to the good stuff—creating something wonderful with your own two hands.
Table of Contents
- Step-by-Step Instructions
- Gathering Your Essentials Simple Soy Wax Candle Making Supplies
- Choosing the Right Wick Types for Different Waxes
- Pro Tips for a Perfect Burn: My Little Secrets for Success
- Quick Wins for Your Candle Making Journey
- ## A Little Light for Your Soul
- Bringing the Glow Home
- Frequently Asked Questions
Guide Overview
Tools & Supplies
- Double boiler or heat-proof bowl and pot for melting wax
- Thermometer to monitor wax temperature
- Pouring pitcher for controlled pouring
- Scale for precise measurements
- Soy or paraffin wax (1 lb)
- Candle wicks (5-10 count)
- Fragrance oils (1 oz)
- Glass jars or containers (2-4 count)
Step-by-Step Instructions
- 1. First things first, let’s gather our supplies. You’ll need some soy wax flakes (they’re much easier to work with than paraffin!), candle wicks, some glass jars or tins, a thermometer, and your favorite essential oils. I always like to grab a few cute thrifted teacups for my containers—it’s a fun way to upcycle and gives the candles a unique, cozy vibe.
- 2. Once you’ve got your gear, it’s time to melt the wax. Using a double boiler is the safest way to go here; just place your wax in a heat-proof container inside a pot of simmering water. This prevents the wax from getting too hot too fast and keeps everything much more controlled.
- 3. While the wax is melting, let’s prep those jars. Take your wicks and use a tiny bit of melted wax or a glue dot to secure them to the very center of the bottom of your container. It’s super important that they stay centered, so I usually use a clothespin or a pencil to hold the wick upright while I work.
- 4. Keep a close eye on that thermometer! You want to wait until the wax reaches about 185°F (85°C) before you start adding your scents. If you add your essential oils too early or when the wax is too hot, you might actually lose some of that lovely aroma you’re working so hard to create.
- 5. Now for the fun part: adding the magic. Pour your scented wax slowly and steadily into your prepared jars. Try to avoid pouring too quickly, as this can create tiny air bubbles that might leave little holes in your finished candle once it sets.
- 6. This is the hardest part for me—the waiting game! Let your candles sit undisturbed at room temperature for at least 24 hours. If you try to rush the process, the surface might crack or the scent might not distribute evenly. Patience is key to a professional-looking finish.
- 7. Finally, once they are completely solid, trim your wicks to about a quarter-inch above the wax. If you want to get really fancy, you can decorate the top with a few dried lavender buds or even a sprinkle of cinnamon. Now, just find your favorite book, light that candle, and soak in the glow!
Gathering Your Essentials Simple Soy Wax Candle Making Supplies
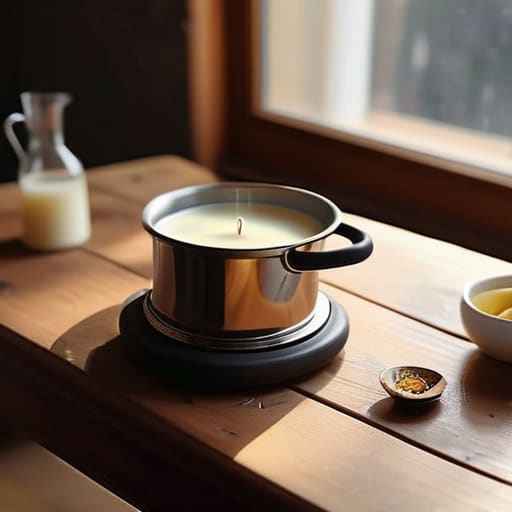
Before you dive in, I want to talk about the actual gear. When you’re just starting out with candle making for beginners, it’s easy to feel like you need a professional laboratory setup, but I promise you don’t! For our project, we’re focusing on soy wax because it burns cleaner and more sustainably, which fits perfectly with that eco-friendly vibe I love. You’ll need a decent pouring pitcher, a thermometer (this is non-negotiable for getting the temperature just right!), and your wax flakes.
One thing I learned the hard way is that not all wicks are created equal. You’ll want to look into different wick types for different waxes to ensure your candle burns evenly from top to bottom without tunneling. And if you’re looking to add a bit of aromatherapy to your space, investing in high-quality essential oils is a game changer. Just remember to add them when the wax has cooled slightly so the scent doesn’t evaporate instantly. It’s all about those little details that turn a simple hobby into a truly relaxing ritual.
Choosing the Right Wick Types for Different Waxes
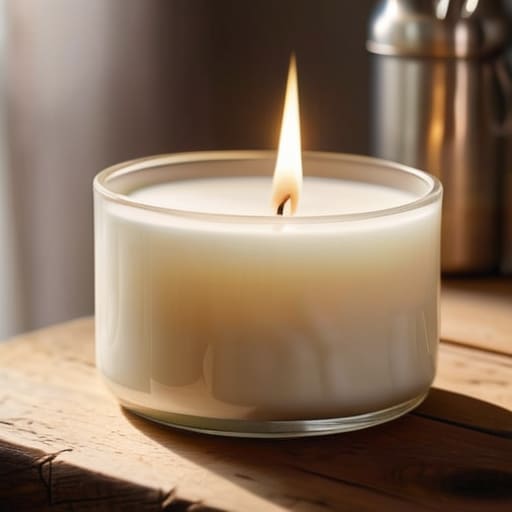
Now, let’s talk about something that can feel a little intimidating at first, but is actually the secret sauce to a perfect burn: your wicks. When you’re diving into candle making for beginners, it’s tempting to just grab whatever looks pretty, but the wick is really the engine of your candle. Since we’re focusing on soy wax, you have to be a bit more intentional. Soy wax is a bit more stubborn than paraffin; it’s denser and has a higher melting point, which means it needs a wick that can handle that extra work without drowning or smoking.
Finding the right wick types for different waxes is often a bit of a trial-and-error process, so don’t get discouraged if your first batch isn’t perfect! I usually recommend starting with cotton wicks specifically rated for soy, or even exploring wooden wicks if you want that cozy, crackling sound. A good rule of thumb is to match the wick size to the diameter of your jar. If the wick is too small, you’ll get “tunneling” (where the wax melts only in the center), but if it’s too large, you’ll end up with a flame that’s way too intense.
Pro Tips for a Perfect Burn: My Little Secrets for Success
- Don’t rush the cooling process! I know it’s tempting to see your creation right away, but letting your candles sit undisturbed for at least 24 to 48 hours helps the wax set properly and prevents those pesky cracks or sinkholes.
- Keep a close eye on your temperature. Using a thermometer isn’t just being “extra”—it’s the best way to ensure your fragrance oils bind perfectly with the wax so you get a lovely scent throw without the oil separating.
- Center that wick like your life depends on it. I always use a wick centering tool (or even just a couple of clothespins in a pinch!) to make sure the wick stays dead-center while the wax hardens, otherwise, you’ll end up with an uneven burn.
- Test your scent load. Every wax behaves a little differently, so I always recommend making a tiny “tester” candle first. It helps you figure out exactly how much fragrance oil you need to get that perfect, cozy aroma without overwhelming the room.
- Clean as you go to save your sanity. Candle making can get a little messy with spilled wax and oil, so I find that keeping a bowl of warm, soapy water nearby makes wiping down your tools so much easier once you’re finished.
Quick Wins for Your Candle Making Journey
Don’t stress about perfection right away; focus on finding the right balance between your wax type and wick size to ensure a clean, even burn.
Investing in quality soy wax and essential oils might cost a little more upfront, but the soothing, natural results are so much more rewarding for your home sanctuary.
View each candle as a tiny, creative experiment—it’s all part of the process of learning what makes your space feel most cozy and calm.
## A Little Light for Your Soul
“Making your own candles is about so much more than just scent and wax; it’s about taking a quiet moment for yourself to create something beautiful that brings a little extra warmth and intention into your home.”
Emma Thompson
Bringing the Glow Home
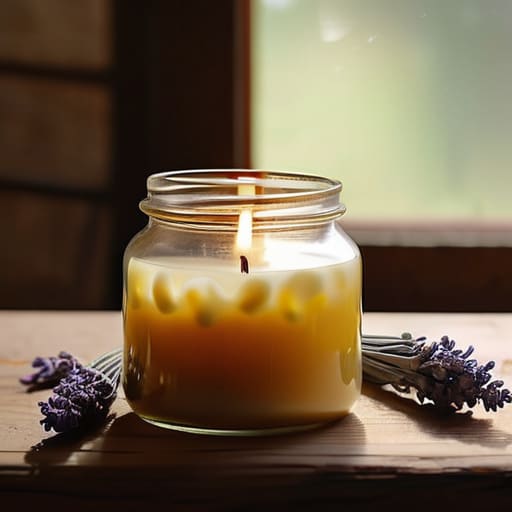
As we wrap things up, I hope you feel much more confident about diving into your first batch of homemade candles. Remember, it’s all about the little details—from selecting that perfect soy wax to ensuring your wick is sized just right for the container you’ve chosen. It might feel a bit intimidating when you’re staring at all those different supplies, but once you get the hang of the temperature control and scent ratios, it truly becomes a relaxing ritual rather than a chore. Don’t be discouraged if your first few attempts aren’t absolutely perfect; even the most seasoned makers have had a few messy spills or slightly uneven tops along the way.
At the end of the day, candle making is about so much more than just making something that smells good. It’s a beautiful way to practice mindfulness and create a sense of intentional calm in your own living space. Whether you’re crafting these as a thoughtful, upcycled gift for a friend or simply setting the mood for your own evening reading nook, you’re creating something truly special with your own two hands. So, grab your favorite apron, put on some soothing music, and enjoy the process of bringing a little extra light into your world. I can’t wait to hear how yours turn out!
Frequently Asked Questions
How do I know if my candle is burning safely or if the wick is too small for the jar?
This is such a great question, and honestly, it’s one of the most important things to keep in mind for safety! You’ll know your wick is too small if the wax isn’t melting all the way to the edges, leaving a “tunnel” down the center. You want that beautiful, even melt pool reaching the glass. If the flame looks tiny or keeps flickering out, it’s time to try a slightly larger wick next time!
Can I use essential oils instead of fragrance oils, and will they actually smell good when burned?
That is such a common question, and I totally get why you’re asking! You can definitely use essential oils, but it’s a bit different than using fragrance oils. While essential oils are wonderful for a more natural, aromatherapy vibe, they tend to be a little more subtle when burned. To get the best scent throw, I recommend adding them when your wax has cooled slightly so the heat doesn’t evaporate all that goodness!
What should I do if my candle has a weird sinkhole or a bumpy surface once it cools down?
Don’t panic—we’ve all been there! Those little sinkholes or bumpy tops are super common, especially when you’re first starting out. Usually, it just means the wax contracted a bit unevenly as it cooled. The easiest fix? Simply melt a tiny bit of extra wax and pour a thin “top-off” layer over the surface. It smooths everything right out, leaving your candle looking professional and polished. You’ve got this!
