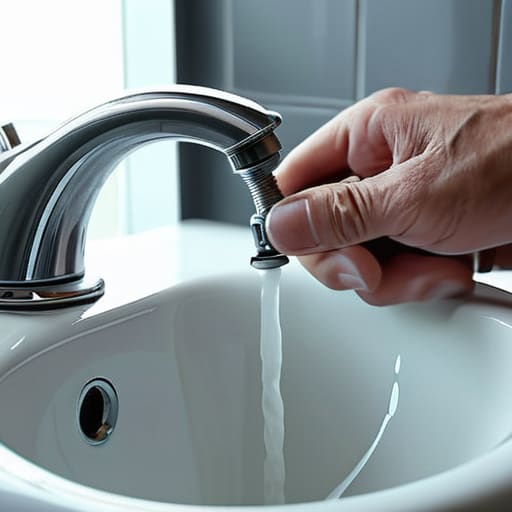
I was sitting on my sofa last Tuesday, trying to enjoy a quiet moment with a cup of herbal tea, when I heard it: that faint, persistent hissing sound coming from the bathroom. It’s a sound that immediately triggers a tiny spike of anxiety in my chest, mostly because I know exactly what it does to my monthly water bill. Most people think that learning how to fix a running toilet requires a specialized toolkit or a sudden, unearned degree in plumbing, but I promise you, that is a total myth. Usually, it’s just a tiny, misplaced part playing tricks on you, and it’s much less intimidating than it sounds.
In this guide, I’m going to walk you through the process step-by-step, stripping away all the confusing jargon that usually comes with home repairs. We’ll identify the most common culprits—like a faulty flapper or a misaligned float—and I’ll show you exactly how to tackle them without breaking a sweat or calling an expensive professional. My goal is to help you reclaim your peace of mind (and your budget) with simple, DIY solutions that actually work. Let’s get that silence back in your home!
Table of Contents
- Step-by-Step Instructions
- Silent Toilet Leak Detection for a Calmer Space
- Mastering the Simple Toilet Flapper Replacement
- Quick Wins to Keep Your Bathroom Quiet and Your Water Bill Low
- Quick Wins for a Worry-Free Bathroom
- A Small Win for Your Peace of Mind
- Finding Your Flow Again
- Frequently Asked Questions
Guide Overview
Tools & Supplies
- Adjustable wrench for loosening water supply line
- Needle-nose pliers for adjusting clips or flappers
- Sponge or towel for absorbing excess water
- Replacement flapper (1 unit)
- Replacement fill valve (1 unit)
- Replacement toilet tank fill valve seal (if needed)
Step-by-Step Instructions
- 1. Before we dive into the actual repairs, let’s start with a little bit of prep work to keep things clean and dry. Grab a towel and maybe a small bucket, then turn off the water supply by twisting the oval-shaped valve located on the wall behind your toilet. Once that’s shut off, flush the toilet and hold the handle down to drain as much water as possible from the tank. This prevents a sudden mini-flood in your bathroom while you’re working.
- 2. Now, let’s lift the lid off the tank and take a good, long look at what’s going on inside. Most of the time, the culprit is just a piece of hardware that’s lost its way. Check to see if the chain connecting the flush handle to the rubber flapper is too long, too short, or even tangled up in something. If the chain is catching, it might be preventing the flapper from sealing properly, which is a super common cause for that constant running sound.
- 3. If the chain looks fine, it’s time to inspect the flapper itself. This is that little rubber plug at the bottom of the tank that lifts when you flush. Over time, these can get worn down, warped, or even just slimy with mineral buildup. Give it a gentle touch; if it feels brittle or doesn’t seem to sit flush against the hole, it’s likely time for a replacement. The good news is that these are incredibly inexpensive and easy to swap out.
- 4. Next up, let’s check the water level in the tank. If the water is constantly pouring into the overflow tube (that open pipe in the middle of the tank), your fill valve is likely set too high. To fix this, look for the adjustment screw on the float mechanism. You can usually turn this screw to lower the float, which tells the water to stop filling at a more reasonable level before it starts spilling over.
- 5. If the water level seems fine but you still hear that ghostly trickling, take a closer look at the fill valve. This is the tall assembly that brings water into the tank. Sometimes, debris can get stuck inside, preventing it to shut off completely. You can often clear this by gently cleaning the valve or, if it’s feeling particularly old and clunky, replacing the entire unit. It might sound intimidating, but it’s really just a matter of unscrewing the old one and threading in a new one.
- 6. Once you’ve finished your repairs, it’s time to test everything out. Turn the water valve back on slowly and wait for the tank to refill. Keep an eye (and an ear!) on it to make sure the water stops exactly where it should and that the flapper seals tight without any leaks. Give the handle a few test flushes to ensure everything is working smoothly and your bathroom is finally back to being a place of peace rather than a source of stress.
Silent Toilet Leak Detection for a Calmer Space
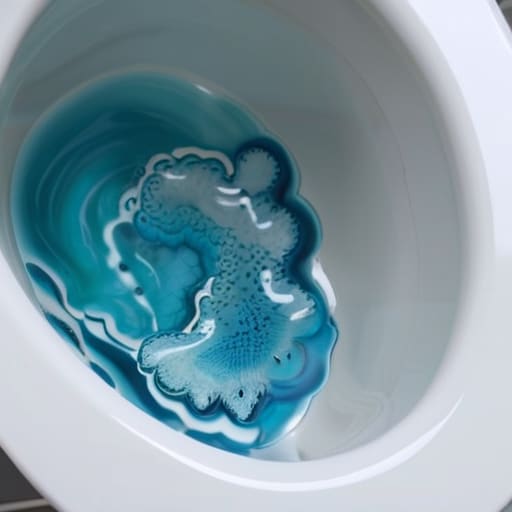
Sometimes, the most frustrating leaks are the ones you can’t actually hear. You might not notice a constant sound, but you’ll definitely notice a mysterious spike in your monthly water bill. To catch these sneaky issues, I always recommend a little trick called silent toilet leak detection. All you need is a few drops of food coloring. Drop it into the tank and wait about fifteen minutes without flushing. If the color starts seeping into the bowl, you’ve found your culprit! It’s a simple way to gain peace of mind without needing a plumber on speed dial.
If the color moves, it’s often a sign that you’re looking at a toilet flapper replacement or perhaps some minor flush valve troubleshooting. While I was fixing up my first apartment, I realized that even a tiny bit of mineral buildup can prevent a perfect seal. Before you go buying new parts, just double-check that the chain isn’t too tight or tangled. Taking a moment to inspect these small details can save you so much stress (and money) in the long run.
Mastering the Simple Toilet Flapper Replacement
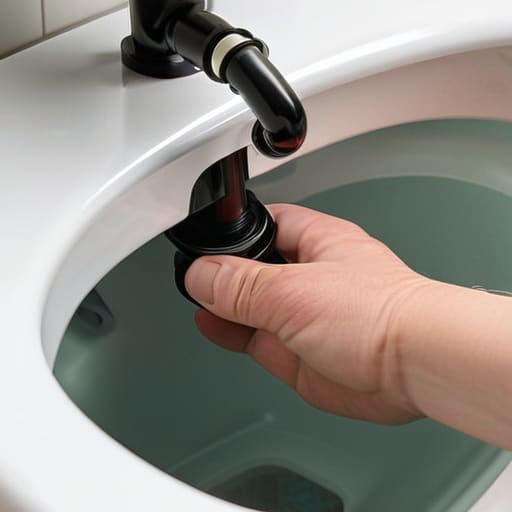
If you’ve realized that the culprit is indeed a worn-out rubber seal, don’t panic! A toilet flapper replacement is honestly one of the most satisfying “quick wins” in home maintenance. When I first tackled this, I was worried I’d need a professional, but it’s really just a matter of patience. Before you dive in, I highly recommend taking a quick photo of your current setup. Seeing exactly how the chain connects to the lever makes the reassembly so much smoother. It’s all about those small details that prevent future headaches.
While you have the tank empty, take a moment to peek at the rest of the hardware. This is the perfect time for some light flush valve troubleshooting to ensure everything is sitting squarely. Check to see if the chain is too tight—which can hold the flapper open—or too long, causing it to get caught underneath. Finding that perfect tension is the secret to a quiet, efficient flush. Once you’ve swapped the part and adjusted the chain, you’ll likely notice an immediate sense of relief knowing your water bill is no longer taking an unexpected hit.
Quick Wins to Keep Your Bathroom Quiet and Your Water Bill Low
- Check your water level regularly; if the water is constantly spilling into the overflow tube, you might just need to adjust the float valve rather than replacing anything expensive.
- Give the handle a little wiggle—sometimes the chain gets tangled or too tight, which prevents the flapper from sealing properly and causes that endless trickling sound.
- Keep a small toolkit handy with a pair of pliers and some extra washers, because most toilet fixes are just a matter of tightening a loose nut or replacing a tiny, inexpensive part.
- Don’t ignore the “phantom flush”—if your toilet suddenly runs for a few seconds every hour, it’s usually a sign that your flapper is aging and needs a quick swap.
- Clean out the tank occasionally; sometimes sediment or mineral buildup can get stuck under the seal, preventing a tight fit and causing those annoying little leaks.
Quick Wins for a Worry-Free Bathroom
Don’t let a small leak become a big headache; catching a running toilet early saves you money on your water bill and keeps your home feeling peaceful.
Most toilet issues are actually simple DIY fixes, like replacing a flapper, that don’t require a professional or a massive budget to solve.
Trust your intuition—if you hear a constant trickle or see the water dancing in the bowl, take a moment to troubleshoot before the stress builds up.
A Small Win for Your Peace of Mind
“Fixing a running toilet is about so much more than just stopping a leak; it’s about reclaiming your quiet space and proving to yourself that you can tackle the little stressors that weigh down your home and your wallet.”
Emma Thompson
Finding Your Flow Again
We’ve covered a lot of ground today, from diagnosing those sneaky, silent leaks to the hands-on process of swapping out a worn-out flapper. It might feel a little intimidating to dive into the inner workings of your bathroom at first, but once you realize that most plumbing issues are just a matter of simple adjustments, the stress starts to melt away. By taking the time to inspect your tank and replace those small, inexpensive parts, you aren’t just stopping a constant trickle of water; you are actively protecting your monthly budget and ensuring your home remains a sanctuary of calm rather than a source of constant distraction.
I know that sometimes these little household hiccups can feel like the straw that breaks the camel’s back, especially when life is already feeling hectic. But I promise you, mastering these small DIY wins is about so much more than just fixing a toilet. It’s about reclaiming your sense of agency and realizing that you are fully capable of tending to your own space. Every small task you conquer builds a foundation of confidence that carries over into every other area of your life. So, take a deep breath, grab your tools, and remember: you’ve got this, and I’m right here cheering you on toward a more balanced and empowered life.
Frequently Asked Questions
Is it worth calling a professional if these simple fixes don't stop the running?
If you’ve tried the DIY route and that constant trickling just won’t quit, it’s definitely time to call in a pro. While I love a good weekend project, some plumbing issues—like a faulty fill valve or hidden cracks in the tank—can be tricky and lead to much higher water bills if left unaddressed. Don’t stress yourself out over it; sometimes, calling a plumber is the smartest way to protect your peace (and your wallet!).
How can I tell if the problem is with the tank or if the actual toilet bowl is leaking?
This is such a common question, and honestly, it can be a little nerve-wracking trying to pinpoint the source! Here’s my trick: first, check the tank. If you see water pooling on the floor around the base of the tank, or if the tank feels wobbly, the issue is likely there. However, if the water is seeping out from the very bottom where the toilet meets the floor, you’re likely looking at a faulty wax ring.
Are there specific types of flappers I should look for, or will any brand work?
That is such a great question! I used to think all flappers were created equal, but I quickly learned that’s not quite the case. Most toilets use a standard size, but you’ll want to check if yours is a 2-inch or a 3-inch model first. I personally recommend grabbing a high-quality silicone one; they tend to last much longer than the cheaper rubber versions. Honestly, any reputable brand will work, as long as the fit is snug!
