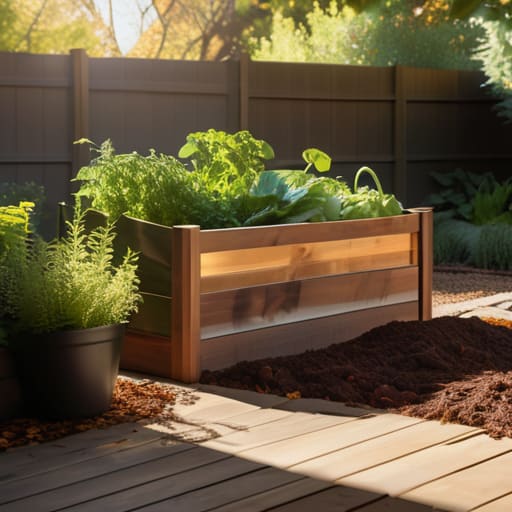
I was standing in my tiny kitchen last Tuesday, staring at a mountain of vegetable scraps and feeling that familiar pang of guilt about how much of my trash was actually useful organic matter. For the longest time, I thought that learning how to make a compost bin required a massive backyard, a huge budget, and a degree in soil science. I honestly believed it was one of those “all or nothing” hobbies that would just end up smelling terrible and cluttering my life. But here’s the truth: composting isn’t about having a perfect, high-tech setup; it’s really just about creating a simple cycle that works for your specific space.
In this guide, I’m stripping away all the intimidating jargon and complicated systems to show you exactly how to make a compost bin that actually fits your lifestyle. Whether you have a sprawling garden or just a small balcony for some urban container gardening, I’ll walk you through the easiest, most budget-friendly methods to turn your kitchen waste into black gold. We’re going to keep this practical, low-stress, and—most importantly—totally doable. Let’s get your hands a little dirty and start building something amazing together!
Table of Contents
- Step-by-Step Instructions
- Essential Compost Bin Materials List for a Balanced Home
- Choosing Perfect Compost Bin Dimensions for Your Space
- A Few Little Secrets for Composting Success
- Quick Tips for Composting Success
- A Little Wisdom for Your Garden Journey
- Bringing Your Compost Project to Life
- Frequently Asked Questions
Guide Overview
Tools & Supplies
- Drill with spade bit for ventilation holes
- Handsaw for cutting wooden slats
- Plastic storage bin (18-30 gallons)
- Screws or hardware for lid attachment
- Drill bits for aeration holes
Step-by-Step Instructions
- 1. First things first, let’s talk about your perfect location. You’ll want to find a spot in your yard that is relatively flat, has good drainage, and gets a bit of sunlight—not too much, but enough to keep things moving. I usually pick a corner that’s slightly tucked away so it’s out of sight, but still easy enough for me to access when I’m heading out to the garden with my morning coffee.
- 2. Next, it’s time to gather your materials. Since I’m a big fan of upcycling, you don’t need to run out and buy an expensive, plastic store-bought bin. You can easily repurpose some old wooden pallets or even use a sturdy plastic trash can with some holes drilled in the sides. I personally love the pallet method because it feels very rustic and allows for excellent airflow, which is the secret sauce to healthy composting.
- 3. Once you have your container ready, you need to create the “foundation layer.” This means starting with a generous layer of small twigs, dried leaves, or even some shredded cardboard at the very bottom. This layer is absolutely crucial because it helps air circulate underneath your organic matter, preventing that dreaded soggy, smelly mess we all want to avoid.
- 4. Now comes the fun part: adding your “ingredients.” You’ll want to follow a simple ratio of “greens” and “browns.” Your greens are your nitrogen-rich items like fruit scraps, veggie peels, and coffee grounds, while your browns are carbon-rich materials like dried leaves, straw, or torn-up newspaper. I find that aiming for a roughly two-to-one ratio of browns to greens keeps the balance just right for my little urban garden.
- 5. To keep your compost healthy and efficient, you’ll need to give it a little bit of attention every week or so. Grab a garden fork or even a sturdy stick and give everything a good toss. Turning your pile introduces fresh oxygen into the mix, which helps the microbes do their job much faster. Think of it like giving your compost a little pep talk to keep it working hard for you!
- 6. Keep a close eye on the moisture levels of your bin. You want your compost to feel like a wrung-out sponge—damp to the touch, but not dripping wet. If it feels too dry, just sprinkle a little water over it; if it’s too wet, simply add more of your “brown” materials like shredded paper to soak up the excess. It’s all about finding that sweet spot through a little bit of trial and error.
- 7. Finally, be patient and let nature do its thing! Depending on the weather and how often you turn it, you’ll start to see dark, crumbly, earthy-smelling material forming at the bottom. This is your black gold, and it’s ready to be mixed into your garden beds to give your plants the ultimate nutrient boost. It takes a little time, but I promise, seeing that transformation is so incredibly rewarding.
Essential Compost Bin Materials List for a Balanced Home
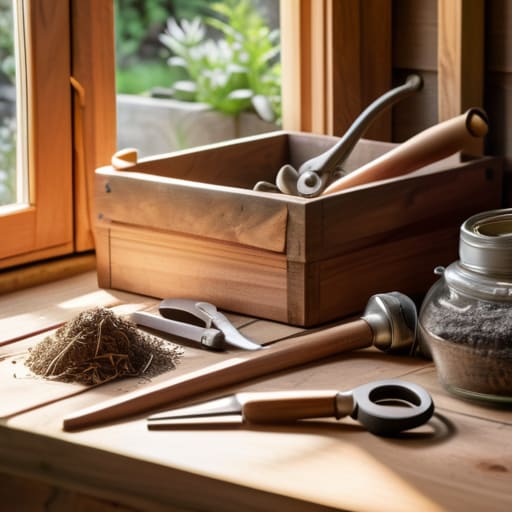
Before you head out to the hardware store or start rummaging through your garage, I find it really helpful to sit down and jot out a quick compost bin materials list. It saves so much time (and those inevitable extra trips!) when you know exactly what you need. Depending on the style you’re going for, you might need cedar planks for a sturdy raised bed, or perhaps just some repurposed plastic bins if you’re working with limited space. If you’re planning on a smaller indoor version, you might even look into a vermicomposting setup using a specialized worm bin.
Regardless of your design, don’t forget the little things that make a huge difference in the long run. I always recommend picking up a small hand trowel and some mesh screening to keep those pesky critters out. Also, keep an eye on your compost bin dimensions; you want something large enough to hold a decent amount of scraps but small enough that you can actually turn it easily. Proper aeration for compost bins is the secret sauce to preventing smells, so make sure your materials allow for plenty of airflow!
Choosing Perfect Compost Bin Dimensions for Your Space
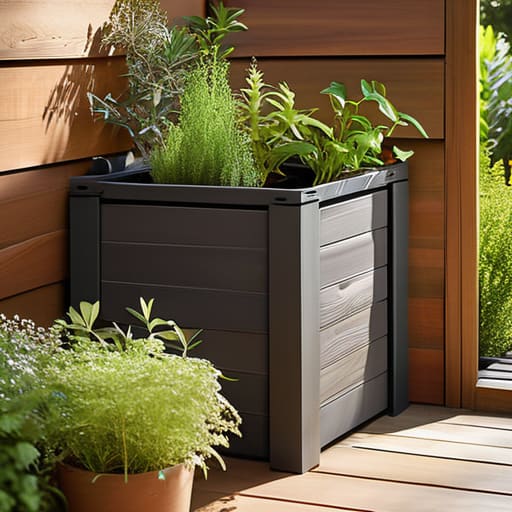
When you’re deciding on the right size for your project, it’s easy to get carried away and think bigger is always better. However, I’ve learned the hard way that the ideal compost bin dimensions really depend on how much space you actually have and how much waste your household produces. If you’re working with a tiny urban balcony, a massive wooden crate might feel more like an eyesore than a helpful tool. On the other hand, if you have a sprawling backyard, a miniature bin might struggle to hold enough heat to break everything down efficiently.
I always suggest finding a middle ground that fits your lifestyle. If you’re tight on space but still want to dive into recycling organic waste, you might want to consider a smaller, more contained vermicomposting setup instead of a traditional outdoor pile. Regardless of the size you choose, just make sure it’s large enough to allow for proper airflow. Without enough room for natural aeration, your compost can get a bit smelly, and we definitely want to avoid that! Just aim for something manageable that you can actually turn and maintain without it feeling like a chore.
A Few Little Secrets for Composting Success
- Keep an eye on your “green” to “brown” ratio. Think of it like a balanced diet for your bin—you’ll want plenty of leafy scraps (greens) mixed with plenty of dried leaves or shredded cardboard (browns) to keep things from getting too smelly or soggy.
- Give your compost a little love with a quick stir every week or so. Aerating the pile helps oxygen reach those tiny microbes that are doing all the hard work of breaking everything down for you.
- Don’t be afraid to chop things up! If you’re tossing in larger vegetable scraps or even some old eggshells, giving them a quick chop with your kitchen shears helps them decompose way faster.
- Keep it moist, but not a swamp. You’re aiming for that perfect “wrung-out sponge” feel. If it looks too dry, add a splash of water; if it’s looking a bit mushy, toss in some more dry cardboard.
- Avoid the “no-go” zone. To keep your bin smelling fresh and your local critters away, make sure you never toss in meat, dairy, or oily foods. Stick to the plant-based stuff and you’ll be golden!
Quick Tips for Composting Success
Remember that balance is everything; aim for a healthy mix of “greens” for nitrogen and “browns” for carbon to keep your bin smelling fresh and working efficiently.
Don’t be afraid to get your hands dirty—regularly turning your compost helps aerate the pile, which speeds up the whole process and keeps your microbes happy.
Start small and stay consistent; it’s much better to have a tiny, manageable bin that you actually use than a massive setup that feels like a chore.
A Little Wisdom for Your Garden Journey
“At the end of the day, composting isn’t just about managing waste; it’s about learning to see the magic in what we once thought was useless and turning it into something beautiful that helps us grow.”
Emma Thompson
Bringing Your Compost Project to Life
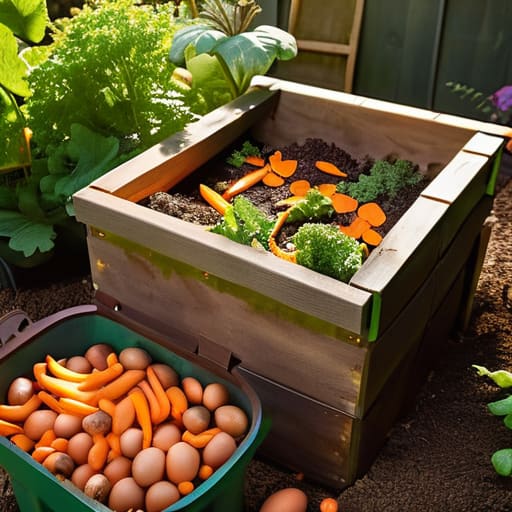
As we wrap things up, I hope you feel a little more confident about getting your hands dirty. We’ve covered everything from gathering your essential materials to picking the perfect dimensions that actually fit your unique living space. Remember, the most important part isn’t having a fancy, expensive setup; it’s about finding a system that works for your specific lifestyle and minimizing waste in a way that feels sustainable. Whether you’re working with a tiny balcony or a sprawling backyard, you now have the foundational tools to turn those kitchen scraps into something truly magical for your plants.
I know that starting something new can sometimes feel a bit daunting, but I promise you that the reward is so worth the initial effort. There is something incredibly grounding about watching nature do its thing right in your own backyard. By building this bin, you aren’t just recycling; you are actively participating in a more intentional way of living. So, grab those gardening gloves, pick out your favorite pair of quirky socks, and let’s get growing! You’ve totally got this, and I can’t wait to hear how your little ecosystem flourishes.
Frequently Asked Questions
Does my compost bin need to be kept in a specific spot, or can I tuck it anywhere in my yard?
That’s such a great question! While you could tuck it anywhere, I’ve learned that placement is everything. I always recommend finding a spot that gets a bit of sunlight to keep things warm and active, but isn’t completely baking in the heat. Most importantly, make sure it’s somewhere easy to access—you don’t want to be hauling heavy scraps across the entire yard every single day! Aim for well-draining soil and easy visibility.
How do I know if my compost is actually working or if it’s just turning into a smelly mess?
Don’t worry, we’ve all been there! If your bin smells like a dumpster, it’s usually just a sign that it’s a little out of balance—likely too much moisture or not enough “browns.” A healthy compost pile should actually smell like fresh, earthy rain. If you see dark, crumbly material that looks like rich soil, you’re winning! Just keep an eye on the moisture and keep those carbon-rich scraps coming. You’ve got this!
Are there certain things, like fruit scraps or coffee grounds, that I should definitely avoid putting in my new bin?
That is such a great question! It’s tempting to toss everything in, but a few things can definitely turn your happy little bin into a smelly mess. Definitely skip the meat, dairy, and oily foods—they attract unwanted pests. Also, steer clear of pet waste or anything treated with chemicals. Stick to those fruit scraps and coffee grounds (which I love!), and you’ll be well on your way to composting success!
