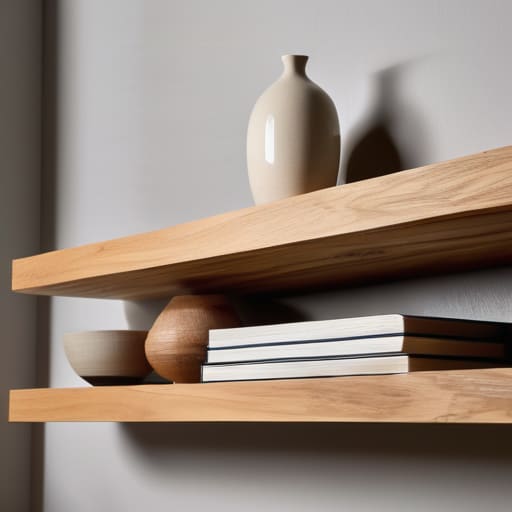
I was standing in my tiny living room last Tuesday, staring at a stack of half-read books and a trailing pothos plant that had absolutely nowhere to call home, feeling that familiar wave of overwhelm. It’s funny how a little bit of clutter can make a space feel so much smaller than it actually is. I used to think that a successful floating shelves diy project required a professional workshop and a degree in carpentry, but I quickly learned that’s a total myth. Honestly, you don’t need a massive budget or a garage full of power tools to create something beautiful; you just need a little bit of patience and the right approach to keep things from feeling like a chore.
In this guide, I’m stripping away all the complicated jargon to give you a straightforward, stress-free way to elevate your space. I’ll walk you through exactly how to choose your materials, secure your brackets without the headache, and style them so they look intentional rather than messy. My goal is to help you master this floating shelves diy project so you can finally clear that visual clutter and bring a sense of calm back into your home. Let’s get started!
Table of Contents
- Step-by-Step Instructions
- Mastering Wood Shelf Installation Tips for a Peaceful Space
- Understanding Floating Shelf Weight Capacity for Mindful Decorating
- My Little Secrets for a Flawless Floating Shelf Setup
- Quick Wins for Your Floating Shelf Journey
- ## A Little Perspective on DIY
- Bringing Your Vision to Life
- Frequently Asked Questions
Guide Overview
Tools & Supplies
- Drill/Driver for mounting brackets and screws
- Level to ensure the shelf is straight
- Stud finder to locate wall supports
- Saw to cut wood to desired length
- Measuring tape for precise placement
- Wood planks (1-2 pieces depending on length)
- Floating shelf brackets (1 set)
- Wall anchors or screws (1 pack)
- Wood stain or paint (1 small can)
- Sandpaper (1 pack of varying grits)
Step-by-Step Instructions
- 1. First things first, let’s gather our supplies so we don’t have to pause halfway through and lose our momentum. You’ll need some wood (I personally love a nice piece of reclaimed pine for that rustic feel), floating shelf brackets, a drill, some leveler, a stud finder, and your favorite screwdriver. Having everything laid out on your workbench or even just a clean spot on the floor makes the whole process feel way less chaotic.
- 2. Once you have your gear, grab that stud finder and head to the wall where you want your new shelves to live. This is a super important step because you really want to anchor those brackets into the studs rather than just the drywall. If you can’t find a stud exactly where you want the shelf, don’t panic—you can use heavy-duty drywall anchors, but hitting a stud is always the gold standard for stability.
- 3. Now, it’s time to mark your spots. Hold your bracket up against the wall and use a pencil to mark exactly where the screw holes will go. Before you even think about drilling, hold your level against the bracket to make sure it’s perfectly straight. There is nothing more frustrating than finishing a project only to realize your beautiful new shelf is slightly tilted, so take your time here!
- 4. Grab your drill and carefully make your pilot holes at the marks you just made. If you’re working with studs, you’ll be drilling directly into the wood; if you’re using anchors, follow the specific instructions on the package. I like to go a little slower with the drill than usual just to ensure everything stays precise and I don’t accidentally slip.
- 5. Secure your brackets to the wall by driving the screws through the bracket and into your pilot holes. Give each screw a little tug once it’s in to make sure it feels nice and snug. This is the “foundation” phase of our project, and getting it solid now means you won’t have to worry about your favorite plants or books sliding off later.
- 6. Next, we get to the fun part: sliding the wooden shelf onto the brackets. If you’re using a hollow-box style shelf, you’ll slide it over the metal arms; if you’re using solid wood with a cleat, you’ll rest the wood on top. If the fit feels a little too tight, don’t force it—just give it a gentle nudge or check if the bracket is seated perfectly flush against the wall.
- 7. Finally, if your shelf design allows for it, use a few small finishing screws from underneath to secure the wood to the bracket. This prevents the shelf from ever sliding forward. Once that’s done, clear off any sawdust, add a little decor, and take a deep breath. You did it! Your space already feels a little more intentional and calm.
Mastering Wood Shelf Installation Tips for a Peaceful Space
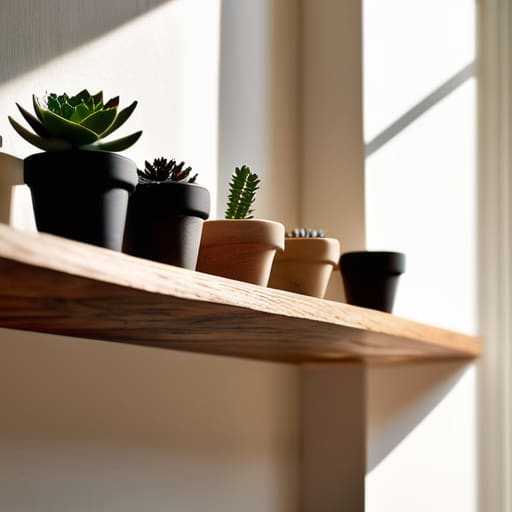
Now that you’ve got the basic steps down, I want to share a few little secrets that made my own DIY projects go from “okay” to “oh, this looks professional!” One thing I’ve learned the hard way is that you really need to prioritize mounting shelves to studs whenever possible. While heavy-duty anchors are great, there is nothing more stressful than hearing a tiny creak while you’re setting down your favorite ceramic mug. If you can find those wooden studs, you’ll have much more peace of mind knowing your decor is secure.
Another thing to keep in mind is the floating shelf weight capacity. It’s so tempting to pile up every heavy book you own, but I always recommend testing the load with something lighter first. If you’re using hidden shelf brackets, just be mindful of how much weight those internal supports can truly handle. Taking a moment to plan your layout—and maybe even sketching it out on a piece of paper first—helps ensure your new shelves feel like a natural, calming part of your room rather than just another cluttered corner.
Understanding Floating Shelf Weight Capacity for Mindful Decorating
One thing I’ve learned through my own DIY mishaps is that we often get so caught up in the aesthetic of a project that we forget the physics behind it! Before you start piling on those heavy ceramic vases or thick art books, it is so important to get a realistic handle on your floating shelf weight capacity. It can be incredibly frustrating to spend hours on a beautiful project only to have it sag or, even worse, pull right out of the wall. I always tell my friends to start by checking the specs of their hardware first; those sleek, hidden shelf brackets are wonderful for a clean look, but they each have their own limits.
To keep your sanctuary feeling safe and serene, my golden rule is to prioritize stability over sheer volume. If you’re planning on anything heavier than a few succulents, you really need to focus on mounting shelves to studs rather than relying solely on drywall anchors. Taking that extra ten minutes to locate your wall studs ensures your modern wall decor stays exactly where you put it, giving you one less thing to worry about while you’re enjoying your peaceful, organized space.
My Little Secrets for a Flawless Floating Shelf Setup
- Don’t skip the level check! It’s tempting to eyeball it when you’re excited to get things hanging, but even a tiny tilt becomes super obvious once your favorite mugs are sitting on them. Grab a level and take that extra minute.
- Scout your studs first. I know, I know, drilling into drywall is easy, but for a shelf that actually stays put, finding a stud is a total game-changer for your peace of mind.
- Plan your “vibe” before you buy. Before you start drilling, think about whether you’re going for a rustic, reclaimed wood look or something sleek and modern so your shelves actually feel like they belong in your sanctuary.
- Mind the cord clutter. If you’re planning to use your shelves for tech or small lamps, try to plan your placement around outlet locations so you aren’t left with a mess of tangled wires ruining your aesthetic.
- Embrace the “less is more” approach. It’s so easy to go overboard and cover every inch, but leaving a little breathing room between your decor pieces helps keep the whole space feeling airy and calm rather than cluttered.
Quick Wins for Your Floating Shelf Journey
Remember that less is often more; when you’re decorating, choose a few meaningful pieces rather than overcrowding the shelf to keep your space feeling breezy and calm.
Safety first, but make it simple—always double-check your wall type and weight limits before you start loading up your favorite books or plants.
Don’t be afraid to experiment with your DIY skills, because the goal isn’t perfection, it’s creating a little corner of your home that truly feels like you.
## A Little Perspective on DIY
“I’ve learned that DIY projects like floating shelves aren’t just about fixing a blank wall; they’re about creating intentional little pockets of calm and organization in a world that often feels a bit too cluttered.”
Emma Thompson
Bringing Your Vision to Life
Taking on a DIY project like this can feel like a lot at first, but I promise that once those shelves are securely mounted, all that hard work pays off. We’ve covered everything from picking the right wood to mastering those tricky installation tips and, most importantly, being mindful of how much weight your new decor can actually handle. By focusing on these small, practical details, you aren’t just putting up some lumber; you are intentionally creating a more organized environment. Remember, it’s all about finding that sweet spot between functionality and style, ensuring your shelves are as sturdy as they are beautiful.
At the end of the day, your home should be a sanctuary that reflects who you are and helps you feel at ease. Whether you use these shelves to display your favorite succulents from your urban garden or to organize your most-read books, let this project be a reminder that you have the power to shape your own space. Don’t worry if things aren’t absolutely perfect on the first try—that’s just part of the creative journey. Take a deep breath, enjoy the process, and celebrate the wonderful, balanced home you are building one shelf at a time. You’ve totally got this!
Frequently Asked Questions
What kind of wall anchors should I use if I'm not mounting these directly into a stud?
If you aren’t hitting a stud, don’t worry—you aren’t stuck! For lighter decor like small plants or photos, standard plastic expansion anchors usually do the trick. However, if you’re planning on displaying something a bit heavier, I highly recommend using toggle bolts. They spread the weight behind the drywall much more securely, giving you that extra peace of mind so your beautiful new shelves stay exactly where they belong.
How do I make sure my shelves actually look "floating" and not just like regular shelves with visible brackets?
That is such a great question! Honestly, nothing ruins the “zen” vibe of a room faster than bulky, visible brackets. To get that seamless, truly floating look, the secret is using a hollow-core shelf design. Instead of sitting the wood on top of a bracket, you’ll build a little “sleeve” or box that slides right over a sturdy internal wooden cleat attached to your wall. It hides all the hardware completely, leaving just the clean lines!
Are there specific types of wood that are better for beginners to work with if I'm doing the staining or painting myself?
If you’re planning to paint or stain your shelves yourself, I’d definitely recommend starting with pine or poplar. They are super forgiving and much easier on your tools! Pine is wonderful if you want that classic wood grain to peek through with a stain, while poplar is a dream for painting because it has a very smooth, tight grain that won’t leave you with annoying textures. Happy crafting!
