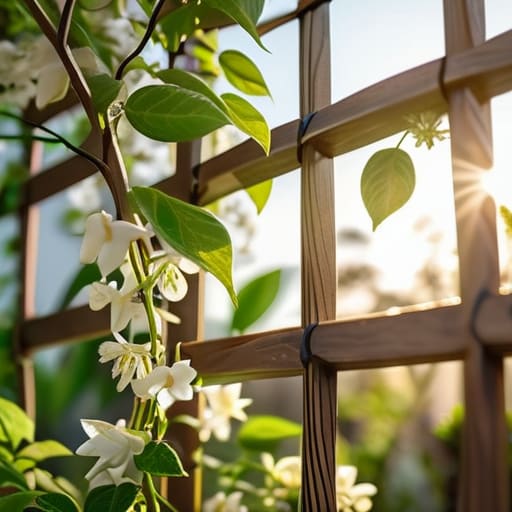
I was standing in my tiny urban garden last Saturday, staring at a sprawling, tangled mess of jasmine that had completely overtaken my favorite patio chair, when it finally hit me: I didn’t need a professional landscaper, I just needed a plan. Most people think that learning how to build a garden trellis requires a workshop full of heavy-duty power tools and a degree in carpentry, but honestly? That’s just a total myth. In my experience, the most beautiful supports are often the simplest ones, built with just a bit of intuition and a few basic supplies you probably already have tucked away in your garage or shed.
In this guide, I’m going to strip away all the complicated jargon and show you exactly how to create something sturdy and stylish without the headache. I’ll walk you through choosing the right materials, a few easy assembly methods, and my favorite tips for making sure your structure actually lasts through the season. Whether you’re looking to add some vertical interest to a small balcony or want to give your climbing roses a place to call home, I promise this will be a stress-free project that leaves you with more time to actually enjoy your garden.
Table of Contents
- Step-by-Step Instructions
- Simple Wooden Trellis Design Ideas for Peaceful Spaces
- Essential Garden Trellis Materials List for Stress Free Building
- A Few Little Pro-Tips for a Smooth Building Day
- A Few Quick Reminders Before You Start Digging
- A Little Vertical Magic
- Bringing It All Together
- Frequently Asked Questions
Guide Overview
Tools & Supplies
- Measuring tape for accurate cuts
- Handsaw or miter saw for wood cutting
- Drill with bits for pilot holes and screw driving
- Screwdriver or driver bit for assembly
- Untreated cedar or redwood stakes (4-5 pieces)
- Wood screws (1 box)
- Garden twine or wire (1 roll)
- Wood glue (1 bottle)
Step-by-Step Instructions
- 1. First things first, let’s gather our supplies. You don’t need a fancy workshop for this—just a few basics like some untreated cedar or redwood stakes (they hold up much better against moisture!), a roll of sturdy jute twine or wire, a pair of garden shears, and a small hammer. I always like to grab a sturdy pair of gloves before I start, because nothing ruins the zen of gardening like a few unexpected scratches!
- 2. Once you have your materials, it’s time to prep your ground. Find the spot where your climbing plants—maybe some sweet peas or even those beautiful morning glories—will be living their best lives. Clear away any weeds and dig two small holes about a foot apart. This creates a solid foundation so your trellis doesn’t tip over once the plants start getting heavy and lush.
- 3. Next, let’s get those main support stakes into the ground. Push your two primary wooden stakes into the holes you just dug. Make sure they are standing up straight; if they feel a little wobbly, you can pack some extra soil around the base to firmly secure them. These will act as the “bones” of your trellis, providing the strength everything else will lean on.
- 4. Now comes the fun, creative part: weaving the lattice. Take your jute twine or wire and start tying it between the two main stakes. I like to work in a simple diamond pattern, which looks super intentional and charming. Just wrap the twine around one stake, pull it across to the other, and tie a neat, secure knot. Don’t worry about making it perfect; a little bit of organic imperfection actually gives it that lovely, rustic feel.
- 5. As you weave, keep an eye on the spacing. You want the gaps in your diamond pattern to be small enough that the delicate tendrils of your plants can easily find something to grab onto. If the gaps are too wide, your plants might feel a bit lost. I find that a consistent pattern makes the whole structure look much more professional and helps the plant climb more predictably.
- 6. Once your lattice is all woven and looking good, give it a little “stress test.” Gently wiggle the stakes to make sure everything is stable and won’t collapse under the weight of a summer rainstorm. If it feels a bit loose, just add a little more soil around the base or perhaps a small garden stone for extra weight. It’s all about building confidence in your structure before the heavy lifting begins.
- 7. Finally, it’s time to introduce your plants to their new home! Gently guide the young vines toward the twine, perhaps even looping a tender stem through one of the diamond gaps to give it a head start. It’s such a rewarding moment to see that first bit of green interacting with your handiwork. Now, all you have to do is sit back, grab a tea, and watch your little garden masterpiece grow!
Simple Wooden Trellis Design Ideas for Peaceful Spaces
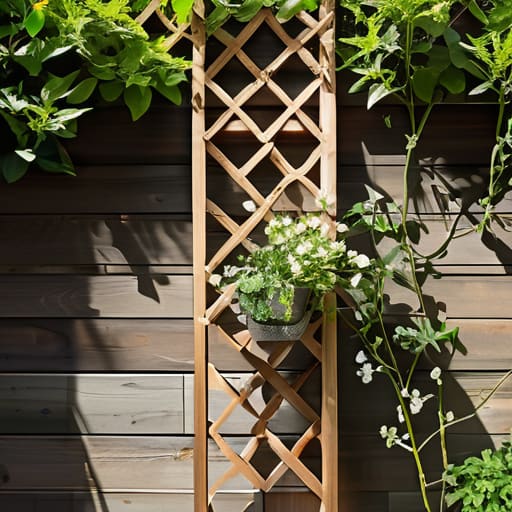
Once you’ve mastered the basics, the real fun begins with experimenting with different wooden trellis design ideas to match your garden’s vibe. If you have a tiny balcony or a cramped patio, I highly recommend leaning into vertical gardening techniques. Instead of a standard rectangular frame, try building a simple ladder-style structure or even a series of small, interconnected diamond lattices. These can be leaned against a wall or attached to a fence, turning a blank space into a lush, living tapestry. It’s such a rewarding way to add depth to your space without feeling like you’re cluttering it.
For those of us who love a bit of a rustic, “found” aesthetic, don’t be afraid to get creative with your materials. You don’t always need perfectly milled lumber; sometimes, using reclaimed wood or even interesting branches can create beautiful, organic climbing plant support structures that look like they’ve always belonged there. My little secret? Mixing textures—like pairing smooth cedar slats with more rugged, weathered pieces—can give your garden that intentional, designer look while keeping things feeling cozy and unpretentious.
Essential Garden Trellis Materials List for Stress Free Building
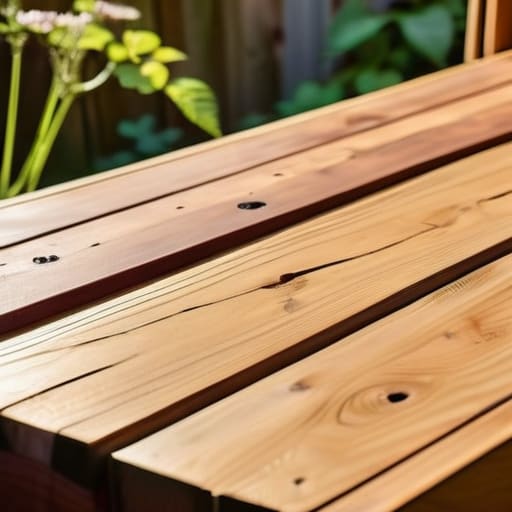
Before you head out to the hardware store, I like to take a quick breath and visualize exactly what I need. There is nothing quite as frustrating as being halfway through a project and realizing you’re missing a crucial screw! When putting together your garden trellis materials list, I highly recommend opting for cedar or redwood if your budget allows. These woods are naturally resistant to rot and insects, which means they can handle the elements without you having to worry about constant repairs. If you’re working with a tighter budget, pressure-treated lumber is a fantastic, reliable alternative that still offers great longevity for your climbing plant support structures.
Don’t forget the little things that make the assembly process go smoothly. A sturdy box of exterior-grade screws is a must, as they won’t rust and pull apart when the wood expands in the rain. I also swear by a good quality wood sealant to give your project that extra layer of protection. If you’re feeling a bit more adventurous with your easy DIY garden structures, you might even grab some decorative wire or twine to help guide those first few delicate vines. Having everything organized from the start is the best way to keep the process peaceful and productive.
A Few Little Pro-Tips for a Smooth Building Day
- Before you drive that first nail, take a moment to watch how your plants actually move. I’ve learned the hard way that a trellis that looks great on paper might not actually give your heavy vines the support they need once they start climbing.
- Don’t be afraid to embrace the “imperfect” look. If a piece of wood has a little character or a knot in it, lean into it! Since we’re aiming for a peaceful garden, those natural imperfections actually help the trellis blend beautifully into your outdoor space.
- Test your weight capacity ahead of time. If you’re planning on growing something heavy like climbing roses or even some of my favorite heavy gourds, make sure your stakes are driven deep into the ground so your hard work doesn’t end up toppling over after a summer rain.
- Keep your tools organized and nearby. There is nothing that kills my creative flow faster than having to run back to the garage mid-project because I misplaced my measuring tape. A little bit of prep goes a long way in keeping the process relaxing.
- Think about the “reach” factor. When you’re deciding on the height and placement, consider how you’ll actually maintain it. You want to be able to prune and deadhead those beautiful blooms without needing a full ladder every single weekend!
A Few Quick Reminders Before You Start Digging
Don’t overthink the design; the best trellis is the one that fits your space and your skill level, whether it’s a simple wooden frame or something a bit more decorative.
Prioritize quality materials like cedar or pressure-treated wood to ensure your hard work stands up to the weather and gives your climbing plants a sturdy home for years to come.
Remember that gardening is all about the process, so take your time with the assembly and enjoy the little moments of creativity along the way.
A Little Vertical Magic
“Building a trellis isn’t just about giving your climbing plants a place to reach for the sun; it’s about creating a little pocket of intentional beauty and structure right in your own backyard.”
Emma Thompson
Bringing It All Together
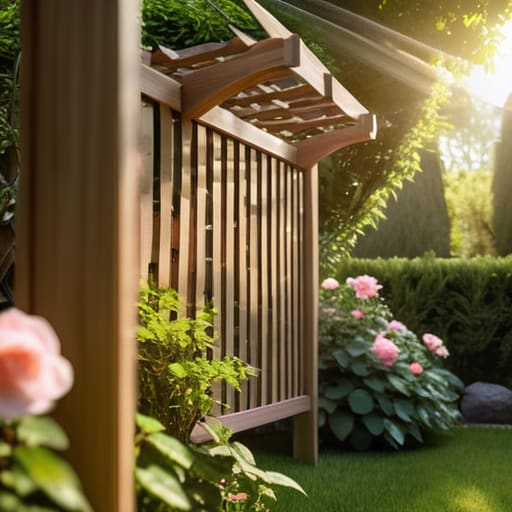
At the end of the day, building your own trellis is about much more than just finding a place for your climbing roses or peas to grab onto. By gathering your materials carefully and choosing a design that fits your personal style, you’ve turned a simple DIY project into a way to bring structure and beauty to your outdoor sanctuary. Whether you went with a classic wooden lattice or something a bit more modern, the most important part is that you took the time to create something with your own two hands. Remember, it doesn’t have to be perfect to be completely functional and lovely; the charm often lies in those little handmade details that make a garden feel truly lived-in.
As you step back to admire your hard work, I hope you feel that same sense of quiet accomplishment that I do every time I finish a project in my own little urban garden. Gardening has a wonderful way of teaching us patience, and seeing those first tiny green tendrils begin to wrap around your new trellis is such a rewarding milestone. Don’t be afraid to experiment, make mistakes, or even try a different design next season. Life is a continuous process of growth, and your garden is the perfect place to cultivate both plants and peace of mind. Happy planting, and I can’t wait to see how your vertical garden flourishes!
Frequently Asked Questions
How do I make sure my trellis is sturdy enough to handle heavy climbing plants like tomatoes or wisteria?
That is such a great question! I’ve definitely learned the hard way that a flimsy trellis won’t stand a chance against a heavy wisteria. To keep things sturdy, I always recommend driving your main support stakes deeper into the ground—at least 12 to 18 inches. Also, don’t skimp on the thickness of your wood; using something like a 2×2 or even a 2×4 for the frame makes a world of difference in stability.
What's the best way to attach my trellis to a wall or fence without causing permanent damage?
I totally get the hesitation—nobody wants to go drilling holes into a beautiful fence or a rental wall! If you’re looking to keep things damage-free, my favorite trick is using heavy-duty command hooks or even simple zip ties if you’re attaching it to a wire mesh fence. For a sturdier but still non-permanent option, try leaning the trellis against the wall and securing it with some decorative weighted planters at the base. It keeps everything stable without the permanent commitment!
Do I need to treat the wood with anything special to prevent it from rotting in the rain?
That is such a great question, and honestly, it’s one I wish I’d asked before my first DIY project! Since your trellis will be out in the elements, you definitely want to give the wood some love. I recommend using a non-toxic, water-based sealant or a food-safe wood preservative—especially if you’re growing veggies you plan to eat. It adds a little extra protection against the rain and keeps your beautiful creation looking fresh for much longer!
