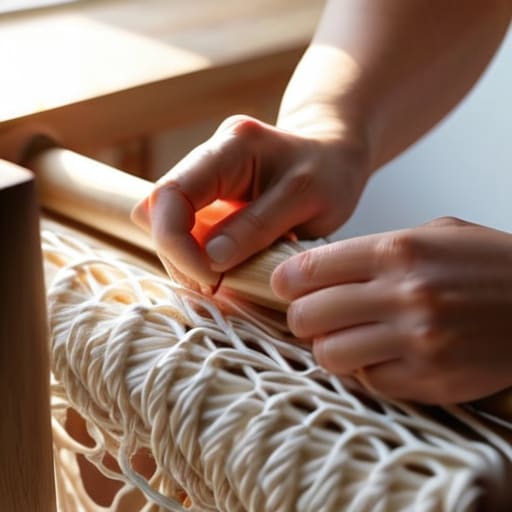
I remember sitting on my living room floor three years ago, surrounded by a tangled, chaotic mess of cotton cord and feeling completely defeated. I had watched dozens of tutorials, but every time I tried to follow along, my knots looked nothing like the Pinterest-perfect wall hangings I saw online. It felt like there was some secret language I just couldn’t speak, and honestly, I almost tossed the whole project in the bin. But here is the thing I learned the hard way: macrame isn’t about having perfect dexterity or expensive tools; it’s actually just about finding your rhythm with a few basic movements. If you’ve been intimidated by the complex patterns you see online, please know that macrame for beginners is much more approachable than the internet makes it seem.
In this guide, I’m stripping away all the fluff and the confusing jargon to give you the real, no-nonsense basics. We are going to walk through the essential knots, the only supplies you actually need, and how to troubleshoot those inevitable tangles without losing your mind. My goal is to help you move past the frustration and into a space where you can create something beautiful and calming with your own two hands. Let’s get knotting!
Table of Contents
- Step-by-Step Instructions
- Gathering Your Essential Macrame Supplies for Calm
- Mastering Macrame Knotting Techniques With Ease
- Five Little Secrets to Keep Your Macrame Journey Stress-Free
- Quick Reminders for Your Macrame Journey
- Finding Your Rhythm in Every Knot
- Finding Your Rhythm in Every Knot
- Frequently Asked Questions
Guide Overview
Tools & Supplies
- Scissors for clean cord cuts
- Measuring tape to track length
- S-hooks or dowel to hang work
- Cotton macrame cord (3-5mm) 1 roll
- Wooden dowel or ring (1 unit)
- Masking tape to secure work surface
Step-by-Step Instructions
- 1. First things first, let’s get your workspace ready. You don’t need a fancy studio; a sturdy table or even a command hook on a door works perfectly. Grab your cotton cord (I love the soft, single-strand variety for beginners) and a pair of sharp scissors. Most importantly, find something to hold your work steady, like a piece of driftwood or a simple wooden dowel, so your hands are free to focus on the knots.
- 2. Once you’re set up, it’s time to prep your cords. Cut your rope into several pieces, and here is my little pro-tip: always cut them longer than you think you’ll need. Since we’re just starting out, aim for pieces about four times the length of your finished project. You can always trim the excess later, but it’s much harder to add more length once you’re in the middle of a pattern!
- 3. Now, let’s get those cords attached to your dowel or ring using a lark’s head knot. This is the foundation of almost everything we’ll do. Fold a cord in half to create a loop, place that loop over your dowel, and then pull the two loose ends through the loop. It sounds a bit silly when I say it out loud, but once you do it a few times, your fingers will just automatically know the rhythm.
- 4. Let’s tackle our first real knot: the square knot. This is the bread and butter of macrame. Take four strands of cord; the two in the middle will act as your “core,” while the two on the outside do all the dancing. Start by crossing the left cord over the middle ones to make a shape like the number four, then tuck the right cord under the middle ones and bring it up through the loop on the left. It’s a little bit like tying a shoelace, but much more meditative and intentional.
- 5. Once you’ve mastered the square knot, try a half-hitch knot to create some beautiful texture and shape. This is where you’ll start to see those lovely diagonal lines or “waves” that make macrame so visually interesting. Simply take one cord, wrap it around the core cords, and pull it snug. I find that focusing on the consistent tension of these knots is where the real magic—and the real relaxation—happens.
- 6. As you work through your pattern, don’t be afraid to pause and take a breath. If a knot looks a little wonky or uneven, don’t stress! That’s just the character of handmade art. If you’ve made a mistake, you can usually just untie it and try again. The goal here isn’t perfection; it’s about finding your flow and enjoying the process of creating something beautiful with your own two hands.
- 7. Finally, once you’ve reached the end of your design, it’s time for the most satisfying part: the big trim. Lay your piece flat and use your sharpest scissors to cut the bottom into a clean line or a trendy V-shape. If you want a bit of a boho vibe, you can even gently brush out the ends of the cotton cord to create a soft, dreamy fringe. Take a moment to step back and admire what you’ve just accomplished!
Gathering Your Essential Macrame Supplies for Calm
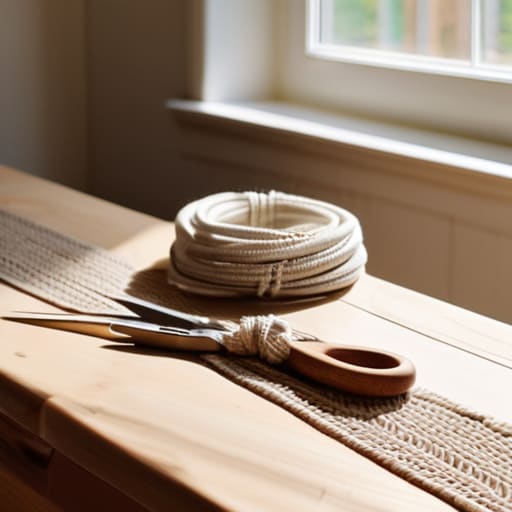
Before we dive into the actual knots, let’s talk about setting up your little creative nook. I used to think I needed a professional studio to start, but honestly, all you really need is a clear tabletop and a few essential macrame supplies to get the ball rolling. I love grabbing a wooden dowel from a local thrift store—it’s a great way to upcycle and gives your piece that perfect, rustic charm. Just make sure you have a pair of sharp fabric scissors nearby; nothing ruins a peaceful flow like struggling with dull blades!
When it comes to the cord itself, don’t feel pressured to buy everything in the shop. There are so many different cotton cord types for macrame, ranging from single-strand to braided, and each one changes how your project feels in your hands. If you’re working on your very first beginner macrame wall hanging project, I highly recommend a 3mm or 4mm braided cotton cord. It’s sturdy, easy to manipulate, and won’t fray too aggressively while you’re still learning the ropes. It’s all about finding that sweet spot where the materials work with you, not against you.
Mastering Macrame Knotting Techniques With Ease
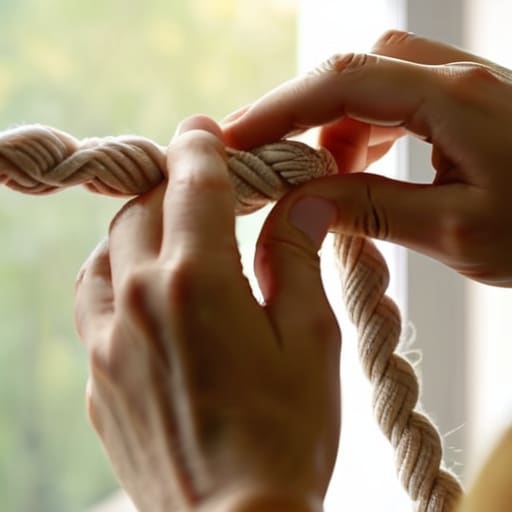
Once you’ve got your supplies laid out, it’s time to actually get your hands in the cord. I remember when I first started, I felt so clumsy, like my fingers were just too big for the task! The secret to mastering macrame knotting techniques isn’t about having perfect dexterity; it’s actually all about your tension. If you pull too tight, your project will look stiff and won’t have that lovely, bohemian drape we’re all after. If it’s too loose, well, it just looks a bit messy. I find that practicing on a larger piece of cord helps me find my rhythm before I move on to a more intricate beginner macrame wall hanging project.
A little tip from my own trial and error: pay close attention to how to hold macrame cord during those first few rows. You want to keep your working cords steady while your knotting cords do the heavy lifting. It might feel a bit awkward at first, but once your hands develop that muscle memory, it becomes almost meditative. Don’t be afraid to undo a knot and start over if it feels off—that’s just part of the creative process!
Five Little Secrets to Keep Your Macrame Journey Stress-Free
- Don’t aim for perfection right out of the gate. I used to get so frustrated when my knots weren’t perfectly symmetrical, but I’ve learned that those tiny “imperfections” are actually what give handmade pieces their soul and character.
- Invest in a decent piece of driftwood or a sturdy ring. It sounds small, but having a stable base makes a world of difference; if your support is wobbling, your hands will be too, and that’s the last thing we need when we’re trying to unwind.
- Keep a small pair of sharp craft scissors within arm’s reach at all times. There is nothing more disheartening than losing your flow because you’re hunting through a junk drawer for something to trim those stray cord ends.
- Work in a space with plenty of natural light. Since macrame is so tactile and visual, being able to clearly see the tension in your cords helps prevent hand fatigue and keeps the process feeling meditative rather than like a chore.
- Embrace the “unravel and retry” mindset. If a pattern isn’t clicking, don’t be afraid to undo a few rows. Think of it as a way to reset your rhythm rather than a mistake—it’s all part of finding your creative groove!
Quick Reminders for Your Macrame Journey
Remember, it’s not about perfection; it’s about the process. If a knot looks a little wonky, don’t sweat it—just keep going and enjoy the rhythm.
Start small to keep things manageable. Mastering one simple knot is much more rewarding than getting tangled up in a massive, complicated pattern right away.
Create a space that feels good. Whether it’s a cozy corner of your living room or a sunny spot by a window, make your crafting time a true moment of calm.
Finding Your Rhythm in Every Knot
“Don’t worry about making every loop perfect right away; macrame isn’t about achieving instant mastery, it’s about finding that quiet, steady rhythm between your hands and your heart that helps the rest of the world fade away.”
Emma Thompson
Finding Your Rhythm in Every Knot
We’ve covered a lot of ground today, from gathering your essential cords to mastering those foundational knots that form the heartbeat of every piece. I know it can feel a bit overwhelming when you first look at a tangled pile of cotton rope, but remember that every intricate wall hanging started with just a single, simple knot. By focusing on your supplies and practicing your tension, you aren’t just making decor; you are building a foundation of patience and skill. Don’t worry if your first few attempts look a little wonky—that’s just part of the process, and honestly, it’s where the real learning happens.
As you hang up your first finished piece, I hope you take a moment to really appreciate the stillness you created while making it. Macrame is so much more than a hobby; it is a way to reclaim your calm in a world that often feels way too loud and fast. Whether you’re making a tiny plant hanger for your windowsill or a large statement piece for your living room, let each knot be a reminder to breathe and slow down. You’ve got this, and I can’t wait to see the beautiful, unique things you create as you continue this journey.
Frequently Asked Questions
How do I know how much cord I actually need so I don't run out halfway through a project?
Oh, I have been there! There is nothing more frustrating than being mid-knot and realizing you’re running on empty. Honestly, my first few projects were a bit of a guessing game. A good rule of thumb I use is to start with about four times the length of your finished piece. If you’re making a wall hanging, measure your desired length and multiply by four. It’s always better to have a little extra for mistakes than to end up short!
I'm worried about making a mess—is there a specific type of surface or workspace that works best for knotting?
I totally get it! When I first started, I was terrified of getting cord scraps all over my favorite rug. Honestly, the best setup is something flat and sturdy, like a dining table or a desk. I love using a heavy-duty clipboard or a small tabletop ring stand to keep my cords from sliding around while I work. It keeps everything organized and saves you from a massive cleanup later!
What should I do if I mess up a knot and realize my pattern looks a little wonky?
First of all, take a deep breath—we’ve all been there! I once spent an hour on a wall hanging only to realize my tension was totally off. If a knot looks wonky, don’t panic. If it’s early in the process, the best thing to do is carefully untie it or, better yet, snip the cord and start that section fresh. It’s much easier to restart a small piece than to live with a crooked pattern!
