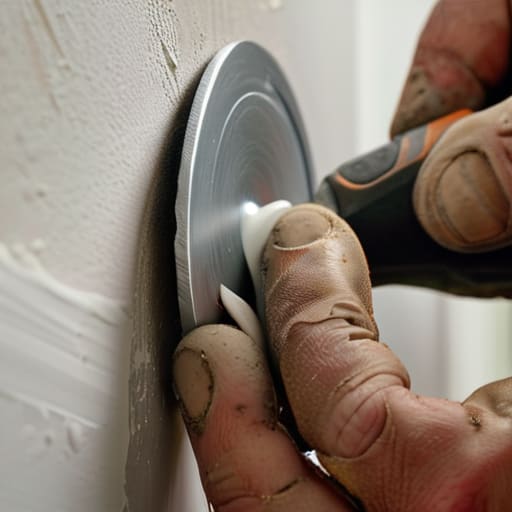
I was halfway through moving my favorite thrifted armchair into the living room when I heard that dreaded, hollow thud—the sound of my elbow making direct contact with the drywall. I stood there staring at the fresh dent, feeling that immediate wave of “oh no, not again” sink into my chest. We’ve all been there, haven’t we? Whether it’s a rogue vacuum cleaner, a door handle mishap, or a literal hole left by a moving day, knowing how to patch a hole in the wall can feel like a daunting DIY project that requires a professional contractor. But I promise you, it’s much less intimidating than it looks.
I’m not here to give you a complicated manual filled with technical jargon that would make a construction worker yawn. Instead, I want to walk you through this process with zero fluff and plenty of encouragement. I’ll show you exactly how to tackle those pesky imperfections using just a few basic supplies you probably already have in your utility closet. My goal is to help you fix these little eyesores quickly and easily, so you can get back to enjoying your beautiful, peaceful home.
Table of Contents
Guide Overview
Tools & Supplies
- Putty knife for spreading compound
- Sandpaper (medium and fine grit) for smoothing
- Spackle knife for applying filler
- Utility knife for trimming edges
- Spackle or joint compound (small tub)
- Adhesive wall patch or mesh tape (1-2 pieces)
- Sanding sponge (1 piece)
- Touch-up paint (small container)
Step-by-Step Instructions
- 1. First things first, let’s clear the area. Grab a damp cloth and wipe away any loose dust or crumbling bits of drywall around the hole. You want a clean surface so the patch actually has something solid to grab onto, otherwise, it’s just going to peel off later.
- 2. Next, we need to prep the edges. If the edges of the hole are jagged or sticking out, take a piece of sandpaper and lightly sand them down until they feel relatively smooth. I like to think of this as leveling the playing field so your patch doesn’t look like a bump on your wall.
- 3. Now, it’s time for the heavy lifting—applying the patch. If it’s a tiny nick, a bit of spackle will do, but for something larger, you’ll want to use a self-adhesive mesh patch. Press it firmly over the hole, making sure it’s centered and snug against the surface.
- 4. Grab your putty knife and a tub of joint compound. Spread a thin layer of the compound over the patch, starting from the center and working your way outward. The trick here is to feather the edges—that means spreading the compound thinner and thinner as you move away from the hole so it blends seamlessly into the surrounding wall.
- 5. Once that first layer is on, let it dry completely. This might take a little while depending on the humidity, so feel free to grab a cup of tea or tend to your indoor plants while you wait. Once it’s dry, you’ll likely see some ridges, so take a fine-grit sandpaper and lightly sand the area until it feels perfectly flush with the wall.
- 6. If you notice any tiny imperfections or pinholes after sanding, don’t panic! Just apply a second, even thinner layer of compound, let it dry, and sand it down one more time. It’s all about that extra bit of patience to get it just right.
- 7. Finally, we get to the fun part: making it look like nothing ever happened. Wipe away the dust with a tack cloth, then apply your primer and a fresh coat of paint. If you match the texture and color correctly, you’ll find that fixing it yourself is incredibly rewarding and much cheaper than calling a professional.
Choosing a Simple Drywall Patch Kit for Small Holes
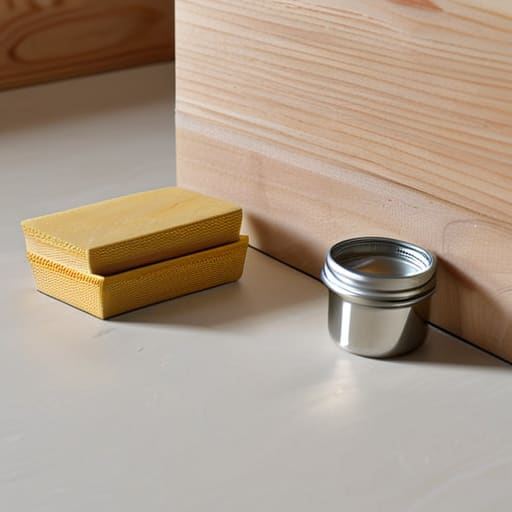
Now, before you head over to the hardware store, let’s talk about what you actually need to grab. If you’re dealing with those pesky little nicks from a moving day or a stray door handle, I highly recommend picking up a dedicated drywall patch kit for small holes. These kits are absolute lifesavers because they take the guesswork out of the process, usually coming with everything from the patch itself to a small spreader. It’s much easier than trying to mix a giant tub of compound when you only need a tiny bit to get the job done.
When you’re browsing the aisles, keep an eye out for kits that include wall repair mesh tape. This little bit of mesh acts like a sturdy scaffold for your filler, ensuring everything stays put while it dries. If you’re just fixing dents in drywall rather than actual punctures, you might not even need a heavy-duty kit, but having one on hand is always a smart move for any homeowner. Trust me, having the right tools makes the whole experience feel less like a daunting chore and more like a quick, satisfying weekend win!
Using Wall Repair Mesh Tape for a Steady Start
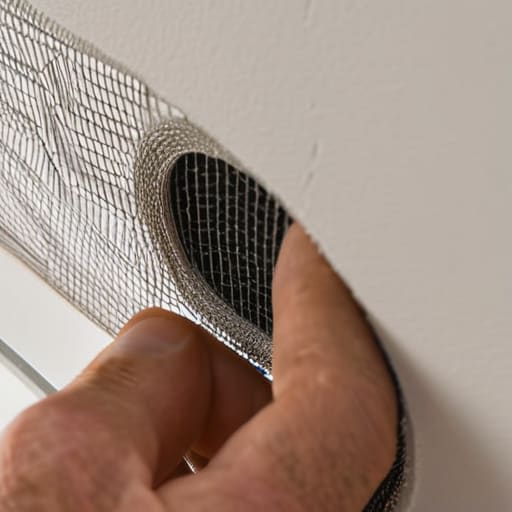
If you’re working with a hole that’s a bit larger than a tiny nick, using wall repair mesh tape is going to be your best friend. Think of it like a little structural skeleton for your repair; it provides that essential stability so your patch doesn’t just crack or sag later on. When you’re ready to start, just center the tape over the opening and press it firmly against the surface. I always find it helpful to make sure the area around the hole is clean and free of loose debris first—it makes a world of difference in how well the tape adheres.
Once your mesh is securely in place, you can move on to the more satisfying part: applying joint compound to walls. The trick here is to use a wide putty knife to spread the compound over and through the mesh. You want to aim for a thin, even layer rather than trying to fill the hole all at once. It might look a little messy at first, but don’t sweat it! Taking it in thin, manageable layers is much easier than trying to fix a thick, chunky mound later during the sanding phase.
A few little secrets for a flawless finish
- Don’t rush the drying process; I know it’s tempting to jump straight to sanding, but letting the spackle dry completely ensures you won’t end up with tiny cracks later on.
- Sand lightly and often—think of it like exfoliating your skin rather than scrubbing it—to keep the surface smooth without gouging the surrounding wall.
- Always wipe away the dust with a slightly damp cloth before you start painting, otherwise, your new coat of paint might peel or look bumpy.
- If you’re working with a larger patch, try applying your compound in thin layers instead of one big glob; it makes the whole process much more manageable and much easier to sand down.
- Keep a little bit of your original wall paint in a small jar for touch-ups; even the best repairs can sometimes show a tiny bit of a seam, and a quick dab of paint makes it disappear!
Quick tips for a flawless finish
Don’t rush the drying process; patience is your best friend here if you want to avoid cracks and uneven surfaces.
Keep your tools clean and your workspace tidy to make the whole project feel less like a chore and more like a quick win.
Remember that a little bit of sanding goes a long way, so take your time to get that surface feeling smooth before you reach for the paint.
## A little reminder for your DIY journey
“Don’t let a tiny imperfection in your space make you feel like your home is falling apart; sometimes, all it takes is a little bit of patience, a bit of spackle, and the realization that you’re more than capable of fixing things yourself.”
Emma Thompson
You've Got This!
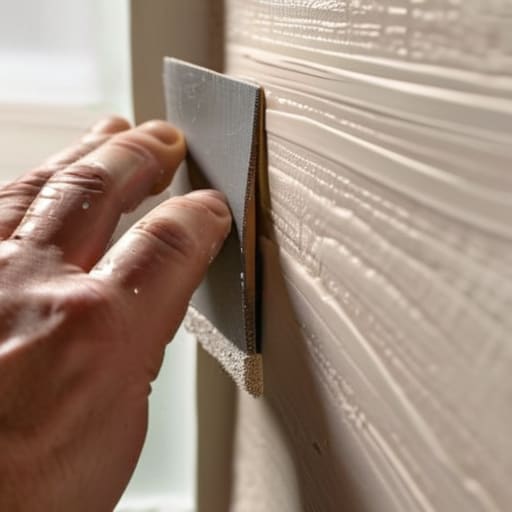
And just like that, you’re done! We went from staring at a frustrating little crater in the wall to having a smooth, seamless surface again. By picking out the right patch kit, getting your mesh tape set up for a steady start, and taking your time with the spackle, you’ve tackled a task that usually feels way more intimidating than it actually is. Remember, the secret is really in the patience—letting those layers dry completely and sanding them down gently makes all the difference in the world. It’s all about those small, methodical steps that lead to a flawless finish.
I know that sometimes, when we see something broken in our homes, it can feel like just one more thing on an already overflowing to-do list. But I hope this little project shows you that most things can be mended with just a bit of effort and the right approach. Whether you’re fixing a drywall dent or tackling a bigger DIY project, don’t let the imperfections discourage you. You have the power to transform your space one small fix at a time. Take a moment to celebrate this win—you’ve earned it!
Frequently Asked Questions
How do I know when the spackle is actually dry enough to start sanding?
I know it’s tempting to jump straight to sanding—I’ve definitely been there! But patience is your best friend here. The easiest way to tell is by touch; the spackle should feel completely hard and not even slightly cool or damp to your fingertip. If it looks matte rather than shiny, that’s a great sign. If you’re still unsure, just give it another hour. Rushing it usually leads to more sanding later!
Will the patch be visible once I go over it with a fresh coat of paint?
That is the million-dollar question, isn’t it? Honestly, if you do the prep work right, it should be virtually invisible! The secret is in the sanding. If you take your time to sand those edges until they’re perfectly smooth and flush with the rest of the wall, the paint will blend right in. Just remember to use a little bit of primer first—it helps prevent that “ghosting” effect where you can still see the patch through the color.
What should I do if the hole is actually too big for a simple mesh patch?
Oh boy, we’ve moved from a little nick to a real crater, haven’t we? Don’t panic! If the hole is larger than a few inches, a simple mesh patch just won’t hold up. Instead, you’ll want to grab a piece of drywall scrap and some wooden strips—we call these “backer boards”—to create a sturdy frame behind the hole. It’s a bit more work, but I promise, it’s much more satisfying once it’s smooth again!
