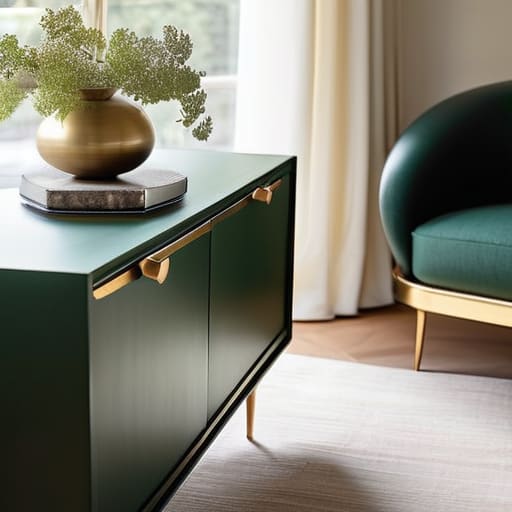
Have you ever walked past a dusty, outdated dresser at a thrift store and felt that immediate pang of guilt? You know it has so much potential, but the thought of a massive, expensive renovation feels completely overwhelming. I used to feel the exact same way, staring at my mismatched furniture and wondering if I was “crafty” enough to make a change. But here’s the secret I’ve learned: you don’t need a professional workshop or a massive budget to transform your space. Finding creative upcycling furniture ideas is actually one of the most rewarding ways to express your personality while keeping your home feeling intentional and cozy without breaking the bank.
In this post, I’m stripping away the intimidation factor and sharing five of my absolute favorite, beginner-friendly projects. We’re going to walk through simple ways to breathe new life into common household items, from quick paint refreshes to clever hardware swaps. By the time we’re done, you’ll have a toolkit of practical transformations that will help you turn those “eyesores” into your new favorite statement pieces. Let’s dive in and start making something beautiful together!
Table of Contents
Give an Old Side Table a Fresh Coat
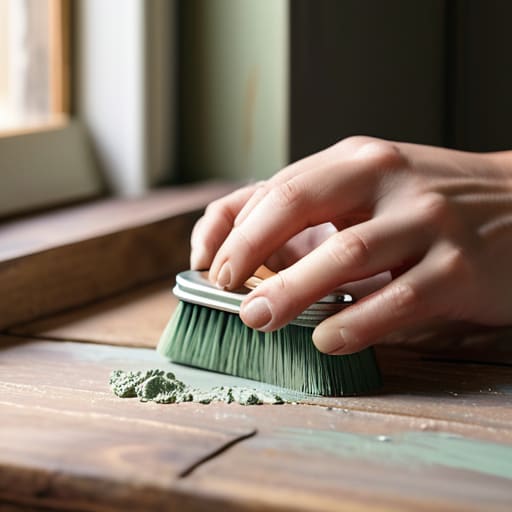
We’ve all been there—you find a little wooden side table at a thrift store that has so much potential, but the color is just… well, not quite right for your living room. Instead of walking away, grab a small tin of chalk paint and a brush. Chalk paint is a total lifesaver for beginners because it clings to almost any surface without needing a heavy-duty primer, which makes the whole process so much less intimidating.
Swap Out Those Tired Handles
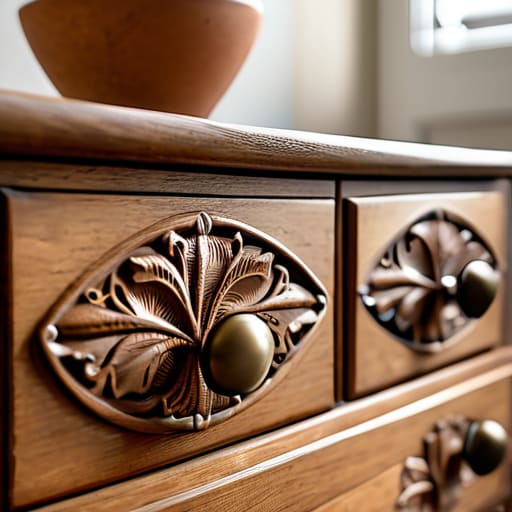
If you have a dresser or a kitchen cabinet that feels a bit dated, you don’t actually need to repaint the whole thing to see a massive difference. Sometimes, the simplest way to elevate a piece is to just swap out the hardware. I’m talking about those old, generic brass pulls that have seen better days. Replacing them with something sleek, matte black, or even some vintage ceramic knobs can completely shift the aesthetic of the entire room.
Transform a Ladder into a Bookshelf
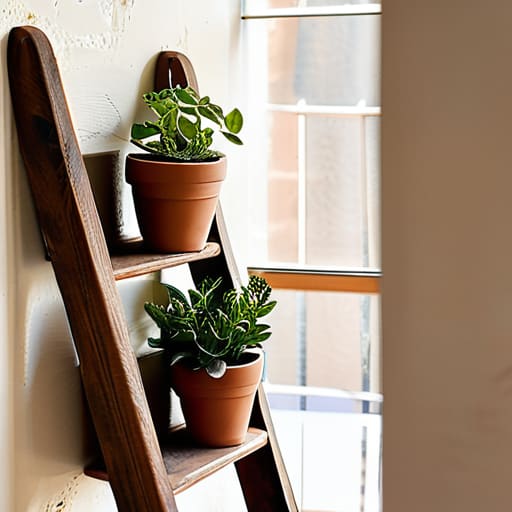
If you happen to have an old wooden ladder tucked away in the garage or leaning in a corner, please don’t toss it! With a little bit of creativity, you can turn it into a stunning, rustic bookshelf or a unique plant stand. You just need to lean it securely against a wall and perhaps add a few wooden planks across the rungs to create “shelves.” It adds such a warm, cozy texture to a reading nook or a sunroom.
Add Some Character with Stenciling
Sometimes a plain surface just feels a little bit boring, doesn’t it? If you have a wooden tray, a small tabletop, or even a plain dresser drawer, stenciling is a fantastic way to inject personality without needing to be a professional artist. You can find beautiful botanical patterns, geometric shapes, or even simple stripes that can turn a basic piece of furniture into a unique work of art.
Use Fabric to Hide Imperfections
We all have those pieces of furniture that are structurally sound but have some unfortunate scratches or stains that just won’t come out. Instead of stressing over a perfect sanding job, why not use fabric to your advantage? Lining the inside of a bookshelf with a beautiful patterned paper or reupholstering the seat of an old wooden chair can completely mask those flaws.
Making it Your Own: Final Thoughts
Remember, upcycling isn’t about perfection; it’s about the joy of creating something unique that tells your story.
Start small with one piece of furniture to build your confidence before tackling those bigger, more intimidating projects.
Don’t be afraid to experiment with new colors or textures—the best part of DIY is that there are no wrong answers!
A Little Soul for Your Space
“Upcycling isn’t just about saving a few bucks or keeping furniture out of a landfill; it’s about taking something forgotten and giving it a second chance to tell a new story in your home.”
Emma Thompson
Small Steps to a More Beautiful Home
As we wrap things up, I hope these ideas have helped demystify the world of upcycling for you. Whether you decided to dive into a bold new paint color, swap out some hardware for a quick refresh, or tackle a more intensive sanding project, remember that there is no right or wrong way to do this. The goal isn’t perfection; it’s about taking those small, manageable steps to transform something forgotten into something functional and uniquely yours. By choosing to repurpose rather than replace, you’re not just saving money and reducing waste, but you’re also adding a layer of personal history to your living space that a big-box store simply can’t provide.
At the end of the day, upcycling is about so much more than just furniture; it’s a practice in seeing potential where others see clutter. It’s a way to slow down, get your hands a little dirty, and find joy in the process of creation. Don’t feel like you have to tackle a massive dining set right away—maybe just start with a small side table or a single chair. I promise that once you see the magic of a finished project, you’ll feel such a sense of accomplishment. Let’s keep finding the beauty in the old and the extraordinary in the everyday together. You’ve totally got this!
Frequently Asked Questions
I don't have a lot of space in my apartment; are there any small-scale upcycling projects that won't take over my whole living room?
Oh, I totally get it! When you’re living in a smaller space, the last thing you want is a giant sanding project taking over your entire living room. I’ve definitely been there! Instead of big furniture, try focusing on “micro-upcycling.” Think about transforming old glass jars into chic herb planters for your windowsill, or giving some tired picture frames a fresh coat of paint. These little wins bring so much joy without the clutter!
What are some beginner-friendly tools I should pick up before I dive into my first furniture makeover?
Before you dive in, don’t feel like you need a whole workshop! I always tell my friends to start small so they don’t get overwhelmed. Grab a decent screwdriver set, some sandpaper (medium and fine grits are lifesavers), and a high-quality paintbrush. A small container of wood filler and a measuring tape are also super handy. Honestly, once you have these basics, you’re ready to transform almost anything sitting in your garage!
How can I tell if an old piece of furniture is actually worth saving, or if it's better to just head to the thrift store for something sturdier?
That is such a great question, and honestly, I’ve asked myself that a million times while staring at a dusty dresser! My rule of thumb? Check the “bones.” If it’s made of solid wood rather than particle board, it’s usually worth the love. Give it a good wiggle—if it’s sturdy and doesn’t creak like a haunted house, it’s a keeper. If it’s crumbling or falling apart structurally, save your energy and hit the thrift store instead!
