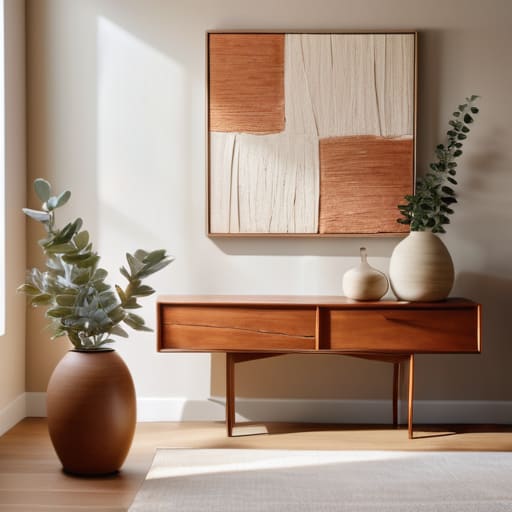
I used to stand in the middle of big-box home decor aisles, staring at overpriced, mass-produced canvases and feeling a strange sense of emptiness. It felt like I was paying a premium just to have something that looked exactly like my neighbor’s living room. I realized then that the biggest myth about home styling is that you need a massive budget or a professional degree to create something beautiful. In reality, learning how to make wall art is less about being a “natural artist” and more about finding joy in the process of self-expression. Whether it’s a simple botanical print or a piece made from upcycled wood scraps from my latest furniture project, the most meaningful pieces are the ones that actually tell a story.
In this guide, I’m stripping away the intimidation factor and sharing my favorite, low-stress methods for creating stunning decor. I won’t overwhelm you with complex techniques or expensive supplies; instead, I’ll walk you through practical, budget-friendly DIYs that fit perfectly into a busy life. We’ll explore everything from textured minimalist pieces to colorful collages, ensuring you walk away with the confidence to transform your blank walls into something truly soulful and unique.
Table of Contents
- Step-by-Step Instructions
- Budget Friendly Wall Decor Projects for a Peaceful Home
- Essential Wall Art Supplies for Beginners to Start Small
- My Little Secrets for Art That Actually Feels Like You
- Quick Wins for Your Creative Journey
- Finding Your Creative Rhythm
- Making It Your Own
- Frequently Asked Questions
Guide Overview
Tools & Supplies
- Paintbrush [various sizes for application]
- Palette knife [for texture and mixing]
- Pencil [for sketching designs]
- Canvas [1 piece, medium size]
- Acrylic paint [set of multiple colors]
- Gesso [1 bottle, for priming]
- Painter's tape [1 roll, for geometric edges]
Step-by-Step Instructions
- 1. First things first, let’s talk about your vision board. Before you dive into the mess, grab a notebook or even just a scrap of paper and jot down what you’re actually feeling. Are you leaning toward something minimalist and calming with soft textures, or are you in a more vibrant, eclectic mood? Having a rough idea of your color palette and style now will save you from a mid-project crisis later when you’re staring at a pile of supplies.
- 2. Next, it’s time to go on a little treasure hunt. Since I’m a huge fan of upcycling, I highly recommend skipping the expensive craft store aisles and looking around your own home first. Check your junk drawer for old ribbons, raid your linen closet for fabric scraps, or even look through old magazines. Finding meaningful materials—like a postcard from a favorite trip or a dried flower from your garden—is what gives your art its soul.
- 3. Once you’ve gathered your goodies, clear off a dedicated workspace. I personally love using my dining room table, but make sure you lay down some old newspapers or a cheap drop cloth first. You don’t want to be worrying about a paint smudge on your wood finish when you should be getting into a creative flow. Having a clean, organized space is a total game-changer for your mental clarity.
- 4. Now, let’s get to the actual assembly. This is where you start layering your elements. If you’re doing a collage, start with your largest pieces in the background and slowly build upward with the smaller, more intricate details. I like to use a bit of washi tape to temporarily hold things in place so I can move them around without committing to the glue just yet. It’s all about finding that perfect balance before it becomes permanent.
- 5. Once you are absolutely loving the layout, it’s time to make it stick. Depending on your materials, you might need a hot glue gun for heavier items or a simple glue stick for paper. If you’re working with fabric or canvas, a bit of tacky glue works wonders. Just remember to work in small sections so you don’t end up with a giant, sticky mess that takes forever to dry.
- 6. For that final, professional touch, think about how you’ll actually display it. You could stretch your creation over a wooden frame, or if it’s a lighter piece, perhaps hang it with some aesthetic wooden clips on a piece of twine. If you’re feeling extra crafty, you can even build a custom frame out of reclaimed wood from one of my upcycling projects.
- 7. Finally, give your masterpiece a moment of appreciation. Hang it up, step back, and take a deep breath. The goal isn’t perfection—it’s about creating something that makes your space feel uniquely yours. If it’s a little wonky or uneven, embrace it! That’s just proof that a human hand made it, and that’s where the real beauty lies.
Budget Friendly Wall Decor Projects for a Peaceful Home
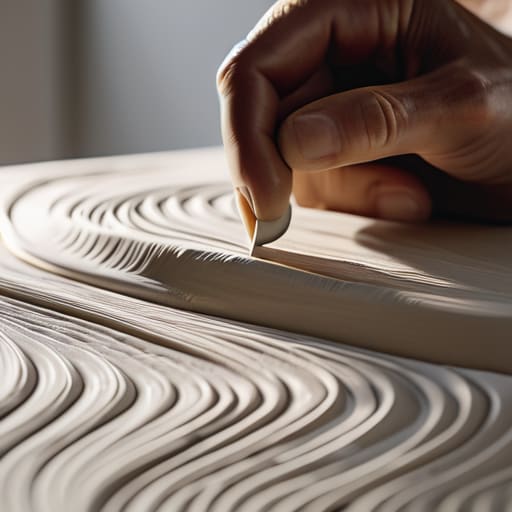
One of my favorite things about getting creative is that you don’t need a massive budget to transform a room. I’ve found that some of the most stunning results come from budget friendly wall decor projects that utilize things you might already have lying around. For instance, if you’re feeling adventurous, you can experiment with textured wall art methods using nothing more than some joint compound and a putty knife from the hardware store. It creates this gorgeous, high-end sculptural look that feels incredibly sophisticated but costs next to nothing.
If you’re a bit more hesitant about getting messy, don’t worry! You can start with very simple wall art supplies for beginners, like some basic acrylic paints and even a few old sponges or pieces of cardboard to create patterns. I personally love using these tools to play with abstract canvas painting techniques, as it takes all the pressure off trying to make something look “perfect.” Remember, the goal isn’t to create a museum masterpiece; it’s about bringing a little bit of your own soul and calm into your living space.
Essential Wall Art Supplies for Beginners to Start Small
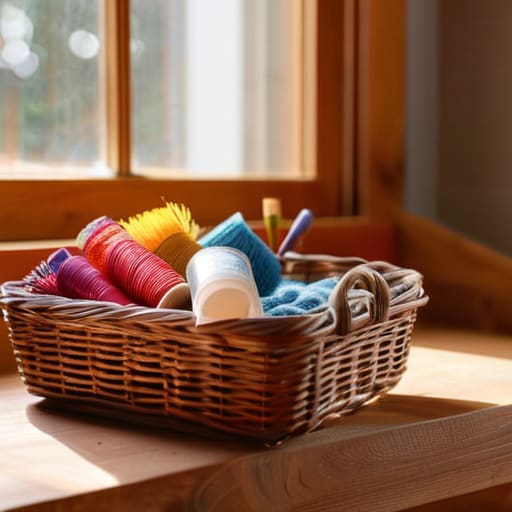
Before you dive headfirst into a massive project, I always recommend starting with a small, manageable kit. You don’t need to spend a fortune at a high-end art store to get started; in fact, some of my favorite wall art supplies for beginners are actually quite basic. A few decent acrylic paint tubes, a set of synthetic brushes in varying sizes, and a couple of small canvases or even sturdy cardstock will get you moving. I’ve found that having a dedicated little basket for your supplies keeps the creative chaos contained—plus, it makes it so much easier to pull out your tools when inspiration strikes!
If you’re feeling a bit intimidated by a blank canvas, don’t sweat it. You can experiment with textured wall art methods by adding a bit of modeling paste or even some coarse sand to your paint to create something tactile and interesting. This is such a wonderful way to practice modern home decor DIY without the pressure of perfection. Remember, the goal isn’t to create a masterpiece for a museum, but to create something that brings a little extra joy to your personal sanctuary.
My Little Secrets for Art That Actually Feels Like You
- Don’t feel pressured to be a “master artist.” Sometimes, the most meaningful pieces are the ones that are imperfect—like a pressed wildflower from a walk or a simple abstract brushstroke. It’s about the feeling, not the technical perfection.
- Play with texture to add depth to your walls. I love mixing things up, like layering some textured fabric over a canvas or using even just a bit of modeling paste to make a simple painting feel more three-dimensional and high-end.
- Think about the “vibe” of the room before you start. If you’re aiming for a peaceful, zen space, stick to a softer, more cohesive color palette. If you want a burst of energy in your home office, don’t be afraid to get a little bold with your colors!
- Use what you already have to save money and reduce waste. One of my favorite upcycling tricks is taking old, mismatched frames from thrift stores and giving them a fresh coat of paint to create a cohesive gallery wall.
- Test your layout before you commit to the hammer and nails. I always grab some painter’s tape and map out my art on the wall first. It’s a total lifesaver for making sure the scale feels just right before you make any permanent holes!
Quick Wins for Your Creative Journey
Don’t feel like you need a studio full of expensive supplies to start; often, the most soulful pieces come from the simple items you already have around the house.
Remember that wall art is a process of self-expression, so give yourself permission to make a mess and embrace the imperfections along the way.
Start small with one meaningful piece to avoid feeling overwhelmed, and let your collection grow organically as you find your unique style.
Finding Your Creative Rhythm
“Making your own wall art isn’t about being a master artist or having a perfect studio; it’s about the quiet joy of turning a blank space into a reflection of your own story, one simple brushstroke or recycled piece at a time.”
Emma Thompson
Making It Your Own
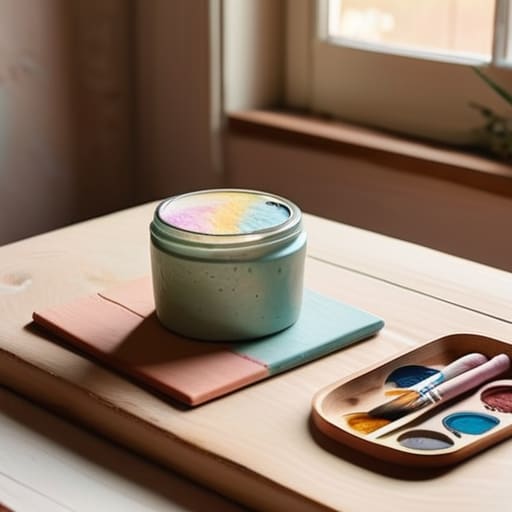
As we wrap things up, I hope you feel a little more confident about diving into your own creative journey. Whether you decided to go the route of budget-friendly upcycling or invested in some high-quality supplies to start a more formal collection, the most important thing is that you took that first step. We’ve covered everything from gathering your essential tools to finding those peaceful, low-cost ways to decorate your space, and honestly, I think you’re more than ready. Remember, the goal isn’t to create a museum-quality masterpiece on your first try; it’s about the joy of the process and finding those small, creative ways to personalize your surroundings without feeling overwhelmed.
At the end of the day, your home should be a reflection of your soul and a sanctuary from the chaos of the outside world. Don’t worry if your first piece of handmade art isn’t “perfect” or if it ends up a little wonky—that’s where the character lives! These little imperfections are what make a house feel like a home. I truly believe that when we take the time to create something with our own hands, we are practicing a beautiful form of mindful living. So, grab your supplies, put on your favorite music, and just start creating. I can’t wait to see how you transform your space!
Frequently Asked Questions
I'm a bit worried about my security deposit—what are some ways to hang my new art without leaving huge holes in the walls?
I totally get that anxiety! When I first moved into my apartment, I was terrified of losing my security deposit over a few stray nail holes. The good news is, you don’t need a drill to make your space beautiful. I swear by Command strips for lightweight frames—just make sure to follow the removal instructions carefully! For slightly heavier pieces, those tiny brass picture hanging hooks are absolute lifesavers. They leave much smaller marks that are a breeze to patch.
How do I know if a piece I've made actually looks good, or if it's just going to look cluttered on my wall?
That is such a valid concern! I used to get so caught up in the “more is better” trap, but it usually just ends up feeling chaotic. My best tip? Lay everything out on the floor first. It helps you see the scale and colors without the pressure of a hammer. If it feels overwhelming on the ground, it’ll definitely feel that way on the wall. Remember, breathing room is just as important as the art itself!
If I'm working with a really small space, should I go for one big statement piece or a bunch of smaller items?
That is such a great question! When you’re working with a tiny footprint, I usually lean toward one large statement piece. A single, impactful artwork can actually make a small room feel more expansive and intentional, whereas a bunch of smaller items can sometimes feel a bit cluttered or “busy.” If you love variety, try a curated gallery wall, but keep the frames cohesive to maintain that sense of calm and balance we’re all after!
