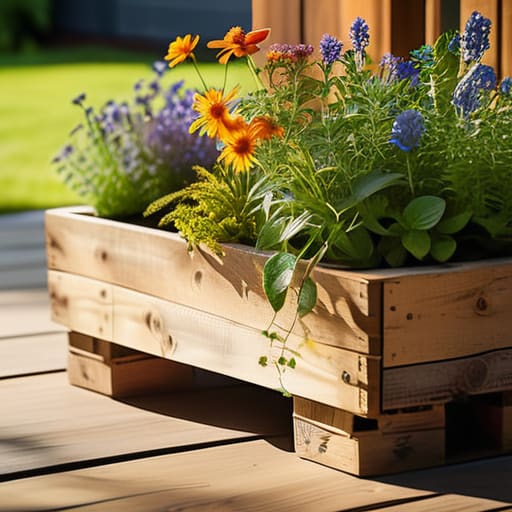
Have you ever walked past a stack of discarded wooden pallets and felt that tiny spark of potential, only to be completely overwhelmed by where to even begin? I’ve been there more times than I can count! Between my busy freelance schedule and trying to keep my urban garden thriving, I used to feel like I didn’t have the time or the massive budget required to refresh my living space. But honestly, I’ve learned that you don’t need a designer’s bank account to create a home that feels truly intentional. Finding the right pallet project ideas is actually one of the most rewarding ways to practice upcycling while adding a touch of rustic charm to your surroundings without the stress of a major renovation.
In this post, I’m sharing five of my absolute favorite, beginner-friendly ways to breathe new life into these humble wooden structures. We are going to move past the complicated tutorials and focus on simple, soulful transformations that you can tackle this weekend. From cozy garden accents to functional indoor pieces, these ideas are designed to help you find your creative flow and enhance your home on a budget. Let’s dive in and start crafting something beautiful together!
Table of Contents
A Cozy Vertical Herb Garden
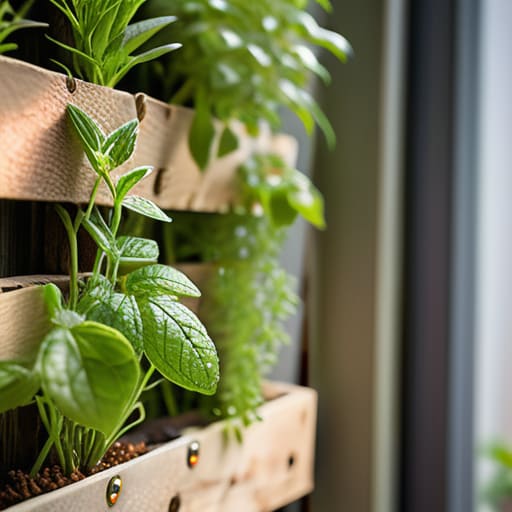
If you’re anything like me, you probably dream of having a lush kitchen garden but feel a bit intimidated by the space requirements. One of my absolute favorite ways to use pallets is by creating a vertical herb garden for your windowsill or balcony. It’s such a rewarding way to bring a little bit of nature indoors, and there is nothing quite like the scent of fresh basil while you’re cooking dinner.
The Ultimate Rustic Coffee Station
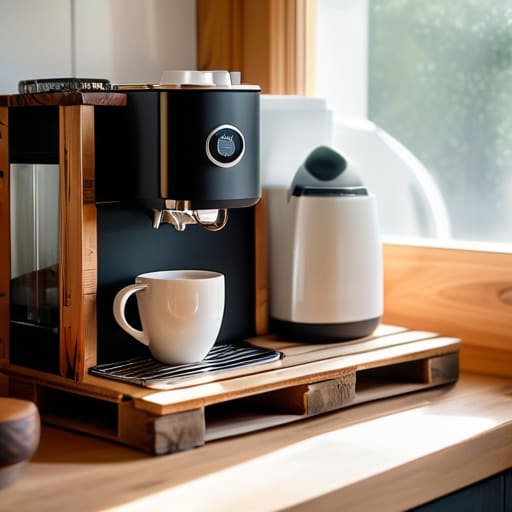
I used to have my coffee mugs and pods scattered all over my kitchen counters, which honestly made my morning routine feel so much more chaotic than it needed to be. I decided to tackle a small pallet project to create a dedicated rustic coffee station, and it has been a total game-changer for my productivity. By giving my caffeine ritual its own little corner, I feel more intentional and calm when I start my day.
A Relaxing Outdoor Lounge Bench
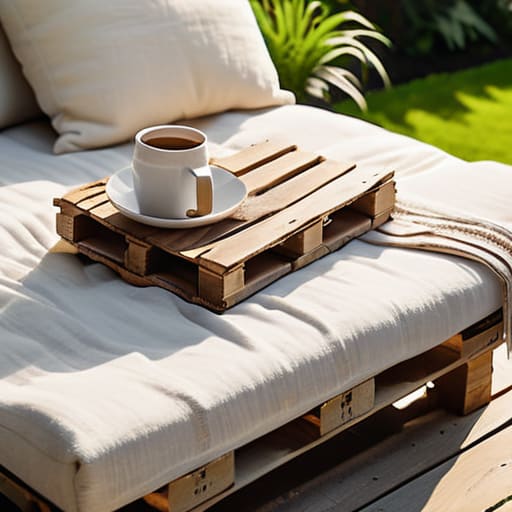
There is something so therapeutic about sitting outside after a long day, but high-quality outdoor furniture can be incredibly expensive. I found that by repurposing a few sturdy pallets, I could build a custom lounge bench that fits perfectly on my small patio. It’s become my favorite spot to sit with a good book and just breathe deeply away from the digital noise of the world.
Charming Wall-Mounted Entryway Organizer
We’ve all been there—standing by the front door, frantically searching for keys or a misplaced wallet right when we’re supposed to be leaving. To combat this little bit of daily stress, I put together a wall-mounted organizer using a single pallet. It’s a simple way to create a “landing strip” for your essentials, helping you stay organized without needing a massive mudroom.
A Whimsical Garden Planter Box
For my fellow plant lovers, a pallet makes for a stunning and inexpensive garden planter box. Whether you want to grow colorful wildflowers to attract pollinators or a neat row of strawberries, these planters add so much character and texture to a backyard or porch. I personally find that working with my hands in the dirt is one of the best ways to decompress after a busy work week.
A Few Final Thoughts to Get You Started
Don’t feel like you have to tackle a massive project all at once; even a small, simple pallet piece can make a big difference in your space.
Remember that upcycling is all about the process, so embrace the imperfections and let your own creativity guide your design.
Always prioritize safety by checking your pallets for sturdy construction and ensuring they are treated with non-toxic finishes before bringing them indoors.
Finding Beauty in the Unexpected
“I’ve always believed that some of the most beautiful things in life come from seeing potential where others only see scrap; a simple pallet isn’t just wood, it’s a chance to slow down, get your hands a little dirty, and create something meaningful for your home.”
Emma Thompson
Bringing Your Vision to Life
Whether you decided to tackle a vertical herb garden for your kitchen window or opted to build a cozy outdoor bench for those quiet morning coffees, I hope these ideas have sparked a bit of inspiration in you. We’ve covered everything from functional storage solutions to decorative wall art, proving that you don’t need a massive budget or a professional workshop to make a real impact. The best part about working with pallets is that there is no such thing as a “perfect” finished product; the charm lies in the unique character and the slight imperfections that make each piece truly yours. Remember, the goal isn’t just to create something new, but to repurpose what we already have into something that adds value to our daily lives.
As you head out to find your materials or clear off your workspace, I want you to remember that the most important step is simply starting. It’s easy to feel overwhelmed by a big project, but just taking it one nail and one sanding session at a time makes all the difference. Don’t be afraid to get your hands a little dirty or make a mistake along the way—that’s just part of the creative process! I truly believe that finding joy in these small, hands-on moments is one of the best ways to cultivate mindfulness and balance in our busy modern lives. I can’t wait to hear what you create, so please come back and share your progress with me!
Frequently Asked Questions
Are there any specific safety tips I should keep in mind when choosing which pallets to use for my projects?
That is such a great question! Safety is everything when you’re upcycling. The biggest thing I always look for is the stamp on the side. You want to see “HT” (Heat Treated), which means they’re safe. Avoid anything marked “MB” (Methyl Bromide)—that’s a nasty chemical that you definitely don’t want near your home or garden. Also, give them a good once-over for loose splinters or rusty nails before you start building!
What kind of tools or supplies should I have on hand before I start my first DIY pallet build?
Before you dive in, you’ll want a basic toolkit ready so you don’t lose your momentum halfway through! I always recommend starting with a sturdy crowbar or a pallet buster to safely disassemble the wood without splintering it. You’ll also need a hammer, some sandpaper (trust me, your hands will thank you!), and a drill with some wood screws. Oh, and don’t forget a pair of heavy-duty gloves—safety first, always!
How can I make sure my pallet projects look polished and professional rather than just "recycled"?
That is such a great question! I used to struggle with that too—sometimes my projects ended up looking a bit more “junkyard” than “chic.” The secret is all in the prep work. Don’t skip the sanding; getting those rough edges smooth makes a world of difference. I also love using a good quality stain or a fresh coat of paint to unify the wood. A little bit of intentionality goes a long way!
