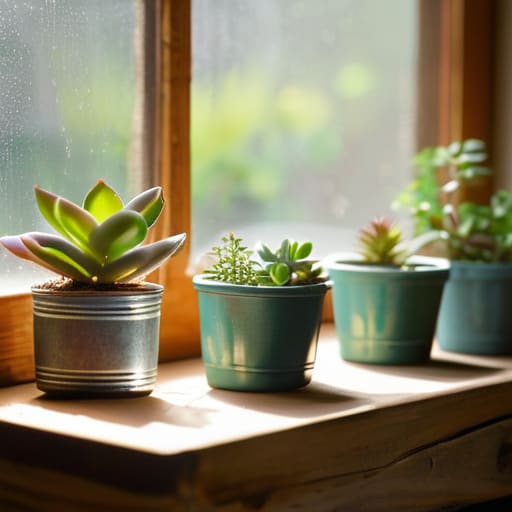
I was standing in the middle of my tiny apartment last spring, staring at a pile of empty tin cans and a half-finished thrift store find, feeling completely defeated. I had this vision of a lush, green sanctuary, but all I saw was a mess that didn’t quite fit my aesthetic. It’s easy to fall into the trap of thinking that creating beautiful diy planters requires a massive budget or a professional workshop, but I quickly learned that’s just not true. In fact, some of my absolute favorite pieces came from things I almost threw in the recycling bin.
In this guide, I’m stripping away the complicated tutorials and the expensive tool lists to give you the real deal. I’ll show you how to breathe new life into everyday objects and create custom diy planters that actually look intentional and stylish in your home. Whether you’re looking to spruce up a windowsill or want to upcycle some old furniture, I promise to share practical, budget-friendly steps that won’t leave you feeling overwhelmed. Let’s roll up our sleeves and get growing!
Table of Contents
- Step-by-Step Instructions
- Simple Upcycled Container Gardening for a Balanced Home
- Nurturing Wellness With Indoor Herb Garden Containers
- My Little Secrets for Planter Success
- A Few Little Reminders for Your Green Journey
- A Little Greenery Goes a Long Way
- Bringing It All Home
- Frequently Asked Questions
Guide Overview
Tools & Supplies
- Drill with bit for drainage holes
- Measuring tape for sizing
- Sandpaper to smooth edges
- Upcycled container (tin can, plastic bottle, or wooden crate) 1 unit
- Potting soil 1 bag
- Small pebbles for drainage 1 handful
- Seeds or small plants 1-3 units
Step-by-Step Instructions
- 1. First things first, let’s talk about your canvas. Since I’m a huge fan of upcycling, I love scavenging for old tin cans, wooden crates, or even those charming ceramic mugs that have lost their partner. Once you’ve picked your vessel, give it a thorough cleaning with warm, soapy water to make sure no old residue interferes with your new plant’s health.
- 2. Now, we need to address the one thing most beginners forget: drainage. Unless you’re working with a terracotta pot that already has a hole, you’ll need to create one so your plants don’t end up sitting in a swamp. If you’re using a metal can, a hammer and a large nail work wonders, but if you’re using something more delicate like ceramic, please be extra careful or use a masonry drill bit to avoid any cracks.
- 3. Next, it’s time to get creative with the aesthetics! This is my favorite part because it’s where your personality really shines through. You can go the rustic route by wrapping your container in natural jute twine, or if you’re feeling a bit more modern, a quick coat of matte spray paint in an earthy tone works beautifully. Just make sure to let it dry completely before moving on to the next step.
- 4. Once your planter is looking cute, grab your potting mix. I always recommend using a high-quality, lightweight indoor potting soil rather than heavy garden dirt, which can be way too dense for containers. As you fill your planter, leave about an inch of space at the top—this prevents water from overflowing when you eventually give your plant a drink.
- 5. Now, let’s get your green friend settled in. Gently loosen the roots of your plant from its nursery pot, being careful not to snap anything too important. Place it in the center of your new DIY planter and tamp down the soil lightly around the base to remove any large air pockets. It should feel firm but not packed tight like a brick.
- 6. To wrap things up, give your new plant a little “welcome home” watering. Use a small watering can to moisten the soil until you see a tiny bit of water peeking through the bottom holes. This helps the roots settle into their new environment and gives you a great excuse to celebrate your success with a fresh cup of tea!
Simple Upcycled Container Gardening for a Balanced Home
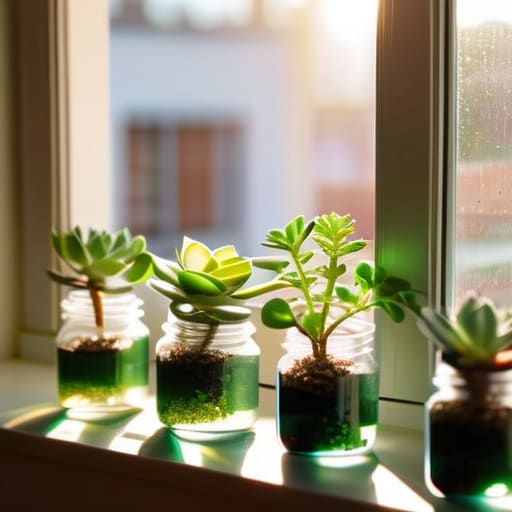
One of my favorite ways to bring a little extra calm into my apartment is through upcycled container gardening. Honestly, I used to feel a bit guilty about how much plastic I was tossing in the recycling bin, but now I see it as a creative opportunity instead. If you’re short on space, you can easily turn old soda or water bottles into repurposed plastic bottle planters for a small windowsill setup. It’s such a low-cost way to add a splash of green to your morning routine without needing a backyard.
Just a quick pro-tip from my own trial and error: never forget about the drainage holes for homemade pots. I’ve definitely learned the hard way that without a little airflow at the bottom, your new leafy friends can get a bit soggy and unhappy. Whether you’re working on a larger wooden planter box DIY for your balcony or just tucking a few herbs into a thrifted mug, the goal is to create a space that feels intentional. It’s these tiny, sustainable touches that really help turn a house into a soulful home.
Nurturing Wellness With Indoor Herb Garden Containers
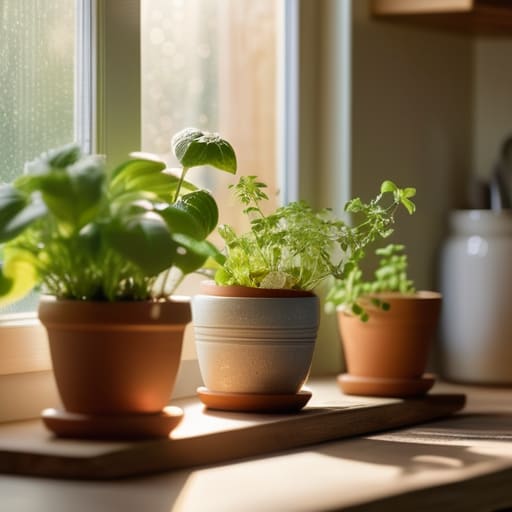
There is something incredibly grounding about tending to something living, especially when it’s right there on your windowsill. I’ve found that creating indoor herb garden containers is one of the quickest ways to boost your mental wellness while adding a dash of practical magic to your kitchen. Whether it’s the scent of fresh basil while you cook or the simple ritual of watering your mint every morning, these little green companions act as a tiny, living anchor in a busy day.
If you’re feeling a bit stuck on what to use, don’t overthink it! You can easily transition into upcycled container gardening by using items you already have lying around. For instance, I love using old ceramic mugs or even cleaned-out tin cans for small herbs like thyme. Just a quick reminder from my own trial and error: always make sure you poke some drainage holes for homemade pots. It’s a small step, but it’s the difference between a thriving herb garden and a soggy, sad mess. Trust me, your peace of mind (and your pasta dishes) will thank you!
My Little Secrets for Planter Success
- Don’t forget the drainage! It sounds basic, but nothing kills a plant faster than “wet feet.” If you’re upcycling something like a vintage tin or a ceramic mug that doesn’t have holes, grab a drill and make a few small ones at the bottom so your plants can actually breathe.
- Think about the weight before you commit. If you’re planning to hang a beautiful upcycled basket or a heavy wooden crate, make sure your wall anchors or hooks can handle the weight of both the container and the damp soil once it’s watered.
- Size matters more than you think. It’s tempting to put a tiny succulent in a massive pot just because it looks cute, but too much soil can hold onto excess moisture and cause root rot. Try to match the pot size to the plant’s current root system.
- Give your containers a little personality with paint, but check the label first. I love using chalk paint for that matte, farmhouse look on old wooden boxes, but make sure it’s non-toxic if you’re planning on growing herbs that you’ll eventually eat!
- Layer up for better soil health. Instead of just dumping in cheap potting mix, try to use a high-quality organic blend. If you’re using a deeper container than necessary, you can put a layer of small pebbles at the bottom to help with drainage without wasting expensive soil.
A Few Little Reminders for Your Green Journey
Don’t sweat the perfection—whether you’re using an old tea tin or a vintage crate, the goal is to add a bit of soul and life to your space, not to win a design award.
Start small to keep things manageable; a single windowsill herb garden is a much better way to build confidence than trying to transform your entire living room overnight.
Remember that gardening is as much for your mental well-being as it is for your decor, so take a moment to actually breathe and enjoy the process of watching something grow.
A Little Greenery Goes a Long Way
“At the end of a chaotic day, there’s something so grounding about tucking a new plant into a planter you made yourself; it’s a small, beautiful reminder that we have the power to cultivate our own little pockets of peace.”
Emma Thompson
Bringing It All Home
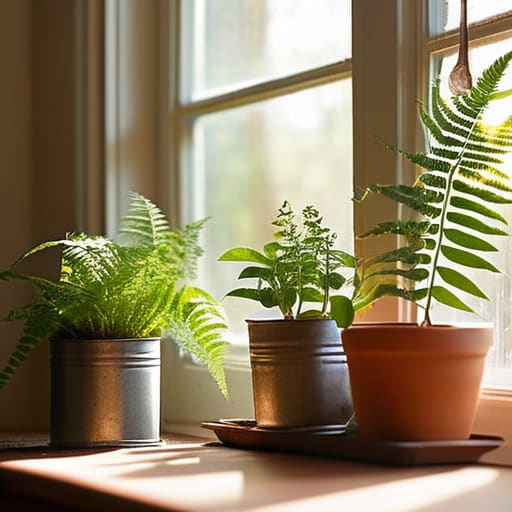
As we wrap up our little journey into the world of DIY planters, I hope you feel a bit more equipped to start your own green oasis. Whether you chose to breathe new life into an old tin can through upcycling or decided to cultivate a tiny, fragrant herb garden on your windowsill, the goal was never about perfection. It was about finding those small, meaningful ways to connect with nature and add a touch of intentionality to your daily routine. Remember, whether you’re focusing on aesthetic decor or functional wellness, the most important ingredient is simply getting started with what you already have on hand.
At the end of the day, these little projects are about so much more than just putting dirt in a pot. They are tiny acts of self-care that remind us to slow down and appreciate the process of growth. Life can get incredibly hectic, but creating a small pocket of calm in your home can make a world of difference in how you feel. So, grab those quirky socks, find a sunny spot, and embrace the messiness of creating something with your own two hands. You’ve totally got this, and I can’t wait to see how your little indoor jungle flourishes!
Frequently Asked Questions
I love the upcycling idea, but how do I make sure my DIY planters actually have proper drainage so my plants don't get root rot?
That is such a great question, and honestly, it’s the number one mistake I see (and have definitely made myself!). To prevent root rot, you really need to give that excess water somewhere to go. If you’re using a container without holes, grab a drill and pop a few small ones in the bottom. If you can’t drill into it, add a thick layer of pebbles or charcoal at the base to help drainage.
Are there certain types of containers I should avoid using if I'm planning to grow edible herbs indoors?
That is such a smart question! When you’re growing herbs for your kitchen, you definitely want to steer clear of anything that might leach chemicals into your soil. I’d avoid using old, unsealed metal cans that might rust or cheap, non-food-grade plastics, as these can release nasty stuff over time. Also, skip anything that’s heavily treated with toxic paints. Stick to terracotta, ceramic, or food-safe containers to keep your homegrown seasonings safe and delicious!
What's the best way to decorate my planters to make them look intentional and stylish rather than just like repurposed junk?
That is such a great question! I used to struggle with my upcycled pots looking a little… well, cluttered. The secret is cohesion. Try painting your containers in a unified color palette—think soft terracotta, sage, or even a sophisticated matte black—to make them look like a curated set. Adding texture with some twine or even a quick coat of chalk paint works wonders. When they look intentional, they stop looking like “junk” and start looking like decor!
