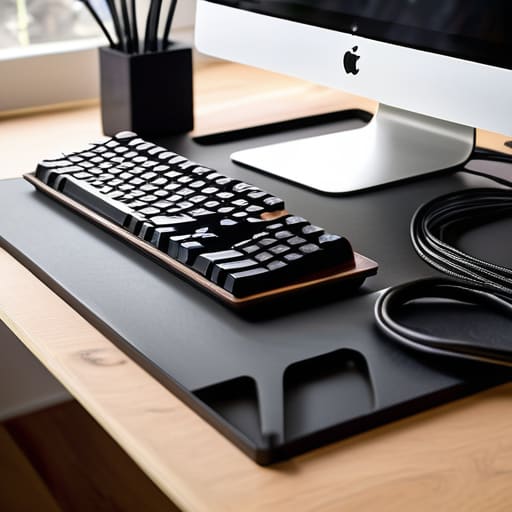
I was sitting on my floor last Tuesday, trying to find a single charging cord for my laptop, when I realized I was actually staring at a literal nest of tangled black wires staring back at me. It felt like my desk was slowly being swallowed by a plastic monster, and honestly, the mental clutter was starting to feel just as messy as the physical one. We often think that a tidy workspace requires expensive, high-tech gadgets or a complete office overhaul, but that’s just not true. Most of the time, a little bit of cable management diy is all you actually need to transform that chaotic corner into a sanctuary of focus.
I’m not here to sell you on fancy, overpriced organizers that take up half your budget. Instead, I want to share some of my favorite, budget-friendly hacks that I’ve picked up from years of upcycling and organizing my own small apartment. We’re going to walk through simple, no-nonsense ways to tuck those cords away using things you probably already have in your junk drawer. By the end of this guide, you’ll have a clear path to a much calmer, more productive workspace without the headache.
Table of Contents
- Step-by-Step Instructions
- Simple Diy Cable Organizer Ideas for a Peaceful Workspace
- Hiding Computer Wires to Reclaim Your Mental Clarity
- My Little Secrets for Keeping the Cord Chaos at Bay
- Final Thoughts: Small Changes, Big Impact
- A Little Less Tangled, A Little More Calm
- Taming the Tangled Mess Once and for All
- Frequently Asked Questions
Guide Overview
Tools & Supplies
- Scissors or wire cutters for trimming ties
- Label maker or masking tape for identification
- Velcro cable ties (1 pack)
- Cable management sleeves or raceways (2-3 units)
- Adhesive cable clips (1 pack)
- Zip ties (small pack)
Step-by-Step Instructions
- 1. First things first, we need to gather our supplies before we dive into the mess. Grab some velcro cable ties (they’re much gentler on your cords than plastic zip ties!), a handful of adhesive cable clips, some painter’s tape, and maybe a few empty shoeboxes or a dedicated cable management box. Having everything laid out on the floor or a side table makes the process feel much more manageable and less like a chore.
- 2. Now, let’s start by unplugging everything and actually sorting your cables. I know, it sounds a bit daunting, but take a moment to untangle the knots and group them by what they belong to. Keep your computer power cords in one pile, your lamp cords in another, and your phone chargers in a third. This little bit of organization prevents that “where does this even go?” feeling halfway through the project.
- 3. Once you’ve got your piles ready, it’s time to tackle the “spaghetti monster” behind your desk. Use those velcro ties to bundle the cords that travel together. Instead of having ten individual wires dangling, you’ll create one neat, organized trunk of cables. I always find that grouping them by destination—like all the wires going to the power strip—makes the whole setup look instantly cleaner.
- 4. Next, let’s get those cords off the floor and onto the furniture. Use your adhesive cable clips to guide the wires along the underside or the back legs of your desk. This is my favorite part because it’s where you really see the magic happen. Just make sure to clean the surface with a little rubbing alcohol first so the clips actually stay put!
- 5. If you still have a bulky power strip sitting in plain sight, don’t worry—we can hide that too. This is where my love for upcycling comes in handy. You can repurpose a sturdy shoebox by cutting small holes in the sides for the cords to peek through, or simply tuck the whole mess into a dedicated cable management box. It’s a simple way to hide the visual noise that can make a room feel cluttered.
- 6. Finally, give everything a little “test drive.” Plug your devices back in one by one to make sure you haven’t accidentally tugged a cord too tight or blocked a connection. Take a deep breath and look at your beautiful, clean workspace. It might feel like a small win, but I promise that seeing those clear surfaces will give your brain a little boost of calm every single day.
Simple Diy Cable Organizer Ideas for a Peaceful Workspace
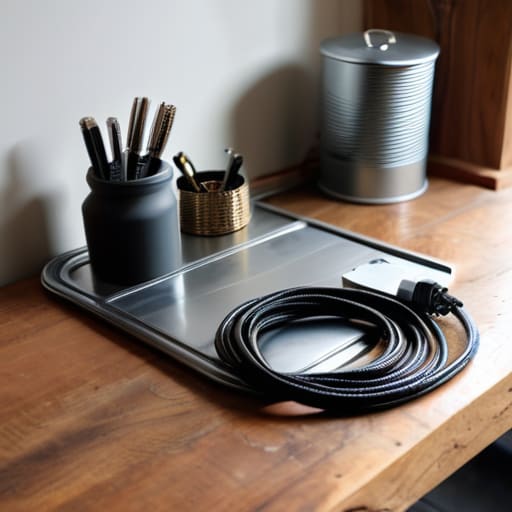
If you’re looking to get a little more creative with your setup, I love leaning into my upcycling hobby to find unique diy cable organizer ideas. Instead of buying expensive plastic trays, you can repurpose things you already have around the house. For instance, empty decorative tins or even sturdy cardboard boxes can be transformed into chic containers to keep your chargers from tangling. I’ve found that using velcro straps for cables is a total game-changer here, too. Unlike those annoying plastic zip ties that are a nightmare to remove, velcro allows you to easily add or swap out cords as your tech setup evolves.
Another trick I swear by for hiding computer wires is utilizing the space tucked away behind your furniture. If you have a desk that sits slightly away from the wall, you can create a makeshift “spine” using a piece of reclaimed wood or even a simple tension rod to guide your cords downward. It’s all about creating a flow that directs the chaos out of sight. Taking these small steps toward decluttering workspace electronics doesn’t just make your desk look better; it actually helps your brain settle into a much more focused, peaceful state.
Hiding Computer Wires to Reclaim Your Mental Clarity
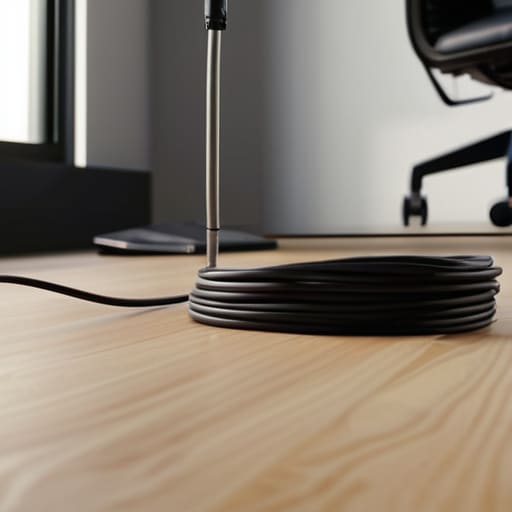
I honestly can’t tell you how much a visual mess affects my focus. When I look down and see a “spaghetti pile” of black cords tangling around my chair legs, my brain immediately feels cluttered too. That’s why I’m such a huge advocate for hiding computer wires completely out of sight. One of my favorite tricks is to mount a simple power strip to the underside of my desk using heavy-duty command strips. By moving the power source off the floor, you instantly eliminate that heavy, chaotic feeling beneath your feet.
If you’re working with a standing desk or a setup that moves, I highly recommend looking into some under desk cable management solutions like mesh trays or even repurposed wooden boxes. These act as little “hiding spots” for all those bulky adapters. I also swear by using velcro straps for cables rather than those annoying plastic zip ties. Velcro is much more forgiving, allowing you to add or remove a cord whenever you need to, without the stress of cutting something loose. It’s these tiny, intentional shifts that truly turn a workspace into a sanctuary.
My Little Secrets for Keeping the Cord Chaos at Bay
- Label everything! I know, it sounds a bit tedious, but grab some masking tape or those little removable labels and mark both ends of every cord. There is nothing more frustrating than being under your desk, tugging on a wire, and realizing you just unplugged your router instead of your lamp.
- Invest in some Velcro ties instead of those plastic zip ties. I used to love the clean look of zip ties, but they are a total pain when you want to add a new gadget to your setup. Velcro is reusable, much gentler on your cables, and honestly, way more forgiving if you’re a bit of a perfectionist like me.
- Use binder clips to create instant cord holders. If you have chargers that constantly slide off the back of your nightstand or desk, just clip a large binder clip to the edge of the surface and thread the cord through the silver loops. It’s a total game-changer for keeping things within arm’s reach.
- Don’t forget about the “power strip hideaway.” Instead of letting that bulky plastic strip sit exposed on the floor, try mounting it to the underside of your desk or tucking it into a dedicated cable management box. It clears up so much visual clutter and makes your floor much easier to vacuum!
- Group your cables by function. I’ve found that it helps my brain feel so much less overwhelmed when I group all my “tech” cables together and my “lighting” cables in another section. It makes troubleshooting so much faster and keeps your DIY organization feeling intentional rather than just a scramble.
Final Thoughts: Small Changes, Big Impact
Remember that you don’t have to tackle every single cord in your house at once; starting with just your desk can make a world of difference for your focus.
Use what you already have around the house—like binder clips or even old shoeboxes—to create organizers that work for your unique space and budget.
View cable management not as a chore, but as a way to care for your environment and create a calmer, more intentional space to live and work.
A Little Less Tangled, A Little More Calm
“I’ve realized that untangling a messy nest of wires isn’t just about tidying up a desk; it’s about clearing that tiny bit of mental clutter that follows you around, making room for a little more focus and a lot more peace.”
Emma Thompson
Taming the Tangled Mess Once and for All
Taking control of your workspace doesn’t require a massive renovation or a huge budget; it really just comes down to these small, intentional shifts. From using simple DIY organizers to tucking those pesky computer wires out of sight, we’ve covered how to turn a chaotic nest of cords into a streamlined setup. Remember, the goal isn’t just to have a pretty desk for the sake of aesthetics, but to create an environment where you can actually breathe and focus without that constant, low-level visual distraction pulling at your attention. By implementing even just one or two of these tricks, you are making a meaningful investment in your daily focus and mental clarity.
As we wrap this up, I want you to remember that your workspace is a reflection of your inner state, and you deserve a space that feels calm and supportive. It might feel a little daunting to dive into a pile of tangled wires on a busy Tuesday, but I promise you, the sense of relief you’ll feel once it’s all tidied up is absolutely worth the effort. Don’t feel like you have to do everything at once—just pick one corner, grab some velcro ties or a repurposed box, and start small. You’ve got this, and I’m so excited to see you reclaim your peace one cord at a time!
Frequently Asked Questions
Are there any specific DIY materials I should avoid using to make sure I don't accidentally create a fire hazard with my electronics?
That is such a smart question to ask! Safety always comes first. When you’re DIYing, please steer clear of using flammable materials like loose fabric, paper, or even certain types of untreated wood to wrap or bundle your cords. Also, avoid using heavy adhesives or tape that might trap heat. You want plenty of airflow around your power strips and cables so things stay cool. Let’s keep our workspaces organized and safe!
How do I manage all those messy cords if I have a lot of heavy equipment like a gaming setup or a multi-monitor workstation?
Oh, I totally feel your pain! When you’ve got a heavy-duty gaming rig or multiple monitors, those cables aren’t just messy—they’re heavy and intimidating. For setups like this, I swear by under-desk cable trays or sturdy mesh sleeves. They can actually support the weight of those thicker power bricks. I also recommend using heavy-duty Velcro ties instead of plastic zip ties; they’re much easier to adjust when you inevitably need to plug something new in!
Will these DIY cable organizers make it harder to swap out my tech or move my desk around later on?
That is such a great question, and honestly, it’s one I thought about a ton before I started my own DIY projects! The short answer is: not if you plan ahead. I always recommend using things like Velcro ties or even those little clips instead of permanent glue. That way, if you decide to upgrade your monitor or rearrange your nook, you can just unclip, move, and reconnect everything without any stress. Keep it flexible!
