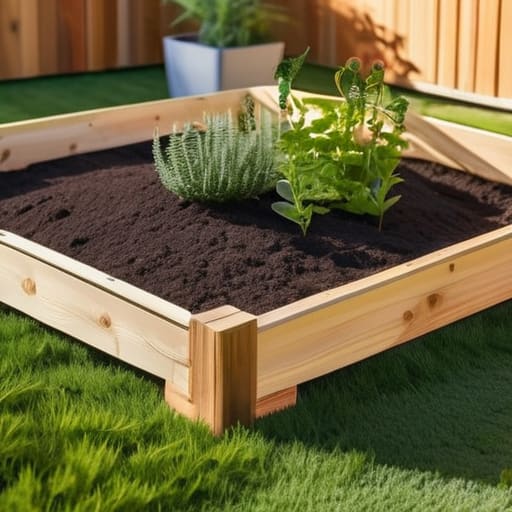
I was standing in my backyard last summer, covered in dirt and staring down at a patch of weeds that seemed to be winning the war, when I realized I was making a classic mistake. I thought I needed a degree in landscape architecture or a massive budget to start my little urban oasis, but the truth is much simpler. Learning how to build a raised garden bed isn’t about having the fanciest tools or the most expensive cedar planks; it’s really just about creating a dedicated space where you can actually thrive alongside your plants.
I know how intimidating it feels to look at a pile of lumber and a hardware store receipt, but I promise you, it doesn’t have to be a weekend-long headache. In this guide, I’m going to walk you through my no-nonsense, step-by-step process for getting your garden off the ground without the unnecessary stress. We’ll cover everything from choosing the right materials to the actual assembly, focusing on practical, budget-friendly moves that anyone can master. Let’s roll up our sleeves and get growing!
Table of Contents
- Step-by-Step Instructions
- Choosing Your Foundation Cedar vs Pressure Treated Lumber
- Finding Your Perfect Raised Garden Bed Dimensions
- Little Details, Big Results: My Pro-Tips for Garden Success
- Quick Tips for Your Garden Success
- A Little Piece of Earthly Magic
- Tending to Your New Garden Space
- Frequently Asked Questions
Guide Overview
Tools & Supplies
- Drill and bits for driving screws
- Measuring tape for accurate cuts
- Level to ensure even ground
- Handsaw or circular saw for sizing wood
- Untreated cedar or redwood planks (approx. 3-4 boards)
- Galvanized wood screws (box of 2-3 inch)
- Garden soil and compost (enough to fill volume)
- Hardware cloth or landscape fabric (to prevent pests/weeds)
Step-by-Step Instructions
- 1. First things first, let’s talk supplies. You don’t need a massive lumber yard order to get started, but I do recommend grabbing some untreated cedar or redwood if your budget allows, as they naturally resist rot without all those nasty chemicals. You’ll also need a box of exterior-grade screws, a drill, a level, and a tape measure. Honestly, just having everything laid out on your driveway beforehand makes the whole process feel so much more manageable.
- 2. Once you have your wood, it’s time to do a little measuring and cutting. For a standard starter bed, I love using 2×6 or 2×12 boards to create a frame that’s about 4 feet wide and 8 feet long. If you aren’t super confident with a power saw, most local hardware stores can actually make the cuts for you right at the counter—it’s a total lifesaver when you’re just starting out!
- 3. Now, let’s get building. Lay your boards out on a flat surface to form a rectangle, and start driving those exterior screws through the sides and into the corner posts. I always suggest using pre-drilled pilot holes first; it prevents the wood from splitting and makes the assembly much smoother. It’s a little bit of extra work upfront, but your future self will definitely thank you.
- 4. Before we move the bed to its permanent home, let’s make sure it’s actually level. Move your frame to the spot in your yard where you want it to live, and place your level across the top edges. If one side is higher than the other, just dig out a little soil underneath the high side until everything sits nice and even. A level bed isn’t just for looks; it ensures water distributes evenly so your plants don’t end up drowning in one corner.
- 5. To keep those pesky weeds from crashing your garden party, I highly recommend lining the bottom of your new bed with a layer of thick, corrugated cardboard. It might feel a little strange to put “trash” in your garden, but the cardboard will eventually break down and turn into organic matter while effectively smothering any grass or weeds underneath. Just make sure to overlap the edges so there are no gaps for sunlight to peek through!
- 6. Finally, it’s time for the most rewarding part: the soil! Don’t just grab the cheapest dirt you can find; instead, aim for a high-quality mix of compost, peat moss, and vermiculite. I like to think of this as investing in your garden’s foundation, because great soil is what does all the heavy lifting for your plants. Fill it up to about an inch below the rim, give it a gentle pat down, and you are officially ready to start planting!
Choosing Your Foundation Cedar vs Pressure Treated Lumber
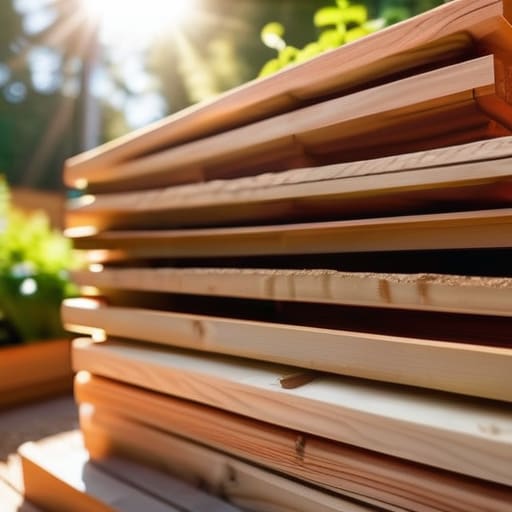
When you’re standing in the lumber aisle, it can feel a little overwhelming with all the options staring back at you. The big debate usually boils down to cedar vs pressure treated lumber, and honestly, there isn’t a single “right” answer—it really just depends on your budget and your gardening philosophy. I personally lean toward cedar because it’s naturally rot-resistant and contains no harsh chemicals, making it one of the best wood for raised beds if you’re planning to grow organic veggies for your family. Plus, it has that beautiful, rustic look that fits perfectly with an upcycled garden aesthetic.
That said, if you’re working with a tighter budget, modern pressure-treated wood has come a long way in terms of safety and is a much more affordable way to get started. Just keep in mind that it might not last quite as long as cedar. Whatever you choose, try to pick boards that are at least two inches thick; this helps prevent the sides from bowing outward over time. Once you’ve picked your wood, you’ll be one step closer to filling those beds with a perfect raised bed soil mix ratio and getting your hands dirty!
Finding Your Perfect Raised Garden Bed Dimensions
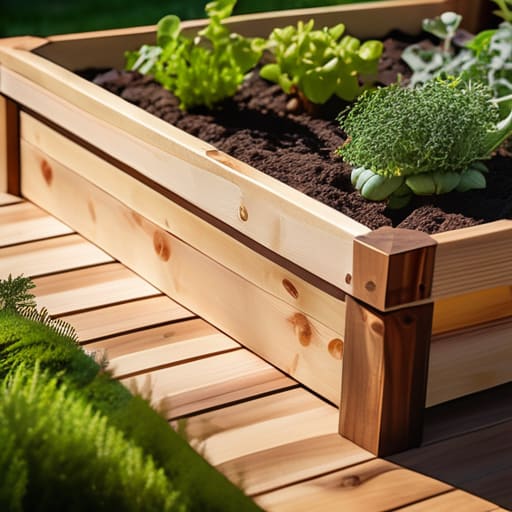
Now, before you start sawing away, let’s talk about the actual footprint of your new project. It’s tempting to go big—especially when you’re dreaming of a massive harvest—but I’ve learned the hard way that bigger isn’t always better. When deciding on your raised garden bed dimensions, the golden rule is accessibility. You want to be able to reach the center of the bed from either side without ever having to step inside. If you can’t reach the middle, you’ll end up compacting the soil, which is a total no-go for your plants’ roots.
For most backyard setups, I recommend keeping the width to about 3 or 4 feet. This allows you to tend to your veggies comfortably while keeping the structure manageable. If you’re working with a tighter space, even a narrow bed can work wonders! Just keep in mind that the depth matters too; while a shallow bed is fine for lettuce, something a bit deeper is better if you’re planning on growing heavy feeders like tomatoes. Measure twice, cut once, and always prioritize your ability to reach every single plant with ease.
Little Details, Big Results: My Pro-Tips for Garden Success
- Don’t forget the barrier! I always recommend laying down a layer of thick, corrugated cardboard at the very bottom before you add your soil. It’s a total game-changer for smothering existing grass and weeds without using any harsh chemicals.
- Think about your back! When you’re deciding on your height, remember that you’ll be leaning over these beds all season. If you can, aim for at least 12 to 18 inches deep so you aren’t constantly straining your spine while you weed.
- Level it out or lose it: It sounds a bit tedious, but take an extra ten minutes to ensure your site is relatively level. If one side is significantly higher than the other, your water will just run off to one end, leaving half your precious plants thirsty.
- Keep the “reach” in mind: One mistake I made when I first started was building beds that were too wide. Always make sure you can reach the center of the bed from either side without having to step inside; stepping on the soil compacts it and makes it harder for roots to breathe.
- Plan for your water source: Before you start digging and hauling heavy wood, take a quick walk around your yard with a garden hose. You don’t want to realize your dream garden is located twenty feet away from the nearest spigot once it’s already built!
Quick Tips for Your Garden Success
Prioritize your back by choosing dimensions that let you reach the center easily without overextending.
Invest in quality wood like cedar upfront to save yourself the headache of replacing rotting boards in just a couple of seasons.
Don’t aim for perfection on your first try; the goal is to get your hands in the dirt and start growing!
A Little Piece of Earthly Magic
“Building a raised garden bed is about so much more than just stacking some wood; it’s about carving out a little sanctuary where you can slow down, get your hands dirty, and watch something beautiful grow from the ground up.”
Emma Thompson
Tending to Your New Garden Space
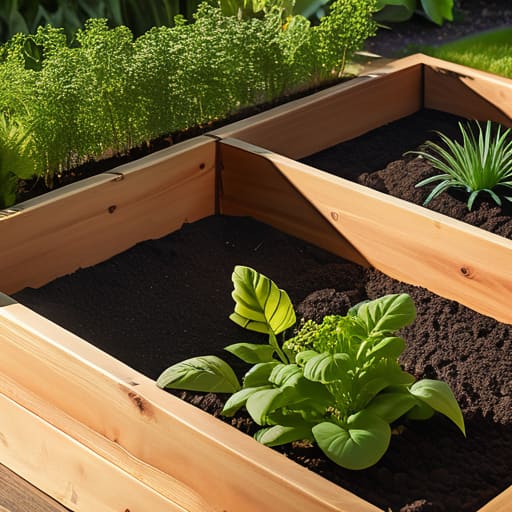
We’ve covered a lot of ground today, from picking out the right wood to figuring out those all-important dimensions. I know that staring at a pile of lumber can feel a little daunting at first, but remember that the goal isn’t perfection—it’s about creating a space where you can truly connect with nature. Whether you decided to go with the classic durability of cedar or opted for a more budget-friendly route, you’ve already done the hardest part by simply starting. Once you’ve got your frame assembled and your soil leveled, you’re officially on your way to having a productive little oasis right in your own backyard.
As you head out to get your hands a little dirty, try to take a moment to just breathe and enjoy the process. Gardening has taught me so much about patience and the beauty of watching something grow from nothing, and I truly believe it can be a wonderful way to find some much-needed calm in our busy lives. Don’t worry if your first bed isn’t a masterpiece; what matters most is that you created something with your own two hands. I am so incredibly proud of you for taking this step toward a greener, more balanced lifestyle. Happy planting, and I can’t wait to hear how your first harvest turns out!
Frequently Asked Questions
Do I really need to line the bottom with cardboard, or is that just an extra step?
Honestly, I get it—when you’re already knee-deep in sawdust, one more step feels like overkill. But here’s my take: definitely use the cardboard! It’s a total game-changer. It acts as a natural weed barrier that eventually breaks down, feeding the soil instead of fighting it. It saves you so much heartache later on by preventing grass from creeping up into your new garden. Trust me, your future self will thank you!
How often should I be refilling the soil as my plants grow and eat up the nutrients?
That is such a great question! It’s easy to forget that our leafy friends are basically tiny, hungry machines. I usually check my beds every spring to refresh the top few inches with fresh compost. However, if you notice your plants looking a little pale or growth stalling mid-season, don’t wait! A quick “snack” of organic compost or a liquid seaweed fertilizer can work wonders to replenish those nutrients without needing a total overhaul.
Will my raised bed stay level over time, or should I worry about it shifting in the dirt?
That is such a great question, and honestly, it’s one that kept me up at night when I first started my urban garden! The short answer is: yes, it can shift a little, but don’t let that stress you out. To keep things steady, I always recommend clearing the grass and leveling the ground before you even touch your wood. A little bit of gravel or sand underneath works wonders for stability. Once it’s set, it’ll stay put!