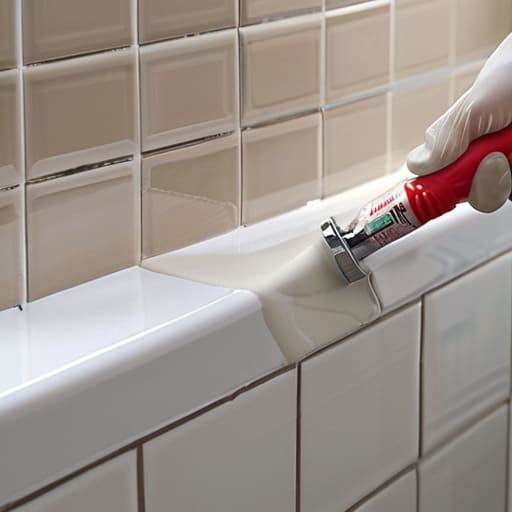
I was standing in my bathroom last Tuesday, staring at a jagged, moldy crack between my tub and the tile, feeling that familiar wave of “adulting” overwhelm. I had this nagging feeling that learning how to caulk was going to require a professional degree and a massive renovation budget, but the truth is actually much simpler. Most people think you need fancy tools or a steady hand like a surgeon to get a clean line, but honestly? It’s mostly about having the right patience and a few clever shortcuts.
I’ve spent way too many weekends trial-and-erroring my way through DIY projects, and I don’t want you to waste your precious Saturday feeling frustrated. In this guide, I’m breaking down the entire process into bite-sized, manageable steps that won’t leave your house looking like a mess. We’ll cover everything from picking the right tube to that secret smoothing trick I swear by, ensuring you can tackle these small fixes with total confidence. Let’s turn that stressful gap into a quick win for your home and your peace of mind!
Table of Contents
- Step-by-Step Instructions
- Choosing Your Ally Deciding Between Silicone vs Acrylic Caulk
- The Art of Renewal Removing Old Caulk With Ease
- Pro Tips for a Flawless Finish (Without the Stress)
- Quick Wins for a Seamless Finish
- ## A Little Seal for a Lot of Peace
- Small Fixes, Big Peace of Mind
- Frequently Asked Questions
Guide Overview
Tools & Supplies
- Caulking gun for applying sealant
- Putty knife or scraper for removing old caulk
- Caulk finishing tool or finger for smoothing
- Caulk tube (silicone or acrylic) 1-2 tubes
- Painter's tape for clean edges 1 roll
- Cleaning solution or rubbing alcohol for surface prep 1 bottle
Step-by-Step Instructions
- 1. Before you even touch the caulk gun, you’ve got to get that surface ready. Grab a damp cloth or a small brush to clear out any old, crusty caulk or loose debris from the gap. If there’s still a bit of old residue lingering, don’t sweat it—a little scraper can work wonders. The goal is to have a clean, dry surface so the new stuff actually sticks where it’s supposed to.
- 2. Once the area is clear, it’s time to prep your caulk tube. If you’re using a standard tube, you’ll need to cut the tip at a slight angle. I like to start with a smaller hole than I think I’ll need; you can always go bigger later, but it’s much harder to fix a messy, over-sized bead once it’s out there.
- 3. Now, load your caulk gun and get into position. Hold the gun at a steady angle—usually about 45 degrees—and start at one end of the gap. Instead of just squeezing and hoping for the best, try to maintain a consistent pressure on the trigger. This is the secret to getting that smooth, professional look without having to go back and fix a bunch of lumps.
- 4. As you move along the gap, keep the nozzle tucked right against the edge of the surface. You want to “lay” the caulk into the crevice rather than just painting it on top. It might feel a little fidgety at first, but once you find your rhythm, it actually becomes quite meditative. Just take your time and focus on a steady pace.
- 5. This is where the magic happens: the smoothing step! Don’t let the excess caulk intimidate you; you actually want a little bit of “overage” to work with. Take a damp finger (or a specialized smoothing tool if you’re feeling fancy) and lightly run it along the bead. This presses the caulk into the gap and creates that perfectly sleek finish we’re all after.
- 6. A quick pro-tip for the perfectionists: keep a wet rag handy to wipe away any smudges on your tiles or countertops immediately. If you let it dry before cleaning up the stray bits, you’ll be scrubbing for ages. Once you’ve smoothed it out, just step back and breathe—you’ve just turned a messy gap into a clean, sealed space!
Choosing Your Ally Deciding Between Silicone vs Acrylic Caulk
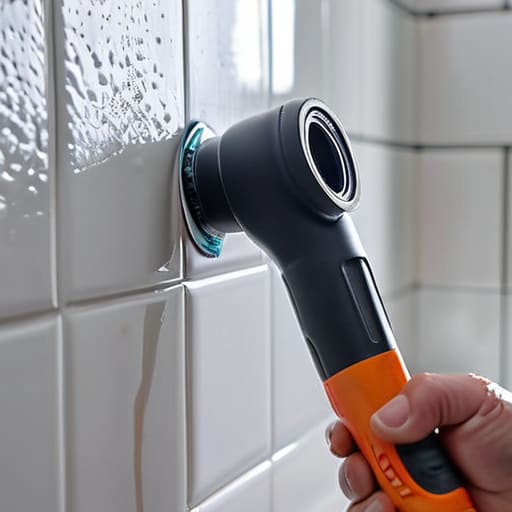
Now, before you head to the hardware store, let’s talk about the most important decision you’ll make: picking the right tube. I know, it sounds like a small detail, but choosing between silicone vs acrylic caulk can actually make or break your project. If you’re working on sealing bathroom fixtures or anything near a shower, silicone is your absolute best friend. It’s incredibly flexible and water-resistant, which is exactly what you need to keep moisture from creeping into your walls.
On the other hand, if you’re working on something like baseboards or trim in a dry room, acrylic is a fantastic, budget-friendly option. It’s much easier to clean up with just a damp cloth, which is a huge win if you’re a beginner. Just keep in mind that it isn’t quite as tough against constant water exposure. My little tip? Always check the label for “paintable” if you want to match your trim perfectly. Once you’ve picked your winner, you’ll be one step closer to preventing water damage and enjoying that fresh, polished look in your home!
The Art of Renewal Removing Old Caulk With Ease
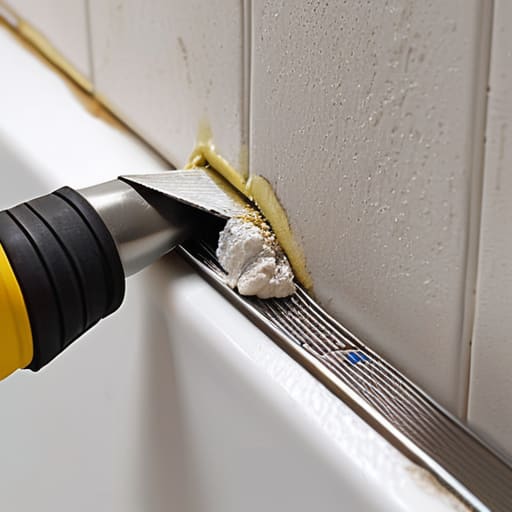
Before you even think about reaching for that new tube, we have to tackle the messy part: removing old caulk. I know, I know—it sounds like one of those tedious chores that’s easy to procrastinate on, but trust me, skipping this step is like trying to put a fresh coat of paint over a dusty, cracked wall. If you leave the old, crusty residue behind, your new bead won’t bond properly, and you’ll find yourself back in this same spot much sooner than you’d like.
To make the process a little less of a headache, I always keep a sturdy putty knife and a small scraper handy. Start by gently slicing through the existing line with a utility knife, being extra careful not to scratch your tiles or fixtures. Once the bulk is out, you can use a specialized chemical remover to dissolve those stubborn bits. The goal is to get the surface completely clean and dry. Think of it as clearing the mental clutter before starting a new project; once you have a fresh, bare surface, everything else feels so much more manageable!
Pro Tips for a Flawless Finish (Without the Stress)
- Prep is your best friend; make sure the surface is bone-dry and completely free of dust or old residue before you even touch the caulk gun, or it just won’t stick.
- Don’t be afraid to go slow; it’s much easier to add a little more than it is to scrape away a giant, messy glob that’s gone wrong.
- Keep a spray bottle of soapy water handy to lightly mist your finger as you smooth the bead—it helps the caulk glide like a dream and prevents it from sticking to your skin.
- Practice your “steady hand” on a scrap piece of wood or a corner of the tub first; getting the rhythm down early will save you a lot of frantic wiping later.
- Clean up your tools immediately! If you’re using a caulk gun, wipe it down right away so you aren’t fighting dried-on gunk the next time you start a project.
Quick Wins for a Seamless Finish
Remember that the prep work is actually the most important part; taking that extra moment to clear out the old residue ensures your new seal stays put and looks beautiful.
Don’t stress about perfection on your first try—choosing the right caulk for the job (silicone for the wet stuff, acrylic for the dry) does most of the heavy lifting for you.
Think of caulking as a small act of self-care for your home; a quick, tidy fix today prevents much bigger, more expensive headaches down the road.
## A Little Seal for a Lot of Peace
“Think of caulking not as a tedious chore, but as a small act of care for your home; it’s one of those tiny, satisfying ways we can seal out the chaos and keep our living spaces feeling safe and steady.”
Emma Thompson
Small Fixes, Big Peace of Mind
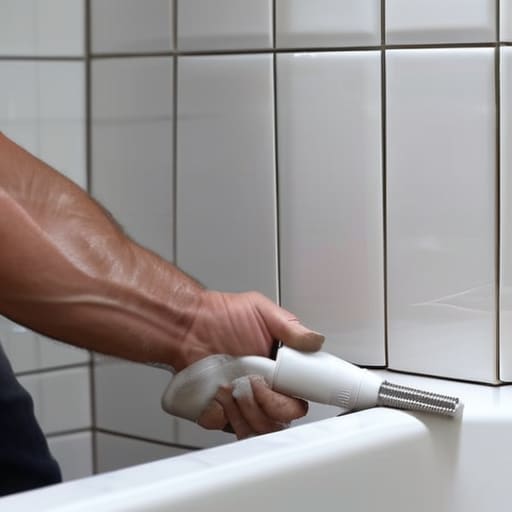
Taking the time to tackle your caulking projects might feel like just another item on an endless to-do list, but it really is one of the most rewarding little wins you can achieve. By choosing the right material—whether that’s the flexible durability of silicone or the easy cleanup of acrylic—and taking the extra beat to clear out that old, crusty residue, you’ve done the heavy lifting. You’ve essentially built a tiny fortress against moisture and decay, protecting your home from those hidden, expensive headaches down the road. It’s all about that combination of the right prep work and the correct tools to ensure everything stays smooth and seamless.
At the end of the day, I hope this project reminds you that you don’t need a professional contractor or a massive budget to make a real difference in your living space. Sometimes, the most profound sense of calm comes from these small, intentional acts of maintenance that say, “I’m taking care of my sanctuary.” Don’t let a little messy gap intimidate you; you have the skills to handle it, and I am so incredibly proud of you for showing up for yourself and your home today. Grab a coffee, take a look at your handiwork, and enjoy that beautiful, well-deserved sense of accomplishment!
Frequently Asked Questions
How long do I actually need to wait before I can get the area wet or use it again?
The waiting game is always the hardest part, isn’t it? I know the urge to test it out is real, but patience is your best friend here. Generally, you should wait at least 24 hours before letting water touch the new bead. If you’re using silicone, it might need a bit longer to fully cure. Give it a full day to settle so you can enjoy that fresh, clean look without any stress!
I'm worried about making a mess—is there a trick to keeping the caulk from getting all over my tiles or countertops?
I totally hear you—the thought of a gooey, gray mess all over your beautiful countertops is enough to make anyone hesitate! My favorite trick is to keep a damp rag and a small bowl of warm, soapy water right by your side. After you lay your bead, use a wet finger to smooth it out, then immediately wipe away any stray bits. It keeps things tidy and saves you so much cleanup stress!
What should I do if I mess up the first bead and it looks a little wonky?
Oh, don’t panic! We’ve all been there—I once spent twenty minutes staring at a wonky line in my bathroom, feeling totally defeated. If the caulk is still wet, grab a damp rag or a finger dipped in soapy water and gently smooth it out. If it’s already dried and looks a bit messy, don’t stress. Just carefully scrape it away with a putty knife and try again. You’ve got this!
