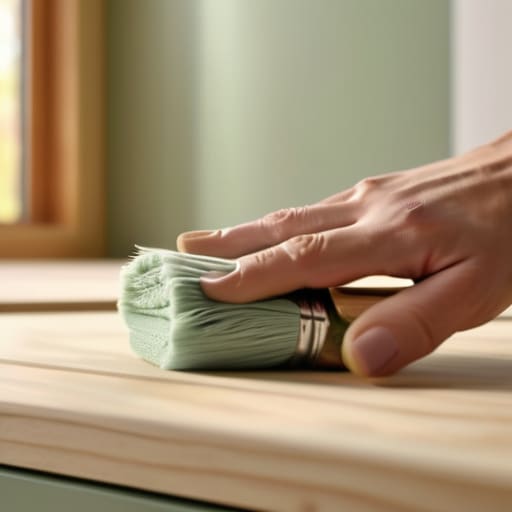
I was standing in my kitchen last Tuesday, staring at those dated, honey-oak cabinets, feeling that familiar wave of overwhelm hit me. I had this nagging thought that if I tried to tackle this project myself, I’d end up with a sticky, peeling mess that looked worse than before. But here’s the truth I learned the hard way: you don’t need a professional contractor or a massive renovation budget to transform your space. Learning how to paint kitchen cabinets isn’t about having a perfect workshop; it’s really just about having the right patience and a solid game plan.
I know how intimidating it feels to look at a pile of hardware and sandpaper, but I promise it’s much more manageable than it seems. In this guide, I’m going to walk you through my tried-and-true process, from the essential prep work to choosing a finish that actually lasts. No fancy jargon or expensive professional secrets here—just honest, practical steps to help you achieve a beautiful, refreshed kitchen without losing your mind (or your savings) in the process. Let’s get started!
Table of Contents
- Step-by-Step Instructions
- Choosing the Best Paint for Kitchen Cabinets Without Stress
- Mastering Cabinet Sanding Techniques for a Smooth Finish
- A Few Little Secrets for a Flawless Finish
- Quick Wins for Your Cabinet Refresh
- A Little Patience Goes a Long Way
- You've Got This: Your Kitchen Transformation is Complete
- Frequently Asked Questions
Guide Overview
Tools & Supplies
- Screwdriver or drill for removing hardware
- Sandpaper (120-220 grit) for smoothing surfaces
- High-quality angled brush for edges and corners
- Small microfiber roller for a smooth finish
- Painter's tape for masking edges
- Cabinet degreaser or TSP for cleaning
- Primer (1-2 gallons depending on size)
- Cabinet-grade paint (1-2 gallons)
- Sanding sponges for fine-tuning
- Drop cloths to protect countertops and floors
Step-by-Step Instructions
- 1. Before we dive into the fun part, we have to tackle the prep work, which is honestly the most important step in the whole process. Start by removing all your cabinet doors, drawers, and hardware. I know, it looks like a lot of pieces scattered across the floor, but it’s much easier to get an even coat when you aren’t fighting against handles and hinges. Pro tip: label everything with a little piece of painter’s tape so you know exactly where each door goes when you’re putting it all back together!
- 2. Once the doors are off, it’s time to get them clean. Kitchens are magnets for grease and dust, and if we don’t get that gunk off, our new paint just won’t want to stick. Use a good quality degreaser or even just a mild dish soap and warm water to give every surface a thorough scrub. I like to take my time here because a truly clean surface is the secret to a professional-looking finish that won’t peel later.
- 3. Now, we need to smooth things out with some light sanding. You don’t need to sand all the way down to the bare wood—we aren’t trying to rebuild the cabinets here! We just want to “scuff” the surface so the primer has something to grab onto. A medium-grit sandpaper works wonders. Just a quick, even pass over the doors and frames will make a world of difference in how smooth your final result feels.
- 4. After sanding, wipe everything down again with a tack cloth or a damp microfiber cloth to catch every single speck of dust. If you leave even a little bit of sawdust behind, your paint will end up feeling bumpy, and we definitely want to avoid that. Once the surfaces are dry and pristine, it’s time to apply your primer. I always recommend using a high-quality, stain-blocking primer to ensure those old wood tones don’t bleed through your beautiful new color.
- 5. This is the part where your vision really starts to come to life: applying the paint! I suggest using a high-quality synthetic brush for the corners and a small foam roller for the flat surfaces to minimize brush marks. It’s tempting to try and cover everything in one go, but please resist the urge to do that. It’s much better to apply two or three thin, even coats than one thick, gloopy layer that ends up dripping.
- 6. Patience is your best friend during the drying phase. Let each coat dry completely according to the instructions on your paint can before you even think about adding another layer. While you wait, this is a great time to catch up on a podcast or tend to your indoor plants! Once your final coat is on, let the cabinets cure for at least 24 to 48 hours before you start reattaching the hardware and hanging the doors. It might feel like a long wait, but patience pays off when you see that flawless, brand-new kitchen!
Choosing the Best Paint for Kitchen Cabinets Without Stress
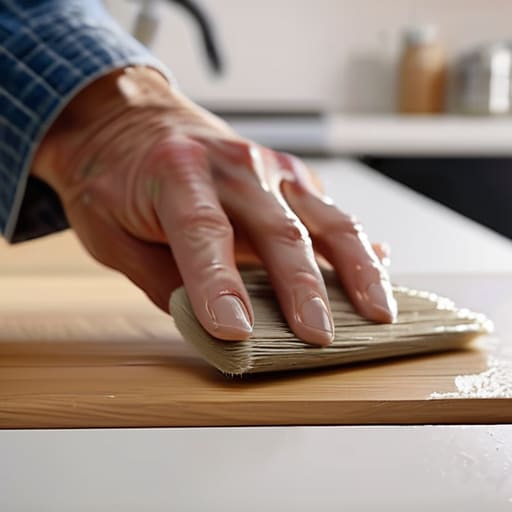
I know exactly how it feels to stand in the middle of a hardware aisle, staring at a wall of colorful cans and feeling completely overwhelmed. It’s easy to think any gallon of white paint will do, but if you want your hard work to last, picking the best paint for kitchen cabinets is actually a pretty big deal. Since your cabinets deal with a lot of heat, moisture, and—let’s be real—sticky fingerprints, you really want something durable. I always recommend looking for specialized water-based alkyd paints; they give you that smooth, professional finish that feels like real lacquer but is much easier to clean up.
Don’t skip the prep work, either! Even the most expensive paint can struggle if it’s applied to an oily surface. Using a high-quality primer for wood cabinets is my secret weapon for ensuring the color sticks and doesn’t peel in six months. It acts as the perfect bridge between your old finish and your new look. Whether you’re debating between a cabinet paint sprayer vs brush or just trying to get that perfect even coat, a solid primer is what makes the whole transformation feel seamless and stress-free.
Mastering Cabinet Sanding Techniques for a Smooth Finish
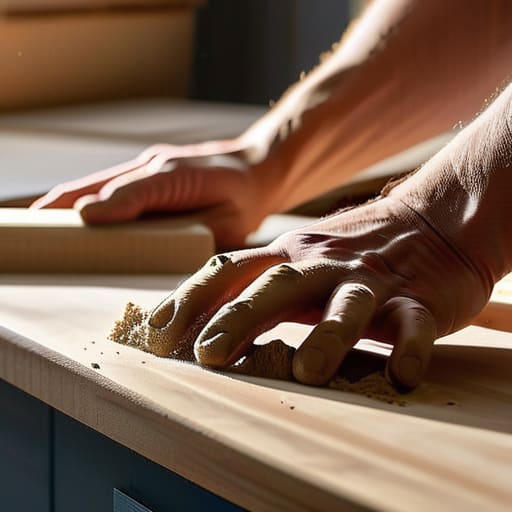
Now, I know what you’re thinking—sanding sounds like the most tedious part of this whole kitchen cabinet refinishing process. And honestly? It can be! But I promise, if you want that professional, factory-smooth look, you can’t skip this step. Think of it like prepping a canvas before painting a masterpiece. You don’t want to be fighting bumps and ridges once that beautiful new color is on. My biggest tip is to start with a slightly coarser grit to knock down the old finish, then gradually move to a finer grit. It’s all about that gentle transition to ensure the surface is perfectly level.
One thing I’ve learned from a few DIY mishaps is that you don’t need to sand down to the bare wood unless it’s absolutely necessary. You’re really just looking to “scuff” the surface so the primer for wood cabinets has something to grab onto. Always remember to wipe away every single speck of dust with a tack cloth afterward. If you leave even a tiny bit of grit behind, it’ll show up later, and we definitely want to avoid any texture issues when we finally start applying the paint!
A Few Little Secrets for a Flawless Finish
- Don’t rush the drying time! I know it’s tempting to want to get everything back in order, but letting each coat dry completely is the difference between a professional look and a sticky mess.
- Invest in some decent painter’s tape. It might seem like a small thing, but using high-quality tape will save you so much headache when it comes to those crisp, clean lines we all crave.
- Keep your workspace tidy as you go. I’ve learned the hard way that trying to clean up a mountain of dust and empty cans at the end of a long day is way more overwhelming than just tidying up as you work.
- Remember that less is more when it comes to paint application. It’s much better to apply two or three thin, even coats than to try and cover everything in one thick, gloopy layer that might drip.
- Don’t forget to protect your floors! Laying down some old drop cloths or even some cheap plastic sheeting will give you that extra bit of peace of mind so you can focus on the fun part of the project.
Quick Wins for Your Cabinet Refresh
Don’t skip the prep work; spending a little extra time on cleaning and sanding is what actually makes the difference between a DIY look and a professional finish.
Invest in the right paint from the start, because using a high-quality cabinet-specific formula will save you so much frustration (and heartache!) down the road.
Take it one step at a time and don’t rush the drying process; patience is your best friend when you’re aiming for that smooth, beautiful result.
A Little Patience Goes a Long Way
“I know it’s tempting to want to rush through to that final, beautiful coat of paint, but remember: the magic isn’t just in the color you choose, it’s in the care you take during the prep work. A little patience today means a kitchen you’ll absolutely love living in tomorrow.”
Emma Thompson
You've Got This: Your Kitchen Transformation is Complete
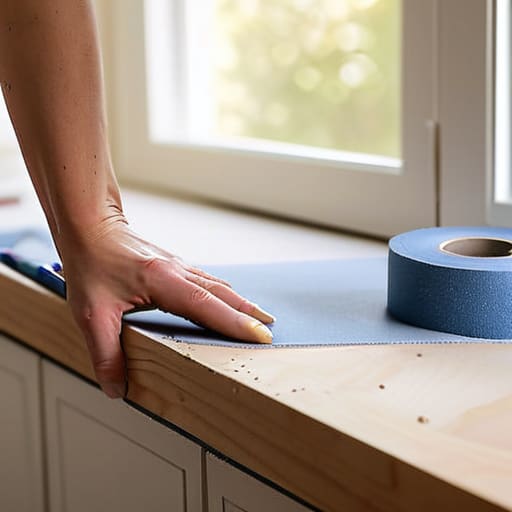
I know it might feel a little overwhelming when you look at all those empty cans and sandpaper piles, but take a second to look at what you’ve actually accomplished. By taking the time to choose the right paint, mastering your sanding technique, and staying patient through the prep work, you have laid the foundation for a finish that looks professionally done. It’s not just about the color change; it’s about the care you put into every stroke and every layer. Remember, the secret to a successful DIY isn’t perfection, but rather attention to detail and a little bit of persistence.
At the end of the day, your kitchen is the heart of your home, and you should feel a sense of pride every time you walk in to make your morning coffee. Don’t let the fear of a messy project stop you from making those small, impactful changes that breathe new life into your space. You don’t need a massive renovation budget to achieve a beautiful, refreshed look; sometimes, all it takes is a bit of elbow grease and a can-do attitude. I am so incredibly proud of you for taking this leap and investing in your home. Now, go grab a cup of tea and enjoy your beautiful, new kitchen!
Frequently Asked Questions
How long do I actually need to wait before I can start using my kitchen again?
I know the feeling—you’re staring at your beautiful, freshly painted cabinets and just want to put your coffee mugs back where they belong! While it’s tempting to dive right back in, please try to be patient. I usually recommend waiting at least 24 to 48 hours before doing any light use. However, for full “hard” use, give it a week. Let that paint cure completely so you don’t end up with sticky fingerprints!
Is it really worth the effort to prime them, or can I just go straight in with the paint?
I know it’s tempting to skip a step when you’re eager to see those beautiful results, but I can’t recommend skipping the primer. Trust me, it’s worth the extra afternoon! Think of primer as the “glue” that helps your paint actually stick to the surface. Without it, you might end up with peeling or uneven patches later on. A good primer saves you so much headache (and extra paint!) in the long run.
What should I do if I notice brush strokes or drips after the paint has already started to dry?
Oh no, don’t panic! We’ve all been there—I definitely learned that the hard way during my first upcycling project. If the paint is still slightly tacky, you might be able to gently smooth it out with a soft brush. But if it’s already drying, the best move is to let it cure completely. Once it’s dry, just lightly sand the bumpy area until it’s level, wipe it clean, and apply a thin, even coat. You’ve got this!
