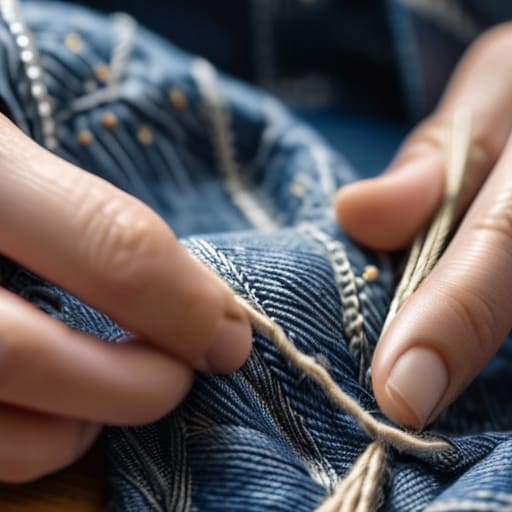
I was staring at my favorite pair of vintage denim jeans—the ones that fit just right—when I noticed a tiny, fraying hole near the pocket. My first instinct, the one we’ve all been conditioned to have, was to sigh and toss them into the “donate” pile, assuming they were officially done for. But then I remembered something my grandmother used to say back in my small hometown: why replace something you love when you can make it even better? Learning how to mend clothes isn’t about being a master seamstress or having a fancy studio; it’s actually about reclaiming a sense of control and breaking that cycle of constant, mindless consumption.
In this guide, I’m stripping away all the intimidating jargon and complex sewing techniques that make most of us want to run for the hills. I’ll show you the absolute basics of how to mend clothes using simple tools you probably already have in a junk drawer. We’re going to focus on practical, quick fixes for common issues like loose buttons, small tears, and thinning fabric. My goal is to help you save a little money, reduce your waste, and feel a genuine sense of pride every time you pull on a garment you’ve personally helped preserve.
Table of Contents
Guide Overview
Tools & Supplies
- Hand sewing needles of various sizes for different fabric weights
- Fabric scissors for clean, precise cuts
- Seam ripper to carefully remove old or incorrect stitching
- All-purpose sewing thread in various colors
- Assorted fabric patches for repairing holes
- Measuring tape for accurate sizing
Step-by-Step Instructions
- 1. First things first, let’s gather our supplies so we don’t have to go hunting for things mid-stitch. You’ll want a needle (a medium-sized one works for most things), some high-quality thread that matches your fabric as closely as possible, and a pair of sharp scissors. I always keep a small dedicated mending kit in a pretty tin—it makes the whole process feel much more intentional and less like a chore.
- 2. Once you’ve got your tools, take a close look at the damage to figure out your game plan. If it’s a simple hole, you might just need a basic patch, but if it’s a seam that’s come undone, you’ll be doing a bit of sewing to pull the edges back together. Taking a moment to assess the fabric type helps you decide if you need a thicker thread or a finer needle to avoid making the repair look bulky.
- 3. If you’re dealing with a small hole in a knit item, like a favorite sweater, I highly recommend using a “darning” technique. Turn the garment inside out and create a series of vertical stitches across the hole to form a sort of “web.” Once you have that foundation, weave your needle horizontally through those vertical threads. It might feel a little tedious at first, but it’s incredibly satisfying to watch the hole disappear under your needle.
- 4. For larger holes or areas where the fabric is thinning, a patch is your best friend. You can use a scrap of similar fabric from an old T-shirt or even a cool piece of vintage lace if you want to turn the repair into a creative design choice. Pin the patch to the inside of the garment, making sure it covers the entire damaged area, and then stitch around the edges to secure it firmly in place.
- 5. If the issue is a split seam, simply turn the item inside out and align the two edges of the fabric. Start your stitching about a quarter-inch before the actual rip begins to ensure you’re anchoring the thread into healthy, strong fabric. Use a backstitch—where you loop the thread back through the previous stitch—to create a seam that is much more durable than a simple running stitch.
- 6. As you wrap up, don’t rush the final few stitches! It’s tempting to just yank the thread and call it a day, but you want to tie off your knot securely so the repair doesn’t unravel the next time you put the item in the wash. I like to weave the thread through the back of the existing stitches a couple of times before cutting. It’s those little extra steps that make the difference between a quick fix and a lasting mend.
Essential Tools Your Basic Sewing Kit Essentials
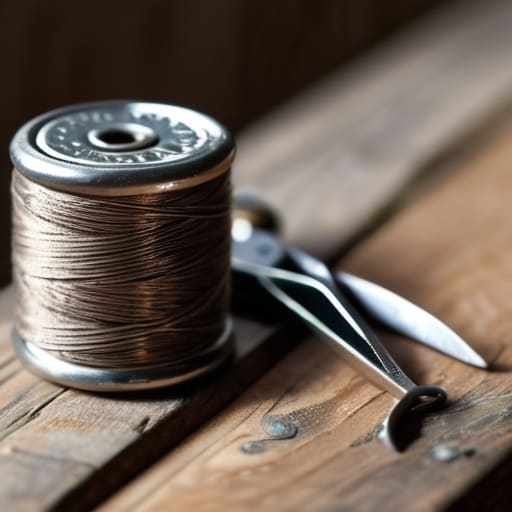
Before you dive into your first project, you don’t need to go overboard and buy every gadget in the craft store. I used to think I needed a massive sewing machine to be “real” at this, but honestly, mastering fabric repair for beginners usually starts with just a few reliable hand tools. A sturdy pair of small embroidery scissors, a handful of assorted needles, and a decent set of thread spools in neutral colors are your true best friends. I always keep a small tin under my desk—it’s much easier to grab when I notice a loose button mid-workday!
If you’re looking to level up, I’d suggest investing in a small seam ripper and some quality thimbles. While a machine is great for heavy-duty tasks, knowing the nuances of sewing machine vs hand stitching is a total game-changer for delicate repairs. Hand stitching allows for a level of precision that’s perfect for those tiny, almost invisible fixes. Think of your kit as a little survival station for your wardrobe; once you have these basic sewing kit essentials on hand, you’ll feel so much more confident tackling those accidental snags and tears.
Simple Fabric Repair for Beginners and Friends
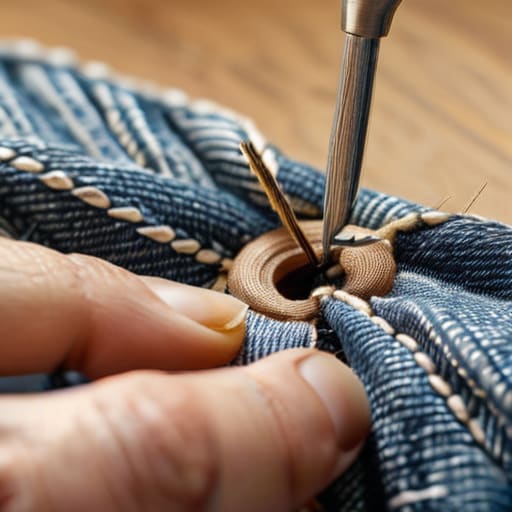
If you’re feeling a little intimidated by the idea of picking up a needle, please know that I was exactly the same way. You don’t need to be a master tailor to start seeing results. For those just starting out, I highly recommend focusing on fabric repair for beginners by tackling small, manageable tasks first. Instead of jumping straight into complex alterations, try something like patching denim holes on an old pair of jeans. It’s incredibly satisfying to see a worn-out garment transformed into something unique and wearable again, rather than just tossing it in the donation bin.
As you get more comfortable, you might find yourself wondering about the difference between sewing machine vs hand stitching. While a machine is a total powerhouse for straight seams, I’ve found that hand stitching is often much better for delicate repairs or working around intricate details. If you have a favorite pair of woolly tights or cozy knits with a little thinning, a quick darning socks tutorial can be a total game-changer for your wardrobe. It’s all about taking those tiny, incremental steps toward a more sustainable lifestyle!
Pro-Tips for a Seamless Stitch: My Little Secrets
- Don’t be afraid to play with color! Instead of trying to find a thread that matches perfectly—which can be a total headache—try using a contrasting color. It turns a tiny mistake into a cute, intentional design detail.
- Always double-knot your ends. There is nothing more frustrating than getting halfway through a repair only to have your hard work unravel because the knot wasn’t secure. A little extra tension goes a long way.
- Match your needle to your fabric. If you’re working on a delicate silk blouse, use a tiny, thin needle; if you’re tackling those heavy-duty denim jeans, grab a sturdier one. It prevents puckering and keeps the fabric looking smooth.
- Iron as you go. It might feel like an extra step, but pressing your stitches with an iron helps them lay flat and look much more professional. It’s the difference between a “quick fix” and a “quality repair.”
- Practice on scraps first. If you’re feeling a bit nervous about a new stitch, grab an old rag or a piece of fabric from a worn-out shirt. Getting the rhythm down on something low-stakes builds so much confidence!
Quick Wins to Remember
Don’t be afraid to start small; even a tiny stitch can save a favorite piece of clothing from the donation bin.
Keep a basic kit handy so that when a button pops or a seam slips, you can fix it right then and there instead of letting it pile up.
Think of mending as an act of self-care for your wardrobe—it’s a simple way to slow down, save some money, and honor the things you love.
## A Little Thread, A Lot of Love
“Mending a piece of clothing is about so much more than just fixing a hole; it’s about slowing down, honoring the things we already own, and finding a little bit of quiet joy in the act of making something whole again.”
Emma Thompson
Small Stitches, Big Impact
Taking that first step into mending might feel a little intimidating, but as we’ve seen, it really doesn’t have to be. From gathering your basic sewing kit to tackling those simple tears and loose buttons, you now have the foundational skills to keep your wardrobe in rotation much longer. Remember, it’s not about being a master tailor; it’s about having the right tools and the patience to try. By mastering these small repairs, you’re not just fixing a garment—you’re actively reducing waste and saving money that can be spent on experiences rather than just more “stuff.”
At the end of the day, mending is such a beautiful way to practice mindfulness in a world that constantly tells us to throw things away and buy something new. There is a quiet, wonderful satisfaction in sitting down with a needle and thread, slowing your pace, and breathing life back into a piece of clothing you truly love. I hope you feel empowered to look at that loose seam or tiny hole not as a reason to toss the item, but as an opportunity to create something lasting. You’ve got this, and I’m so excited to see you embrace this more intentional way of living.
Frequently Asked Questions
What should I do if I accidentally make the hole in my clothes even bigger while trying to fix it?
Oh no, we’ve all been there! I once tried to fix a tiny snag in my favorite linen shirt and ended up with a hole the size of a coin. Deep breaths—it’s not a disaster! If that happens, stop sewing immediately. Instead of trying to “bridge” the gap with more thread, look into using a patch or even a cute decorative embroidery design to cover the larger area. Turning a mistake into a feature is my favorite way to upcycle!
How can I make my repairs look intentional and stylish instead of just a quick patch job?
That is such a great question! Honestly, I love when a repair becomes a design feature. Instead of trying to hide a tear, lean into it with some visible mending. Try using a contrasting thread color for a “pop,” or use embroidery to turn a hole into a tiny flower. It turns a “mistake” into a unique, one-of-a-kind piece. It’s not just a patch job; it’s adding character to your wardrobe!
Is it worth trying to mend high-end or expensive fabrics, or should I stick to basic cottons and synthetics?
Oh, I am so glad you asked! Honestly, it is absolutely worth it. In fact, that’s where mending really shines. When you’ve invested in a beautiful silk blouse or a sturdy wool coat, you want those pieces to last a lifetime. While cotton is a great place to practice, learning to handle delicate fabrics is a total game-changer for your wardrobe and your wallet. Don’t be intimidated—just take it slow!
