I used to think that if I wanted to create something beautiful, I’d need a professional studio and a mountain of expensive equipment, but I couldn’t have been more wrong. I remember sitting on my living room floor, surrounded by tangled wire and a handful of mismatched beads, feeling completely defeated because my first attempt looked more like a tangled mess than a necklace. It turns out, the biggest myth about diy jewelry making is that you need a massive budget or a master’s degree in design to get started. In reality, all you really need is a little bit of patience and a few basic tools to start creating pieces that actually look professional.
In this guide, I’m stripping away all the fluff and the intimidating jargon to show you how it’s truly done. I’ll walk you through the essential supplies you actually need—and more importantly, the ones you can skip buying—along with simple techniques to help you find your creative rhythm. Whether you want to make a thoughtful gift or just need a way to unplug after a long workday, I’m here to help you master the basics of diy jewelry making with confidence.
Table of Contents
- Step-by-Step Instructions
- Simple Jewelry Making Kit Essentials to Calm Your Mind
- Creative Jewelry Design Ideas to Spark Your Inner Peace
- A Few Little Secrets for a Stress-Free Crafting Session
- A Little Something to Carry With You
- Finding Calm in the Details
- Finding Your Rhythm in Every Bead
- Frequently Asked Questions
Guide Overview
Tools & Supplies
- Needle-nose pliers for gripping and bending wire
- Wire cutters for trimming excess length
- Beading mat to prevent rolling
- Assorted glass beads (approx. 50-100 pieces)
- Jewelry wire or elastic cord (1 roll/spool)
- Lobster clasps and jump rings (1 set)
Step-by-Step Instructions
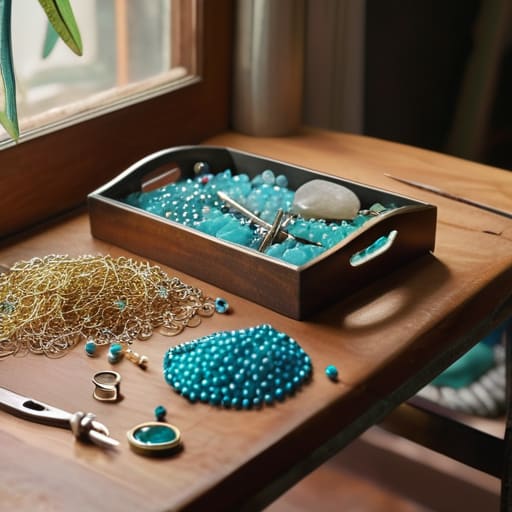
- 1. First things first, let’s gather our supplies so we don’t have to keep pausing once we get into the flow. You don’t need a massive professional kit to start, but I highly recommend grabbing some basic jewelry pliers (the needle-nose ones are a lifesaver), a variety of beads that speak to your soul, some sturdy beading wire or cord, and your choice of clasps. I always like to clear off a small section of my desk—maybe even lay down a piece of felt so your tiny beads don’t roll away into oblivion—before I dive in.
- 2. Once you’re set up, start by sketching out a quick vision of what you want to create. Don’t worry about being a master artist here; just lay your beads out on your felt mat to see how the colors and textures play together. This is my favorite part because it’s like playing with edible confetti, just much more permanent! If a pattern feels too busy, don’t be afraid to pull a few pieces out; sometimes less really is more when it comes to finding that perfect balance.
- 3. Now, let’s get to the actual stringing. Take your beading wire or cord and thread it through a “stopper” bead or a bit of tape at one end to prevent your hard work from sliding off. As you add your chosen beads, try to keep a consistent tension on the wire—you want it to be snug enough to hold the shape, but not so tight that the jewelry feels stiff or awkward to wear.
- 4. If you’re making a necklace or a bracelet that needs a clasp, this is where those pliers come in handy. You’ll want to use your crimping tool (or the flat end of your pliers) to secure a crimp bead onto the wire, which locks your clasp in place. It might feel a little fiddly at first, but I promise that once you get the rhythm down, it becomes almost meditative.
- 5. After your main design is strung, it’s time to finish the other end with a jump ring or another clasp. Make sure to double-check that everything feels secure by giving the piece a very gentle tug. I always tell myself to check twice and wear once; there’s nothing worse than losing a beautiful piece you just spent an hour crafting because a loop wasn’t closed properly!
- 6. Finally, take a moment to step back and admire what you’ve made. This isn’t just about the finished product, though—it’s about that quiet sense of accomplishment you feel when you create something from scratch. If a bead looks a little wonky or the spacing is slightly off, just embrace it; those little imperfections are what make your piece uniquely yours.
Simple Jewelry Making Kit Essentials to Calm Your Mind
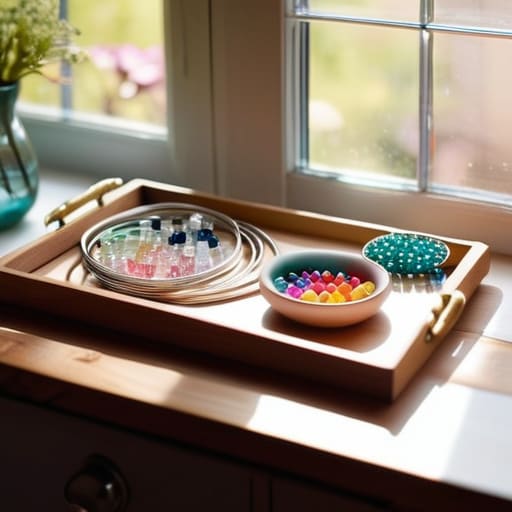
Before you dive into your first project, I’ve found that setting up a little dedicated space can make all the difference in how you feel. You don’t need a massive studio, but having a few jewelry making kit essentials organized in a pretty tray or a small wooden box helps prevent that “where did I put that?” frustration. I personally love using small, clear containers for my beads; there is something so soothing about seeing all those colors neatly categorized. It turns the process from a cluttered chore into a mindful ritual.
When you’re starting out, don’t feel pressured to buy every gadget under the sun. Focus on gathering a few high-quality jewelry making tools for beginners, like a reliable pair of needle-nose pliers and some sturdy wire cutters. Investing in just the basics allows you to focus on the rhythm of the craft rather than struggling with subpar equipment. Once you have your foundation, you can slowly add more specialized items as your confidence grows. Remember, the goal here isn’t perfection—it’s about finding a little pocket of peace in your day.
Creative Jewelry Design Ideas to Spark Your Inner Peace
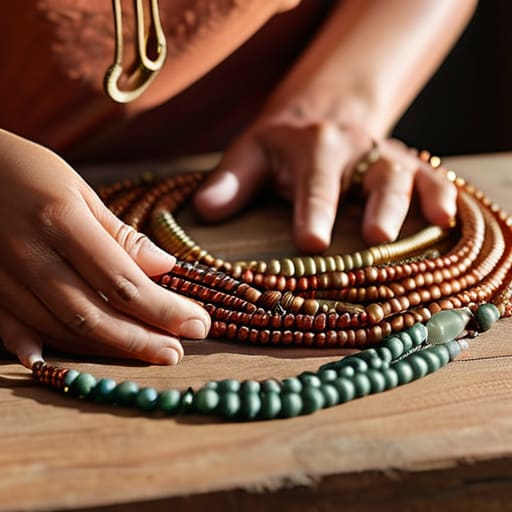
Once you’ve got your basic kit set up, the real magic happens when you start playing with different styles. I always tell my friends that you don’t need to be a master artist to create something beautiful; it’s more about how the pieces make you feel. If you’re looking for a low-pressure way to start, try making beaded necklaces using soft, earthy tones. There is something so meditative about the rhythmic pattern of sliding beads onto a string—it’s like a little reset button for a stressful afternoon.
If you’re feeling a bit more adventurous, you might want to experiment with some basic wire wrapping techniques. Using copper or silver wire to cradle a single, meaningful stone can turn a simple project into a personal talisman. It requires a bit more focus, which is actually wonderful for grounding yourself in the present moment. Don’t worry about perfection right away; even if a loop is a little wonky, it just adds character and soul to your piece. Just let your intuition guide your hands and see where the creativity takes you!
A Few Little Secrets for a Stress-Free Crafting Session
- Don’t feel pressured to make a masterpiece right away. Sometimes, just playing with different bead colors or textures is more about the process of relaxing than the final product you end up wearing.
- Create a dedicated “joy nook” for your supplies. Even if it’s just a small tray on your coffee table, having a specific, tidy spot for your tools makes it so much easier to dive into your creativity without feeling cluttered.
- Listen to something soothing while you work. I love pairing my jewelry making with a gentle podcast or a lo-fi playlist; it turns a simple hobby into a full-blown sensory reset for my brain.
- Start small to avoid overwhelm. Instead of trying to design a whole collection, just aim to make one simple pair of earrings or a dainty bracelet. Small wins feel so much better than a half-finished mountain of beads!
- Embrace the “beautiful mistakes.” If a wire bends a little weirdly or a knot isn’t perfectly symmetrical, don’t sweat it. That little imperfection is just a reminder that a real human made something lovely with their own two hands.
A Little Something to Carry With You
Remember that it’s not about making a masterpiece every single time; the real magic is in the quiet moments of focus and the way the process helps you decompress.
Don’t feel pressured to buy every shiny new tool—start with a few basics that make you happy, and let your collection grow naturally as you find your rhythm.
Use your jewelry making as a way to celebrate yourself, whether you’re creating a piece to wear as a daily reminder of your strength or a gift to share that sense of calm with someone else.
Finding Calm in the Details
“There’s something so incredibly grounding about the rhythmic click of beads and the steady pull of wire; it turns a simple afternoon of crafting into a beautiful, quiet meditation for the soul.”
Emma Thompson
Finding Your Rhythm in Every Bead
As we wrap up our little journey into the world of jewelry making, I hope you feel a bit more equipped to dive in. We’ve covered everything from gathering those essential calming tools to finding your unique creative spark through different design ideas. Remember, the goal isn’t to create a masterpiece that belongs in a museum; it’s about the process of sitting down, feeling the textures of the beads, and letting the world fade away for a while. Whether you’re working with delicate wire or colorful stones, the most important thing you’ve built today is a new way to decompress and connect with your own creativity.
If you ever feel overwhelmed by a complex pattern or a tangled mess of thread, just take a deep breath and remember why you started. This hobby is yours to shape, and there are no wrong ways to find your flow. I truly believe that when we make time for these small, intentional acts of creation, we are actually nurturing our inner selves. So, grab your kit, put on your favorite pair of funky socks, and let your imagination run wild. I can’t wait to see the beautiful, soulful pieces you create as you embark on this journey toward balance and self-expression.
Frequently Asked Questions
I'm a bit worried about making a mess—is there a way to keep my workspace organized so I don't lose those tiny beads?
Oh, I completely hear you! I used to lose tiny seed beads in the carpet constantly—it was so frustrating. My best tip is to work on a tray or even a large felt mat; it keeps everything from rolling away. I also love using small magnetic trays for my metal findings and clear organizers for my beads. Keeping your little treasures contained makes the whole process feel so much more peaceful and less chaotic!
Since I'm just starting out, should I focus on learning one specific technique, like wire wrapping, or try to learn a little bit of everything at once?
That is such a great question! Honestly, when I first started my DIY journey, I wanted to do everything at once, but it ended up feeling a bit overwhelming. My advice? Pick one technique—like wire wrapping or bead weaving—and just play with it for a few weeks. Mastering one skill builds your confidence and keeps the process relaxing rather than stressful. Once you feel that “flow,” you can always branch out!
Are there any affordable places you recommend for finding high-quality supplies without breaking my monthly budget?
I totally get it—those little beads and charms can add up faster than a grocery bill! To keep your hobby budget-friendly, I love scouring local thrift stores for vintage components or checking out Etsy for small-batch makers. For bulk supplies, sites like Fire Mountain Gems are my go-to. Also, don’t sleep on Facebook Marketplace; you can often find entire jewelry-making starter kits for a fraction of the retail price!
