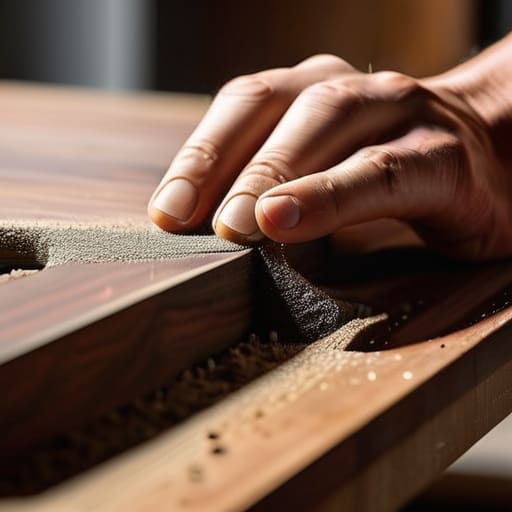
I was halfway through my morning coffee, admiring my favorite thrifted mid-century sideboard, when I saw it: a jagged, ugly white line slicing right through the beautiful walnut finish. My heart sank, and for a second, I felt that familiar wave of total overwhelm—you know the feeling, where a tiny mishap makes you want to just toss the whole piece out. I almost convinced myself that I’d need expensive professional tools or a complete refinishing job to save it, but I quickly realized that learning how to fix scratched wood doesn’t have to be a massive, daunting undertaking.
The truth is, most surface damage is much easier to handle than it looks, and you definitely don’t need a workshop full of heavy machinery to get results. In this guide, I’m going to walk you through my favorite tried-and-true methods for erasing those annoying marks, ranging from quick pantry hacks to more permanent touch-ups. I promise to keep things simple and stress-free, so you can stop worrying about the damage and get back to enjoying your beautiful home. Let’s dive in and get that wood looking gorgeous again!
Table of Contents
- Step-by-Step Instructions
- Gentle Steps for Removing Surface Scratches From Timber
- Mastering Wood Filler Application Techniques for a Flawless Finish
- Pro Tips for a Professional-Looking Finish
- Quick Tips for a Smooth Finish
- A Little Love for Your Furniture
- Bringing Your Woodwork Back to Life
- Frequently Asked Questions
Guide Overview
Tools & Supplies
- Sandpaper (various grits for smoothing)
- Microfiber cloth (for cleaning dust)
- Wood filler (small container for deep scratches)
- Wood stain marker (1-2 colors for color matching)
- Furniture wax or polish (small tin for finishing)
Step-by-Step Instructions
- 1. First things first, grab a clean, soft cloth and some mild soap to give the area a good wipe-down. You don’t want to be rubbing dust, grit, or old furniture wax into the wood while you’re working, as that can actually cause even more scratching during the repair process.
- 2. Once it’s dry, take a close look at the damage to see if it’s just a surface-level scuff or a deeper gouge. If it’s a light scratch, you can try a little “magic” by rubbing a finely chopped walnut directly into the groove; the natural oils help hide the mark, and it’s much kinder to the environment than harsh chemicals.
- 3. For those slightly deeper marks that need a bit more muscle, it’s time to break out the sandpaper. Start with a very fine grit—I usually recommend something around 220—and sand gently in the direction of the grain. Whatever you do, don’t sand in circles, or you’ll end up with swirl marks that are a total headache to get rid of later!
- 4. If the scratch is deep enough that you can actually feel it with your fingernail, you’re going to need a little help from a wood filler. Pick a color that’s a near-perfect match to your furniture, dab a small amount into the scratch using a putty knife, and then level it off so it sits flush with the surface.
- 5. This is the part where patience really pays off: let that filler dry completely according to the package instructions. I know it’s tempting to jump straight to the finishing touches, but if you rush this, you’ll likely end up with a lumpy, uneven texture that looks worse than the original scratch.
- 6. After the filler has set, take your fine-grit sandpaper again and lightly sand the area until it feels perfectly smooth to the touch. I always like to run my hand over it (carefully!) to make sure there are no noticeable bumps before moving on to the final step.
- 7. Finally, it’s time to bring back that beautiful luster by applying a bit of furniture polish or a matching stain. Apply it with a clean cloth using small, circular motions, and let it sit for a few minutes before buffing it out. It’s such a rewarding feeling to see that piece looking refreshed and loved again!
Gentle Steps for Removing Surface Scratches From Timber
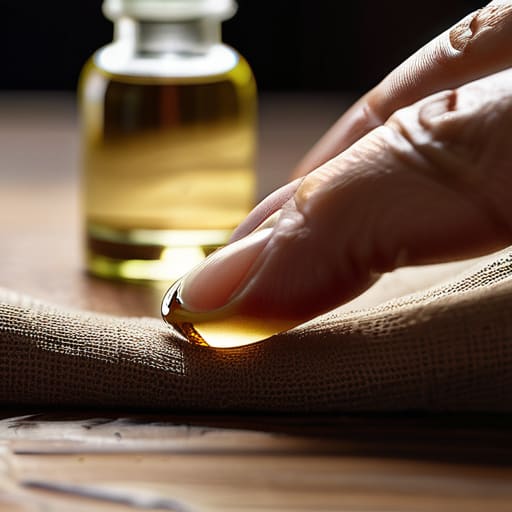
Before you dive into the heavy-duty repairs, I always recommend starting with the lightest touch possible. Sometimes, a scratch isn’t a deep wound; it’s just a little surface disruption that needs a bit of TLC. If you’re just dealing with very faint marks, you might find that removing surface scratches from timber can be as simple as using a soft cloth and a bit of walnut oil. The natural oils in the nut can often seep into the grain and mask the damage without you ever having to pick up a tool.
If the scratch is a bit more stubborn, you’ll want to look at your sandpaper grit for wood repair. I’ve learned the hard way that jumping straight to a coarse grit is a recipe for disaster! Start with a very fine sandpaper—think something around 320 or 400 grit—and sand always in the direction of the grain. This keeps the wood looking smooth and prevents those annoying swirl marks that can ruin your hard work. It’s all about patience and a gentle hand to ensure you’re restoring the wood finish rather than stripping it away entirely.
Mastering Wood Filler Application Techniques for a Flawless Finish
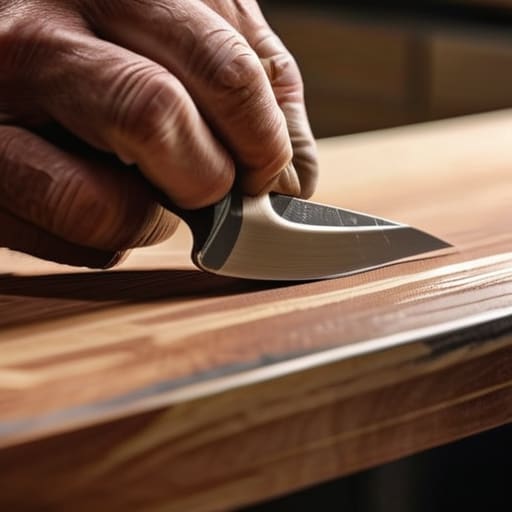
Now, if those light scratches didn’t quite do the trick, it’s time to bring out the heavy hitters. When you move on to using a filler, the secret isn’t just in the product you choose, but in your wood filler application techniques. I always recommend using a small putty knife to press the filler deep into the groove rather than just spreading it over the top. If you leave it too shallow, it won’t hold, and you’ll end up with a bump that’s even more noticeable than the original scratch. Aim to leave it slightly overfilled—just a tiny bit proud of the surface—because we’ll be sanding it down flush in a moment.
As you prep for that final smooth look, don’t forget that your choice of sandpaper grit for wood repair makes all the difference. I like to start with something slightly coarser to level the filler, then switch to a finer grit to ensure the transition is seamless. It’s a bit of a patience game, but I promise, seeing that smooth, even surface makes all the effort worth it. Just take your time; we’re aiming for perfection here!
Pro Tips for a Professional-Looking Finish
- Always test your repair in a hidden spot first. Even if the stain color seems like a perfect match, different wood types soak up color differently, and you don’t want to find out too late that your fix stands out like a sore thumb!
- Patience is your best friend when it comes to drying times. It’s so tempting to jump straight to sanding once the filler looks dry, but if it’s even slightly tacky, you’ll end up with a gummy mess instead of a smooth surface.
- Don’t forget about the lighting. I always grab a flashlight or move my project near a window while I’m working; seeing how the light hits the repair helps you catch those tiny imperfections before they become permanent.
- Less is truly more when applying stain or finish. Instead of glopping it on, try thin, even layers. It’s much easier to build up the color gradually than it is to fix a blotchy, over-saturated patch.
- Keep your workspace clean and dust-free. Since I spend a lot of time upcycling old furniture, I’ve learned the hard way that a single stray speck of dust trapped under your clear coat can totally ruin that flawless, smooth feel you’re working so hard to achieve.
Quick Tips for a Smooth Finish
Always start with the lightest touch possible; it’s much easier to add more filler later than it is to fix an area where you’ve sanded away too much of the original wood.
Don’t skip the prep work—making sure your surface is clean and dust-free is the secret sauce to ensuring your repairs actually stick and look seamless.
Remember that patience is your best friend when it comes to drying times; rushing the process is the quickest way to end up with an uneven texture that’s hard to hide.
A Little Love for Your Furniture
“I’ve always believed that a few scratches on a piece of furniture aren’t just imperfections; they’re just little stories of a life well-lived. Fixing them isn’t about chasing perfection—it’s about taking a moment to breathe, nurture what we own, and bring a little bit of that calm back into our homes.”
Emma Thompson
Bringing Your Woodwork Back to Life
As we wrap things up, I hope you feel much more confident about tackling those pesky marks on your furniture. Whether you decided to go the route of a quick sand and buff for those tiny surface scuffs, or you took the time to master a more intensive wood filler application for deeper gouges, the most important thing is that you took action. Remember, the key is always to start small and work your way up, ensuring you match your stains and finishes as closely as possible to avoid any unexpected patches. It might feel a little intimidating at first, but once you see that smooth, restored surface, you’ll realize that repairing your furniture is much more manageable than it looks on paper.
At the end of the day, these little DIY projects are about so much more than just fixing a table or a chair. To me, upcycling and repairing our belongings is a beautiful way to practice mindfulness and show respect for the things we own. Instead of rushing out to buy something brand new, you’ve chosen to invest your time and energy into something that already has meaning and history. So, don’t be afraid to make a few mistakes along the way—that’s just part of the learning process! Grab your sandpaper, put on your favorite playlist, and enjoy the quiet satisfaction of creating something beautiful all over again.
Frequently Asked Questions
What if the scratch is so deep that it actually goes all the way through the wood?
Oh boy, we’ve hit the “deep end” of the woodworking pool! If the scratch goes all the way through, we aren’t just looking at a surface fix anymore; we’re talking about a structural gap. Don’t panic, though! For these bigger holes, you’ll want to use a high-quality wood filler or even a two-part epoxy to rebuild the missing material. It takes a little more patience to sand it flush, but it’s totally doable.
Do I need to worry about matching the stain color perfectly, or will a little variation look natural?
Honestly, don’t stress too much about a perfect match! In fact, a tiny bit of variation can actually be your best friend. If the color is 100% identical, the repair can sometimes look like a “patch,” which actually draws more attention to the spot. A slightly imperfect blend often looks more organic and natural, like the wood has just aged beautifully over time. Aim for “close enough” and let it blend into the character of the piece.
Is it safe to use these DIY methods on antique furniture, or should I call in a professional instead?
Oh, I am so glad you asked that! This is where we have to tread really carefully. While I love a good DIY project, antiques are a different breed. If the piece has deep sentimental value or is a genuine heirloom, I’d strongly suggest calling a professional restorer. My rule of thumb? If you’re unsure about the finish or the wood’s age, stop and save it. It’s better to invest in an expert than to accidentally erase history!
