I was standing in the middle of my living room last Saturday, surrounded by a mountain of bubble wrap and a growing sense of dread, staring at a beautiful vintage print I’d just rescued from a thrift store. I had the hammer, the level, and a very optimistic attitude, but I also had a mounting fear of accidentally putting a massive, unfixable hole in my rental’s drywall. We often think that learning how to hang a picture requires a professional toolkit or a degree in engineering, but the truth is much simpler: it’s really just about having the right tiny bit of confidence and a few basic tricks to keep your walls looking pristine.
In this guide, I’m stripping away all the technical jargon to give you the honest, no-nonsense steps you actually need. I’ll walk you through everything from choosing the perfect spot to picking the right hardware for different wall types, so you can stop staring at empty spaces and start creating a home that feels like a true sanctuary. We are going to tackle this together, one nail at a time, to ensure your decor looks perfectly placed without the usual DIY headache.
Table of Contents
- Step-by-Step Instructions
- Selecting the Right Picture Hanging Hardware Types for Ease
- Mastering How to Use a Level for Art Perfection
- Pro Tips for a Flawless Gallery Wall
- Quick Tips for Picture Hanging Success
- ## Finding Your Home in the Details
- Making Your House Feel Like Home
- Frequently Asked Questions
Guide Overview
Tools & Supplies
- Hammer for driving nails or hooks
- Pencil for marking the spot
- Tape measure for accuracy
- Level to ensure straightness
- Picture hanging hardware (nails or hooks) 1 pack
- Picture frame 1 unit
- Wall anchors (if hanging on drywall without studs) 1 pack
Step-by-Step Instructions
- 1. First things first, grab your artwork and find the perfect spot. I know it’s tempting to just grab a hammer and go, but I highly recommend laying the piece on the floor in front of the wall where you think it belongs. This lets you step back and see if the scale feels right before you commit to making any holes.
- 2. Once you’ve picked your spot, it’s time to decide on your hardware. If you’re working with a heavy, ornate frame, you’ll definitely want to use a sturdy screw or a specialized wall anchor. However, for those lighter, breezy prints, a simple command strip or a small finishing nail will do the trick without causing much drama for your drywall.
- 3. Now, let’s talk about the dreaded “eye level” dilemma. A good rule of thumb I’ve learned is to aim for the center of the image to be about 57 to 60 inches from the floor. This is the standard height used in most galleries, and it ensures your art feels naturally integrated into the room rather than floating too high or sinking too low.
- 4. Here is my favorite little hack for getting the placement just right: use a piece of painter’s tape. Measure the distance from the top of the frame to the hanging wire or bracket on the back, then mark that exact spot on your tape. Stick the tape on the wall where you want the top of the frame to sit, and it acts as a perfect visual guide so you aren’t guessing where the nail goes.
- 5. Before you drive that nail in, double-check for any hidden obstacles. I always do a quick scan to make sure I’m not about to hit an electrical wire or a water pipe behind the wall. If you have a stud finder, now is the time to give it a quick whirl just to be safe and save yourself a major headache later.
- 6. Go ahead and make your mark! Carefully drive your nail or screw into your pre-measured spot. If you’re using a hammer, try to keep your movements steady and controlled. I find that if I take a deep breath and focus on a single point, I’m much less likely to accidentally hit my thumb (and we’ve all been there!).
- 7. Finally, it’s time for the most rewarding part: the reveal. Gently hang your piece on the hardware and take a few steps back. If it’s slightly crooked, don’t sweat it—just give it a tiny nudge. Take a moment to soak in the feeling of your refreshed space; you’ve just turned a plain wall into a personal sanctuary.
Selecting the Right Picture Hanging Hardware Types for Ease
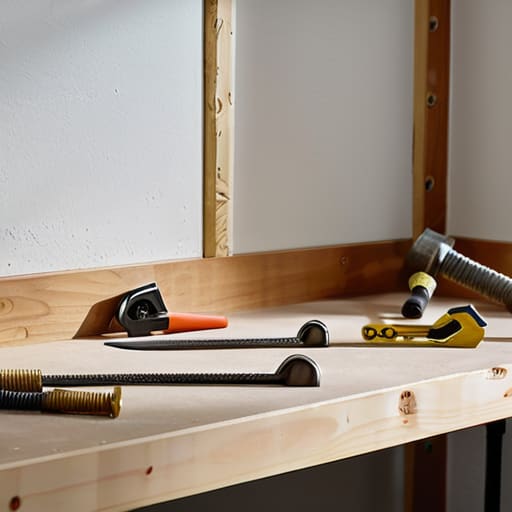
Before you grab that hammer, let’s talk about the tools of the trade. I used to think a simple nail was all I’d ever need, but I quickly learned that choosing the right picture hanging hardware types can make or break your afternoon. If you’re working with lightweight prints or small frames, a classic brass hook is your best friend. However, if you’re tackling the challenge of hanging heavy frames on drywall, you’ll definitely want to reach for some heavy-duty anchors or specialized picture hangers. These little guys distribute the weight more evenly, which is a total lifesaver for preventing those dreaded accidental slips.
Another thing I’ve learned through my own DIY mishaps is that the wall surface dictates your strategy. If you’re renting or just really want to prioritize avoiding wall damage when hanging art, I highly recommend those small, removable adhesive strips. They are absolute magic for lightweight decor! Just remember to always check the weight limit on the packaging first. Taking five minutes to match the hardware to your frame and your wall type will save you so much frustration (and a lot of spackle) in the long run.
Mastering How to Use a Level for Art Perfection
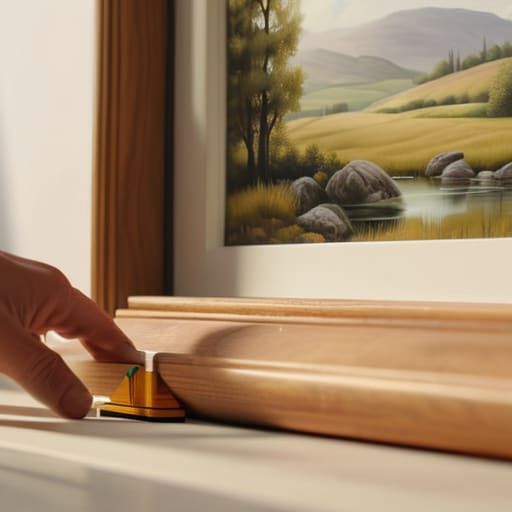
Now, I know what you’re thinking: “Emma, do I really need a tool for this?” Trust me, even if you have a steady hand, a level is your best friend when it comes to how to use a level for art that actually looks intentional. There is nothing more frustrating than stepping back to admire your hard work, only to realize your favorite landscape is tilting slightly to the left. To get it right, place the level on top of the frame rather than against the wall. This gives you a direct reading on the piece itself, ensuring that the line of the frame is perfectly horizontal.
If you’re working on a larger project, like a collection of smaller pieces, I highly recommend using a level to establish a consistent baseline. This is especially helpful when you’re exploring different gallery wall layout ideas and want to make sure the visual flow feels cohesive rather than chaotic. If you find yourself struggling with a particularly large piece, don’t be afraid to ask a friend for a hand; having a second set of eyes to check the bubble in the level can save you from a lot of “is it straight?” anxiety later on!
Pro Tips for a Flawless Gallery Wall
- Don’t go straight for the hammer! Before you commit to a permanent hole in your wall, use some painter’s tape to mark out the dimensions of the frame. It’s a total lifesaver for visualizing the scale and making sure your art doesn’t end up looking tiny or overwhelming in your space.
- Mind your eye level. A common mistake I see is hanging art way too high. A good rule of thumb is to aim for the center of the piece to be about 57 to 60 inches from the floor. It feels more natural and makes the room feel much more cohesive.
- Consider the “vibe” of your wall texture. If you’re working with delicate drywall, skip the heavy-duty nails and opt for those little adhesive strips or lightweight hooks. It saves you from the heartbreak of trying to patch up a bunch of accidental holes later on.
- Use a little bit of “sticky tack” or museum wax on the bottom corners of your frames. This is my favorite little hack to keep everything perfectly straight and prevent them from shifting every time someone walks heavily past or closes a door.
- Grouping is better than scattering. If you’re hanging multiple pieces, try to keep a consistent distance between them—usually about 2 to 3 inches. It creates a sense of intentionality that makes your collection look like a curated gallery rather than a random assortment of frames.
Quick Tips for Picture Hanging Success
Don’t rush the hardware choice; matching your hook to your wall type (like drywall versus plaster) is the secret to avoiding those dreaded accidental holes.
Trust your level, not your eyes! Even if a frame looks straight to you, using a level ensures your art sits perfectly and won’t drive you crazy later.
Remember that hanging art is all about the feeling of the room—don’t be afraid to step back and adjust things until your space feels just right.
## Finding Your Home in the Details
“Hanging a picture is about so much more than just finding a nail in a wall; it’s about the small, intentional act of turning a house into a home and surrounding yourself with the things that make your heart feel at peace.”
Emma Thompson
Making Your House Feel Like Home
I know that staring at a pile of hardware and a blank wall can feel a little daunting at first, but look how far you’ve come! By choosing the right hooks for your specific wall type and taking that extra moment to double-check your level, you’ve already done the heavy lifting. Remember, it’s all about the small details—making sure your frames are straight and your hardware is secure—that turn a house into a curated space. Once you’ve mastered these basics, you won’t be afraid to tackle even larger gallery walls or heavier mirrors in the future.
At the end of the day, please don’t let the fear of a tiny nail hole stop you from decorating. Your home should be a reflection of your unique journey and the things you love, not a showroom that feels too precious to touch. Whether it’s a vintage find from a thrift store or a precious family photo, hanging that piece is a small act of self-care that honors your personal style. So, grab your hammer, put on your favorite playlist, and enjoy the process of making your sanctuary exactly what you want it to be. You’ve totally got this!
Frequently Asked Questions
What should I do if I accidentally hit a stud or a wire while hanging my art?
Oh no, take a deep breath! First, if you hit a wire, stop immediately and turn off your electricity at the breaker—safety always comes first. If you hit a stud, don’t panic; that’s actually a sturdy foundation! Just pull your nail out and use a wood filler to patch the tiny hole. Once it dries, a little dab of matching paint, and it’ll be like it never even happened. You’ve got this!
How do I figure out the perfect height so my pictures don't look too high or too low?
This is such a common struggle! I used to hang everything way too high, making my living room feel like a gallery instead of a cozy home. A good rule of thumb is to aim for “eye level”—specifically, about 57 to 60 inches from the floor to the center of the piece. If you’re hanging art above a sofa or console, just leave about 6 to 8 inches of breathing room between the furniture and the frame.
Is there a way to hang heavy mirrors or large frames without needing a drill?
I totally get the hesitation—the thought of drilling into a wall can feel a little daunting! While I usually lean toward a drill for extra security, you can definitely hang medium-weight items using heavy-duty Command strips or adhesive hooks. Just make sure to check the weight rating on the package first! For truly heavy mirrors, though, I’d still recommend a screw or a nail. It’s better to be safe than to have your beautiful decor end up on the floor!