I remember standing in my tiny apartment kitchen last winter, staring at a mountain of expensive, brightly colored bottled cleansers and feeling completely overwhelmed by the sheer amount of plastic waste I was creating. I used to think that learning how to make soap required a chemistry degree and a professional-grade laboratory, but I quickly realized that’s just a myth designed to keep us buying store-bought brands. In reality, once you strip away the fancy jargon, it’s actually a beautifully grounding process that connects you to something much more tactile and intentional.
In this guide, I’m going to pull back the curtain and show you the honest, no-nonsense way to get started without all the unnecessary stress. We aren’t going to get bogged down in complicated industrial formulas; instead, I’ll walk you through a simple, beginner-friendly method that focuses on quality ingredients and manageable steps. My goal is to help you master the basics so you can create something wonderful for your home, one small batch at a time. Let’s dive in and start creating together!
Table of Contents
- Step-by-Step Instructions
- Mastering Cold Process Soap Making Methods for Slow Living
- Selecting Natural Soap Ingredients for Skin and Wellness
- A Few Little Secrets for a Stress-Free Soap Session
- Bringing the Calm of Soap Making Into Your Daily Life
- Finding Magic in the Mess
- Bringing Your Creation to Life
- Frequently Asked Questions
Guide Overview
Tools & Supplies
- Digital scale for precise measurements
- Stick blender for emulsifying oils and lye
- Stainless steel pot for melting oils
- Silicone molds for shaping the soap
- Infrared thermometer to check temperatures
- Coconut oil (approx. 16 oz)
- Olive oil (approx. 20 oz)
- Sodium hydroxide/Lye (approx. 7 oz)
- Distilled water (approx. 10 oz)
- Essential oils for fragrance (approx. 1 oz)
Step-by-Step Instructions
- 1. Before we touch a single ingredient, we need to set up our “safety zone.” Since we’re working with lye, which can be a bit intimidating, please grab your safety goggles, long sleeves, and gloves. I always like to clear off my kitchen counter and lay down some newspaper or silicone mats; it makes the cleanup process so much easier later on.
- 2. Next, let’s get our liquids and lye ready. In a well-ventilated area (or right under your kitchen vent hood), slowly pour your lye into your measured water—never the other way around! It might sizzle or even release a little steam, so don’t panic; that’s just the chemistry at work. Once it’s mixed, set it aside to cool down to a lukewarm temperature while we prep our oils.
- 3. Now, it’s time to melt your fats. Grab a large stainless steel pot or a heat-safe glass bowl and combine your oils (like olive oil or coconut oil) over low heat. You’re looking for a smooth, consistent liquid. Once they’re melted, take them off the heat and let them sit until they’re roughly the same temperature as your lye water. Consistency is key here to ensure a perfect emulsion.
- 4. This is where the magic happens: the mixing stage. Carefully pour your lye-water mixture into your pot of oils. Grab a stick blender (it’s a total game-changer!) and pulse it in short bursts. You’ll see the mixture transform from a translucent liquid into a creamy, pale substance. You’re looking for what we call “trace,” which is when the mixture is thick enough that a drizzle of soap leaves a visible trail on the surface.
- 5. Once you’ve reached trace, it’s time to get creative! This is my favorite part because you can add a few drops of your favorite essential oils—lavender is my go-to for a relaxing evening—or even a handful of dried botanicals from your garden. Give everything one last, gentle stir with a spatula to make sure your scents and colors are evenly distributed throughout the batch.
- 6. Pour your liquid gold into your mold. You can use a silicone mold for easy removal or even an upcycled wooden box lined with parchment paper. Tap the mold firmly on the counter a few times to release any trapped air bubbles. Now, cover it with a piece of cardboard and a towel to keep the heat in, and let it rest undisturbed for about 24 to 48 hours.
- 7. Finally, we wait! Once the soap feels firm to the touch, pop it out of the mold and slice it into your desired bar sizes using a sharp knife. But don’t go using them in the shower just yet! You need to let your bars “cure” in a cool, dry place for about four to six weeks. This extra time allows the water to evaporate, resulting in a harder, longer-lasting bar of soap that’s gentle on your skin.
Mastering Cold Process Soap Making Methods for Slow Living
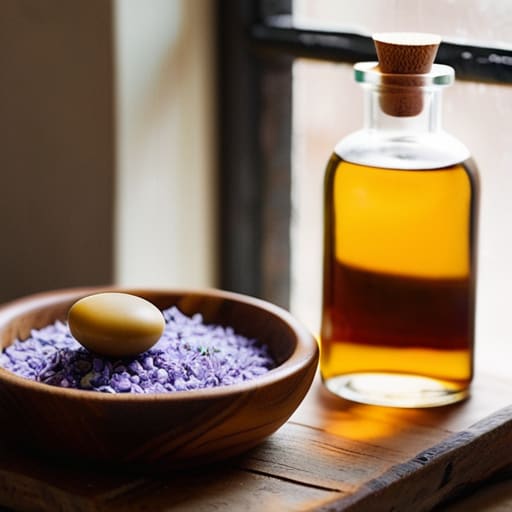
Once you’ve got the basic steps down, I love leaning into the more intentional side of the craft. Mastering cold process soap making methods isn’t just about the chemistry; it’s about embracing that slower pace of life. When you aren’t rushing to finish, you can really play with texture and scent. I personally find that choosing high-quality essential oils for natural soap makes the whole process feel like a mini aromatherapy session. It turns a simple chore into a meditative ritual that grounds me after a hectic week in the city.
Of course, a little bit of preparation goes a long way in keeping the experience joyful rather than stressful. Before you dive into your next batch, I always recommend double-checking your soap making equipment list to ensure everything is clean and ready to go. It might feel like extra work upfront, but having your tools laid out prevents that frantic energy we all try to avoid. Remember, the goal here is to create something beautiful for your home while finding your own rhythm in the process.
Selecting Natural Soap Ingredients for Skin and Wellness
One of my favorite parts of this whole process is getting to play chemist in my own kitchen! When you’re choosing your natural soap ingredients for skin, it’s all about thinking about what your body actually needs. I love using a base of olive oil for its soothing properties or coconut oil when I want a bit more lather. If you’re feeling a little overwhelmed by the options, just remember that you don’t need a massive pantry of oils to start; even a simple, high-quality blend can make a world of difference for your daily wellness routine.
Once you have your base oils sorted, the real magic happens with scent and skin benefits. I highly recommend experimenting with different essential oils for natural soap to create a sensory experience that helps you decompress. For instance, lavender is my go-to for a calming evening soak, while citrus oils can give you that much-needed morning boost. Just be sure to research each oil’s properties so you’re choosing scents that complement your skin type. It’s such a rewarding way to infuse intention into your self-care rituals!
A Few Little Secrets for a Stress-Free Soap Session
- Safety first, always! I know it sounds a bit serious, but working with lye requires some respect. Grab a pair of sturdy gloves and some eye protection before you even think about opening that container—it’s much better to be safe than sorry when you’re in your creative zone.
- Don’t rush the temperature. One of the biggest mistakes I made when I first started was trying to mix everything while the oils and lye water were too hot or too cold. Aiming for that “sweet spot” where they are both around 100°F helps everything emulsify much more smoothly.
- Keep a “clean-up kit” nearby. There’s nothing that kills my creative flow faster than a messy workspace. I like to have a dedicated tray and some extra towels ready to go so that if a little splash happens, I can tidy up immediately and keep my focus on the craft.
- Trust your stick blender. You might be tempted to stir everything by hand to feel “connected” to the process, but honestly, a stick blender is your best friend. It gets you to that perfect trace much faster, which means less arm fatigue and more time for the fun stuff like adding scents.
- Patience is your most important ingredient. Once your soap is in the mold, the hardest part is actually waiting. Resist the urge to slice into it too early! Giving your bars a full 24 to 48 hours to set ensures they have the perfect texture and won’t crumble when you finally get to enjoy them.
Bringing the Calm of Soap Making Into Your Daily Life
Remember that soap making is a practice in patience, not just a project; embrace the slow process as a way to unplug and reconnect with your senses.
Focus on quality over quantity by choosing simple, skin-loving ingredients that align with your wellness goals rather than trying to master every recipe at once.
Don’t be afraid to experiment and make mistakes—every “imperfect” batch is just another step toward finding a creative rhythm that works for you.
Finding Magic in the Mess
“Soap making isn’t just about creating something useful for your home; it’s about that beautiful, slow process of turning raw, simple ingredients into something that nourishes your skin and your soul. Don’t worry if it feels a little messy at first—that’s just part of the magic.”
Emma Thompson
Bringing Your Creation to Life
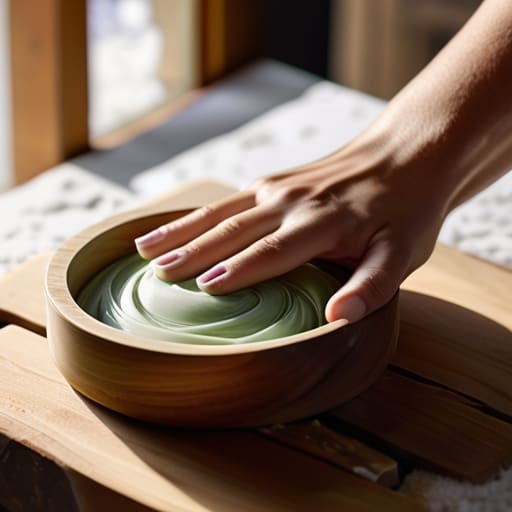
As we wrap up our little soap-making journey, I hope you feel a lot more confident about diving into this craft. We’ve covered everything from choosing those nourishing, skin-loving natural ingredients to mastering the patient, rhythmic flow of the cold process method. Remember, it’s not just about the final bar of soap sitting on your bathroom counter; it’s about the intentionality you put into the process. Whether you’re experimenting with new scents or perfecting your swirl technique, the most important thing is to embrace the learning curve and enjoy the tactile, sensory experience of creating something truly unique from scratch.
At the end of the day, soap making is such a beautiful way to weave a bit of mindfulness into your daily routine. It’s a gentle reminder that we have the power to step away from the rush of modern life and create something meaningful with our own two hands. Don’t worry if your first batch isn’t a masterpiece—even my very first attempt was a bit wonky! The goal is to find joy in the doing. I truly believe that by slowing down and focusing on these small, creative acts, we can cultivate a much more balanced and intentional lifestyle. I can’t wait to hear how your first batch turns out!
Frequently Asked Questions
Is it safe to make soap at home with kids around, or should I wait until they're a bit older?
I totally get why you’d be nervous about this! Honestly, you don’t have to wait until they’re older, but you do need to change your approach. While the lye part is definitely “grown-up business” only, kids can absolutely get involved in the fun, safe stages—like stirring in dried lavender or choosing scents. Just treat it like a supervised science experiment: keep the heavy lifting for yourself and let them be your little sous-chefs!
I’m worried about the lye—how do I stay safe while handling it without feeling totally overwhelmed?
I totally hear you—the word “lye” sounds a little intimidating! But honestly, once you have a little system in place, it feels much more manageable. Think of it like any other DIY project: respect the tools, but don’t let them scare you. Just grab some safety goggles, gloves, and long sleeves, and always work in a well-ventilated space. Once you’ve got your gear on, you’ll feel much more in control and ready to go!
How long do I actually have to wait before I can use my handmade bars?
I know, the anticipation is the hardest part! You’ve put in all that work, and you just want to dive into those beautiful, fragrant bars. However, if you’re using the cold process method, patience is your best friend. You’ll need to let your soaps cure for about four to six weeks. This allows the water to evaporate, making your bars harder, longer-lasting, and much gentler on your skin. Hang in there!
