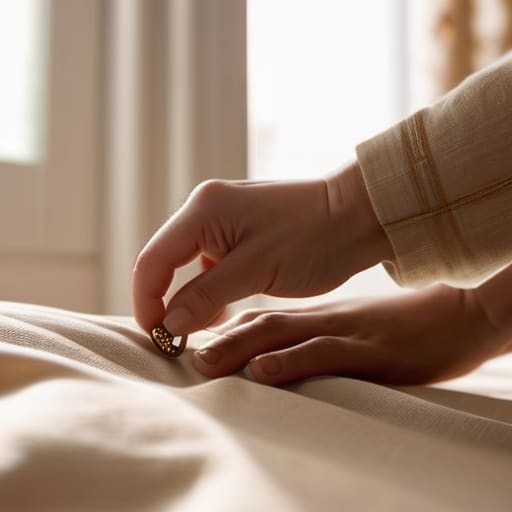
I remember standing in the middle of my first tiny apartment, staring at those sad, generic blinds and feeling completely defeated by the price tags at home decor stores. I used to think that making diy curtains was one of those intimidating projects reserved for people with professional sewing machines and endless free time, but I was so wrong. Honestly, you don’t need a degree in interior design or a massive budget to transform a room; you just need a little bit of fabric and the courage to try something new.
In this guide, I’m stripping away all the complicated jargon and fancy equipment to show you how easy this really is. I’ll walk you through the most straightforward methods for creating beautiful window treatments that actually look high-end, without the high-end stress. Whether you’re a total beginner or just someone looking to save a few dollars, I promise to share the no-nonsense steps you need to pull this off successfully. Let’s grab our scissors and get started!
Table of Contents
- Step-by-Step Instructions
- Choosing the Right Fabric Selection for Curtains
- Simple Hemmed Curtain Styles for a Balanced Room
- A Few Little Pro-Tips to Make Your Project a Success
- Quick Tips to Keep Your DIY Project Stress-Free
- ## A Little Bit of Soul for Your Space
- Bringing It All Home
- Frequently Asked Questions
Guide Overview
Tools & Supplies
- Sewing machine for stitching hems and edges
- Fabric scissors for clean straight cuts
- Measuring tape for accurate dimensions
- Iron for pressing seams and creases
- Fabric (2-3 yards depending on window size)
- Thread (1 spool matching fabric color)
- Sewing pins (1 pack)
- Curtain rod or tension rod (1 unit)
Step-by-Step Instructions
- 1. First things first, we need to gather our supplies. You don’t need a professional studio setup, just a few basics: your chosen fabric (I personally love a breathable linen for a relaxed vibe), fabric scissors, measuring tape, pins, an iron, and either a sewing machine or some high-quality fabric glue if you’re feeling extra cautious. Grab a cute pair of scissors—it actually makes the process much more fun!
- 2. Next, let’s get those measurements just right. Measure the width of your window and multiply it by two (or even two and a half if you want those lovely, deep folds). For the length, measure from your curtain rod down to where you want the fabric to hang. Always remember to add an extra few inches to both your width and length to account for the hems; there’s nothing worse than a curtain that’s accidentally too short!
- 3. Now, it’s time to prep your fabric. Lay your fabric out flat on a clean surface, like a large dining table or even a spot on the floor. Use your measurements to mark where you’ll be cutting, and then use your fabric scissors to carefully trim the pieces. I highly recommend ironing your fabric before you start cutting to ensure there are no unexpected wrinkles messing with your straight lines.
- 4. Let’s tackle the side hems. Fold the raw edges of your fabric inward by about half an inch, press it with the iron, and then fold it over another half inch. This “double fold” technique hides those messy raw edges and gives your curtains a much more professional, polished look. Secure the fold with pins along the entire length so they don’t budge while you’re working.
- 5. Now, we’ll create the top rod pocket. This is the part that actually lets your curtain hang! Fold the top edge of your fabric down—the amount depends on how thick your curtain rod is—and pin it in place just like you did with the side hems. If you’re using a sewing machine, stitch a straight line along the bottom of this fold to create a sturdy tunnel for the rod to slide through.
- 6. Don’t forget the bottom hem! To give your curtains that perfect, weighted hang, fold the bottom edge up and pin it. I usually like a slightly wider hem at the bottom because it helps the fabric drape beautifully and prevents it from curling upward. Once it’s pinned, go ahead and sew it shut, or carefully apply your fabric glue if you’re taking the no-sew route.
- 7. Finally, the moment of truth: hanging them up! Slide your rod through the top pockets you created, and carefully mount your rod to the wall. Take a moment to shake out any remaining wrinkles and adjust the folds until they look just right. Seeing your hard work hanging in your window is honestly the best feeling—you’ve totally transformed the room!
Choosing the Right Fabric Selection for Curtains
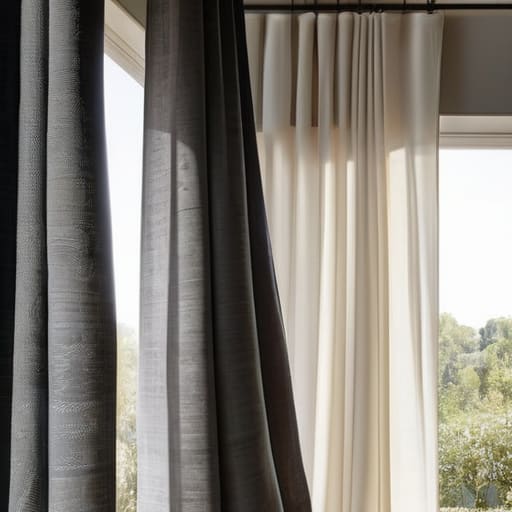
Now, before you head to the craft store or start scrolling through online fabric shops, let’s talk about the most important part: the material. I know it can feel a little overwhelming with so many textures and weights to choose from, but picking the right fabric selection for curtains is really about how you want your room to feel. If you’re looking to create a cozy, sleepy sanctuary in your bedroom, I highly recommend searching for heavier weaves or even attempting some room darkening diy curtains using blackout lining. On the other hand, if you want to let that gorgeous morning sunlight dance through your living room, a breezy linen or a lightweight cotton voile is your best friend.
One thing I’ve learned through my own upcycling projects is that the “drape” of the fabric changes everything. A stiff fabric might look a bit structured and modern, while something softer will flow more gracefully. If you’re working with a tight budget, don’t be afraid to look for high-quality remnants or even beautiful vintage tablecloths. It’s such a fun way to achieve that high-end, custom look without the designer price tag!
Simple Hemmed Curtain Styles for a Balanced Room
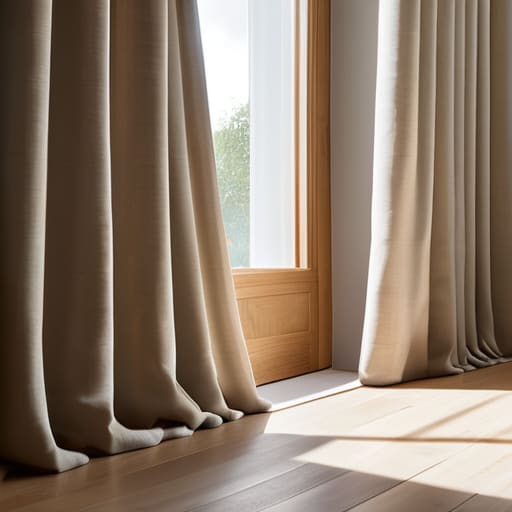
Once you’ve nailed down your fabric, the next step is deciding which hemmed curtain styles will actually suit your space. If you’re working with a smaller room, I always suggest a simple single hem at the bottom. It keeps things looking clean and uncluttered, which helps the room feel much more spacious. For a slightly more polished, high-end look, you might try a double fold. This adds a bit of weight to the bottom of the fabric, helping your curtains hang beautifully and stay in place without much fuss.
If you’re looking to tackle a bedroom project, you might want to experiment with layered textures to create some room darkening diy curtains. By pairing a lighter, sheer fabric with a heavier, thicker material, you can achieve that perfect balance of soft natural light during the day and cozy privacy at night. It’s one of my favorite ways to create custom window treatments that feel expensive but actually fit a realistic budget. Remember, the goal isn’t perfection—it’s about creating a space that feels uniquely yours and incredibly inviting.
A Few Little Pro-Tips to Make Your Project a Success
- Don’t skip the pre-wash! I’ve learned the hard way that if you don’t wash your fabric before you start cutting, those lovely curtains might shrink and end up looking like dollhouse decor after the first time they hit the laundry.
- Invest in a good quality fabric chalk or a disappearing ink pen. Trust me, trying to mark your hem lines with a regular pencil is a recipe for frustration, and you want those lines to be crisp and clean.
- Always, always measure twice (and maybe even three times). It sounds like a cliché, but there is nothing more heartbreaking than getting to the very end only to realize your panels are a couple of inches too short for your windows.
- Use plenty of pins—lots of them! Keeping your fabric taut and aligned while you sew can be a struggle, so pinning your hems generously will save you so much headache as you move through the machine.
- Think about the “hang” before you sew. If you’re using a heavier fabric, you might want to add a bit more weight to the bottom hem to help them drape beautifully and stay in place instead of fluttering every time a breeze comes through.
Quick Tips to Keep Your DIY Project Stress-Free
Don’t overthink the fabric; choosing something with a bit of weight and a simple pattern makes the sewing process much more forgiving for beginners.
Focus on the “less is more” approach with your hems to ensure your curtains look polished and professional rather than cluttered.
Remember that the goal is to make your space feel like you, so don’t be afraid to experiment with textures that bring you a sense of calm and comfort.
## A Little Bit of Soul for Your Space
“There’s something so incredibly rewarding about looking at your window and knowing you didn’t just buy a piece of decor—you actually created it. DIY curtains aren’t just about saving a few dollars; they’re about adding a personal touch that makes a house truly feel like your home.”
Emma Thompson
Bringing It All Home
As we wrap things up, I hope you feel a little more confident about tackling this project. We’ve covered everything from finding that perfect fabric that matches your vibe to choosing a hem style that brings a sense of calm to your space. Remember, the goal isn’t perfection; it’s about creating something that feels uniquely yours. Whether you went with a heavy linen for a cozy feel or a light cotton to let the sunshine in, you’ve successfully taken a big step toward making your home a more intentional and beautiful place. It really is all about those small, meaningful changes that add up over time.
I know that starting a DIY project can sometimes feel a bit daunting, especially when you’re staring at a pile of fabric and a pair of scissors, but I promise you’re more capable than you think. There is something so incredibly rewarding about sitting in a room and knowing you helped shape the atmosphere with your own two hands. Don’t be afraid to make mistakes or try a different style next time—that’s just part of the creative journey! So, grab your sewing kit, put on your favorite music, and just start creating. You’ve totally got this, and I can’t wait to hear how your new curtains turned out!
Frequently Asked Questions
How do I figure out exactly how much fabric I need to buy so I don't end up short?
This is such a common worry! There is nothing worse than getting halfway through a project and realizing you’re a few inches short. To get it right, measure your window width and multiply it by 2 or 2.5 for that lovely, gathered look. Then, measure from your rod to the floor, adding about 8-10 inches for your hems. Grab a notepad, do the math, and maybe buy an extra half-yard just to be safe!
What's the best way to hang my new curtains if I don't want to deal with heavy-duty drilling?
I totally get it—sometimes the thought of drilling into walls feels like a massive project you just don’t have the energy for! If you’re looking to skip the heavy-duty tools, I highly recommend tension rods. They’re a lifesaver for window niches and require zero hardware. For a more “permanent” look without the drill, you can also try heavy-duty Command hooks paired with lightweight curtain rods. It’s such a stress-free way to refresh your space!
Can I use leftover fabric from other projects, or should I always stick to new material?
Oh, I love this question! Honestly, using leftover fabric is one of my favorite ways to upcycle. It’s so much better for your budget and the planet. If you have enough yardage to cover your windows, go for it! Just make sure to wash and iron the scraps first to ensure everything looks cohesive. Sometimes those “leftovers” end up becoming the most charming, unique pieces in the room. Happy sewing!