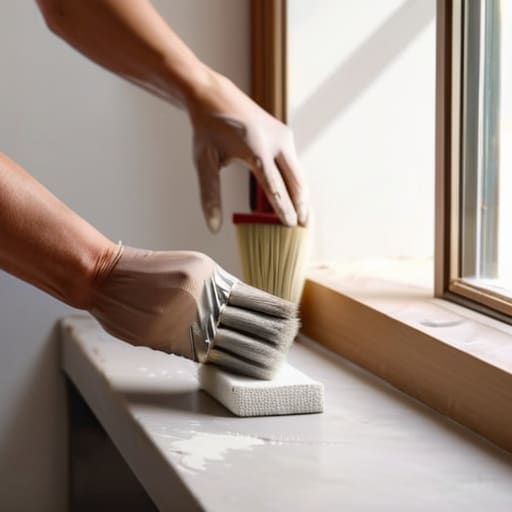
I was standing in the middle of my tiny apartment living room, staring at a patch of scuffed, beige wall that felt like it was draining the life right out of me, clutching a single, overpriced roller and feeling completely overwhelmed. I had this idea that learning how to paint a room was going to be this massive, expensive ordeal that required a professional crew and a degree in interior design. But honestly? That’s just a myth that keeps us from actually enjoying our spaces. After years of upcycling old furniture and tinkering with my urban garden, I’ve learned that a fresh coat of paint isn’t about perfection—it’s about reclaiming your environment one wall at a time.
In this guide, I’m stripping away all the confusing jargon and the “must-have” expensive tools you don’t actually need. I’m going to walk you through my personal, tried-and-true method for how to paint a room without losing your mind (or your security deposit). We’ll cover everything from the essential prep work to choosing the right finish, all while keeping things simple and budget-friendly. Let’s turn that daunting project into a peaceful afternoon of creativity.
Table of Contents
- Step-by-Step Instructions
- Gathering Your Essentials an Essential Painting Supplies Checklist
- Preparing Your Sanctuary How to Prep Walls for Painting
- Pro-Tips for a Flawless Finish (Without the Headache)
- Quick Tips for a Stress-Free Paint Day
- A Little Perspective for Your Project
- You’ve Got This: Final Thoughts
- Frequently Asked Questions
Guide Overview
Tools & Supplies
- Paint roller and tray for large surfaces
- Angled brush for edges and corners
- Painter's tape for clean lines
- Drop cloths to protect floors
- Interior paint 1-2 gallons per room
- Painter's tape 1 roll
- Sandpaper fine grit for smoothing walls
- Spackle small container for hole repair
Step-by-Step Instructions
- 1. First things first, we need to clear the stage. Move your furniture to the center of the room and cover it with some old sheets or plastic drop cloths. I always tell myself that prep work is the secret sauce to a stress-free project. Grab some painter’s tape and run it along your baseboards and around window frames; it might feel a little tedious, but it’s much better than spending hours trying to scrape dried paint off your trim later!
- 2. Next, let’s give those walls a little TLC. Grab a damp cloth and wipe away any dust or cobwebs, because paint just won’t stick to a dirty surface. If you notice any little nicks or holes from old picture frames, don’t panic! Just grab a small tub of spackle, fill them in, and let it dry. Once it’s hard, give it a gentle sand with some fine-grit sandpaper until it’s smooth to the touch.
- 3. Now, it’s time to get tactical with the “cutting in” phase. This is where you use a smaller brush to paint the edges, corners, and areas around the trim where a big roller just won’t reach. I like to grab a cup to hold my paint so I’m not dipping directly into the big can—it keeps things much neater and less messy. Take your time here; once these edges are done, the rest of the job becomes a breeze.
- 4. Once your edges are looking good, it’s time to bring out the big guns: the roller! Dip your roller into the tray, making sure to get an even coat without too much dripping. Use a “W” or an “M” motion on the wall to distribute the paint, and then fill in the gaps. This technique helps you avoid those annoying streaks that can happen if you just go straight up and down.
- 5. Don’t rush into a second coat immediately! I know, I know—the temptation to finish everything in one go is real, but patience is your best friend here. Let the first layer dry completely according to the instructions on your paint can. Applying a second coat once the first is dry will ensure your color looks rich, even, and professional.
- 6. Finally, the most satisfying part: the cleanup. While the paint is still slightly tacky, peel off your painter’s tape at a slow, steady angle. If you wait until the paint is bone-dry, you might accidentally pull some of the new color off with the tape, which is such a bummer! Once the tape is off, wash your brushes and rollers thoroughly so they’re ready for your next DIY adventure.
Gathering Your Essentials an Essential Painting Supplies Checklist
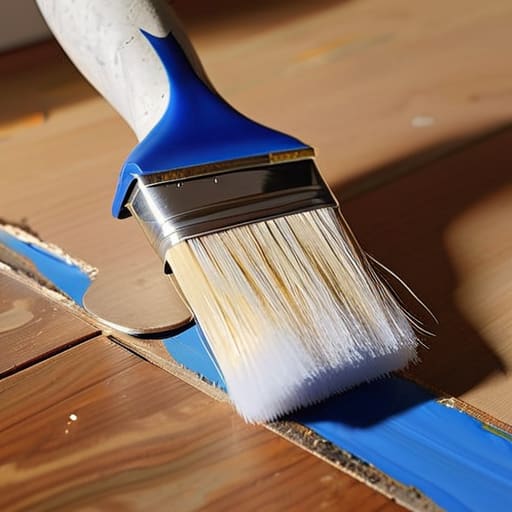
Before you dive into the fun part, let’s make sure you aren’t running back and forth to the hardware store halfway through the job. There is nothing more frustrating than realizing you’ve run out of painter’s tape when you’re in the middle of a groove! I always recommend sitting down with an essential painting supplies checklist before you even crack open a can. Beyond just the paint, you’ll want high-quality brushes, a sturdy tray, and a few different sizes of rollers. If you’re working with a larger space, having a long-handled extension pole can save your back and make the whole process feel much more manageable.
One thing I’ve learned from my own DIY mishaps is that the secret to a professional finish isn’t just the paint itself, but how you handle the surroundings. Don’t skip the step of protecting furniture while painting; even the most careful person can have a stray drip! Grab some heavy-duty drop cloths—canvas is my personal favorite because it doesn’t slip—and some painter’s tape to seal off your baseboards. Taking these few extra minutes to set the stage will let you focus on the creative side of things without the constant worry of a messy cleanup.
Preparing Your Sanctuary How to Prep Walls for Painting
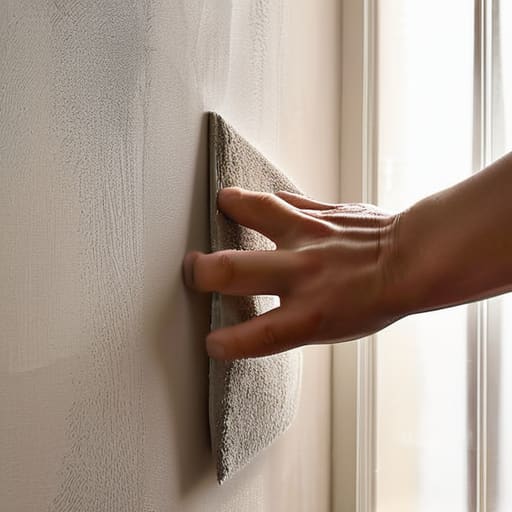
I know, I know—prep work is usually the part everyone wants to skip so they can get straight to the fun part of picking colors and rolling on that fresh coat. But if you want to avoid those annoying bumps or patches later, learning how to prep walls for painting is actually the secret sauce to a professional-looking finish. Start by giving your walls a good wipe-down with a damp cloth to remove any dust or cobwebs. If you have any small holes from old picture frames, grab some lightweight spackle, fill them in, and sand them down until they’re smooth as silk.
Once the walls are clean and patched, it’s time to focus on the rest of your space. I always tell my friends that protecting furniture while painting is just as important as the painting itself! Clear out as much as you can, and for the heavy pieces that have to stay, drape them in old sheets or plastic drop cloths. Don’t forget to pull your baseboards away from the wall slightly or use painter’s tape to create those crisp, clean lines we all love. Taking these little extra steps now will make the whole process feel so much more peaceful!
Pro-Tips for a Flawless Finish (Without the Headache)
- Don’t skimp on the quality of your brushes and rollers. I know, a fancy brush feels like an extra expense, but trust me—it makes the application so much smoother and saves you a ton of frustration when you’re trying to avoid those annoying streak marks.
- Always test your color on a small patch of the wall first. Lighting in a store is totally different from the light in your actual living room, and a shade that looks like a dreamy sage in the shop might end up looking a bit too moody once it’s on your walls.
- Work from the top down! It sounds simple, but starting with the ceiling and working your way down to the baseboards ensures that any little drips or splatters get covered up in your next pass, rather than becoming a permanent part of your new decor.
- Keep a damp cloth handy while you work. Sometimes, even with all our careful prep, a tiny little drip happens. If you catch it while the paint is still wet, you can wipe it away in seconds instead of waiting for it to dry and having to sand it down later.
- Remember that “less is more” when it comes to your first coat. It’s tempting to go heavy to get instant coverage, but applying thinner, even layers actually helps you achieve that professional, velvety look without the dreaded texture buildup.
Quick Tips for a Stress-Free Paint Day
Don’t rush the prep work; taking that extra time to clean and patch your walls now will save you so much frustration when you’re actually applying the color.
Remember that it’s all about the layers—two thin, even coats will always look much more professional and polished than trying to cover everything in one heavy, messy go.
Keep your workspace organized and your tools clean as you go, because a little bit of tidying up makes the whole experience feel much more relaxing and less like a chore.
A Little Perspective for Your Project
“Painting a room isn’t just about changing a color on the wall; it’s about giving yourself the permission to refresh your environment and create a space that actually feels like home.”
Emma Thompson
You’ve Got This: Final Thoughts
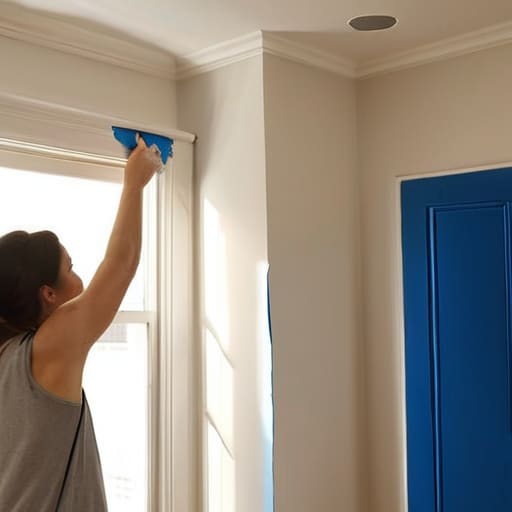
I know that looking at a pile of drop cloths, tape, and half-empty paint cans can feel a little daunting, but look how far you’ve come! We’ve walked through everything from gathering your supplies to that crucial, often-overlooked prep work. By taking the time to clean your walls and protect your floors, you’ve already done the heavy lifting required to ensure a professional-looking finish. Remember, the secret isn’t in having a perfect hand with the brush, but in the patience you show during the process. Once that final coat is dry and the tape is peeled away, you’ll realize that all that careful preparation was truly worth every single minute.
At the end of the day, painting a room is about so much more than just changing a color on a wall; it’s about reclaiming your space and making it reflect the person you are becoming. Whether you chose a calming sage green to help you decompress or a bold navy to spark some creativity, you are investing in your environment. Don’t sweat the tiny imperfections—they just give your home character. Take a deep breath, grab a cup of tea, and soak in the magic of your newly transformed sanctuary. You did an amazing job, and I am so incredibly proud of you for taking this step toward a more beautiful, balanced home!
Frequently Asked Questions
How much paint should I actually buy so I don't end up with way too much or run out mid-project?
There’s nothing worse than being halfway through a wall and realizing you’re scraping the bottom of the can! To avoid that mid-project panic, I always recommend measuring your wall’s square footage first. A good rule of thumb is that one gallon usually covers about 350 to 400 square feet. Since most rooms need two coats for that perfect, even finish, I usually buy a little more than the bare minimum. Better to have a tiny bit left for touch-ups later!
Is it okay to paint over a dark color with a lighter one, or am I going to need a ton of primer?
Oh, I’ve definitely been there! It’s tempting to just dive straight in, but if you’re going from a deep navy to a soft cream, you’ll likely end up frustrated by seeing those dark streaks peeking through. To save yourself from endless coats of expensive paint, I’d highly recommend using a good quality primer first. It acts like a reset button for your walls, making the job much smoother and way less stressful!
How can I keep the paint smell from taking over my whole house while I'm working?
I totally get it—that heavy paint smell can feel so overwhelming when you’re just trying to relax in your own home! To keep it from taking over, I always try to create a “ventilation path” by opening windows on opposite sides of the room to get a steady breeze going. I also love using small fans to push the air outward. If it’s still a bit much, a few bowls of white vinegar or activated charcoal nearby can work wonders for absorbing those odors!
