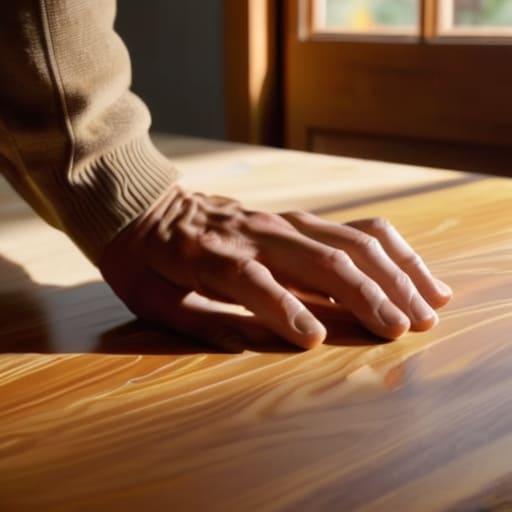
I was standing in my garage last Saturday, staring at a dusty, scratched-up mid-century nightstand I’d rescued from a curb, feeling completely overwhelmed by the sheer amount of sandpaper scattered around me. For a long time, I thought that learning how to refinish furniture required a professional workshop and a degree in carpentry, but I quickly realized that’s just not true. You don’t need a massive budget or expensive industrial tools to breathe new life into a tired piece of wood; you just need a little bit of patience and the right approach. Honestly, the most intimidating part isn’t the actual work, it’s the fear of making a mistake on something you’ve worked so hard to save.
In this guide, I’m stripping away all the complicated jargon and intimidating DIY myths to give you a straightforward, soulful roadmap. I’ll walk you through my personal, step-by-step process—from the initial cleaning to that final, satisfying coat of finish—so you can feel confident and capable every step of the way. We’re going to focus on simple, manageable tasks that turn a daunting project into a rewarding afternoon of creativity. Let’s get our hands a little dirty and transform your space together!
Table of Contents
- Step-by-Step Instructions
- Gentle Wood Stripping Techniques for a Fresh Start
- Mastering Wood Grain Preparation for a Balanced Finish
- My Little Secrets for a Flawless Finish
- Wrapping Up: My Top Tips for Your Furniture Journey
- Finding Beauty in the Layers
- The Beauty of a Job Well Done
- Frequently Asked Questions
Guide Overview
Tools & Supplies
- Sandpaper (various grits for smoothing)
- Screwdriver (to remove hardware)
- Paintbrush or foam roller (for applying finish)
- Tack cloth (to remove dust)
- Wood primer (1 quart)
- Furniture paint or stain (1 quart)
- Sanding block (1 unit)
- Degreaser or soap (1 bottle)
Step-by-Step Instructions
- 1. First things first, we need to clear some space and gather our supplies. Grab a comfortable spot in your workspace—maybe near a window for that lovely natural light—and lay out your sandpaper (varying grits from coarse to fine), a tack cloth, your chosen stain or paint, and some high-quality brushes. I always like to put on my favorite pair of patterned socks and a good playlist before diving in; it makes the process feel less like a chore and more like intentional creative time.
- 2. Now, let’s get into the real work: stripping and sanding. If your piece has a thick, old varnish, you might want to use a chemical stripper first to take the brunt of it off. Once the surface is relatively smooth, grab your medium-grit sandpaper and start sanding in the direction of the wood grain. It’s tempting to rush through this, but patience is your best friend here; you want to remove the old finish without gouging the beautiful wood underneath.
- 3. Once you’ve finished sanding, it is absolutely crucial to clean the surface. Use a vacuum with a brush attachment to suck up the loose dust, and then follow up with a tack cloth to wipe away every single tiny particle. If you leave even a little bit of dust behind, your new finish will end up feeling bumpy and uneven, and we definitely want that professional, silky-smooth look.
- 4. This is where the magic happens—applying your color! If you’re going for a stain, apply it in thin, even layers using a lint-free cloth or a sponge. If you’ve decided to paint, I highly recommend using a primer first to ensure the color sticks and looks vibrant. Don’t try to cover everything in one heavy coat; it’s much better to do two or three light layers than to struggle with one thick, gloppy mess.
- 5. While you’re waiting for your color to dry, take a little breather—maybe grab a cup of tea or tend to your indoor plants. Once it’s dry to the touch, it’s time to seal in all that hard work with a clear topcoat. Whether you choose a matte, satin, or glossy finish, apply it carefully to protect the piece from spills and scratches. This step is what truly locks in your transformation and ensures your new treasure lasts for years to come.
- 6. Finally, let your masterpiece cure. I know, I know—it’s tempting to immediately put your books or coffee mugs on your newly finished side table, but try to give it a few days to fully harden. This “waiting period” is the secret to a durable, high-quality finish that won’t peel or stick. Once it’s set, step back, admire what you’ve created, and enjoy the wonderful feeling of having breathed new life into something old.
Gentle Wood Stripping Techniques for a Fresh Start
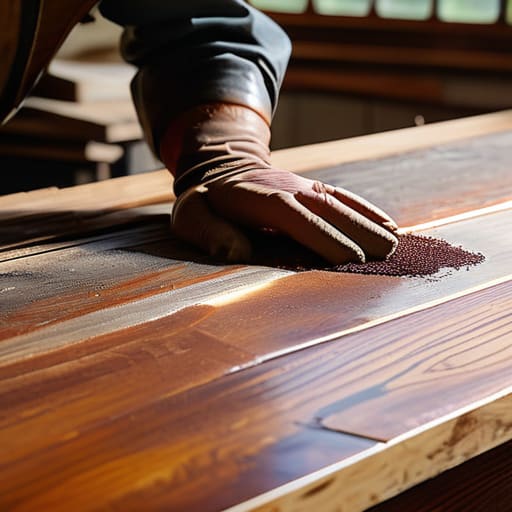
Now, I know what you’re thinking: “Emma, do I really have to spend hours scrubbing away at that old finish?” Honestly, it can feel a bit daunting, but choosing the right wood stripping techniques makes all the difference between a fun weekend project and a total headache. If you’re working with a delicate piece—maybe a vintage side table you found at a thrift store—I highly recommend using a chemical stripper rather than jumping straight into heavy sanding. It’s much kinder to the wood. Just apply a thin, even layer and let the product do the heavy lifting for you. It’s all about working smarter, not harder, so you don’t end up accidentally gouging the surface.
Once the old finish starts to bubble and lift, use a plastic scraper to gently lift it away. This is a crucial part of removing old varnish without scarring the wood underneath. I always keep a soft-bristled brush nearby to get into those intricate carvings or tight corners where a scraper just won’t reach. Take your time here; rushing this stage is usually where mistakes happen. If you stay patient and gentle, you’ll create the perfect, clean canvas for whatever beautiful new color you have planned!
Mastering Wood Grain Preparation for a Balanced Finish
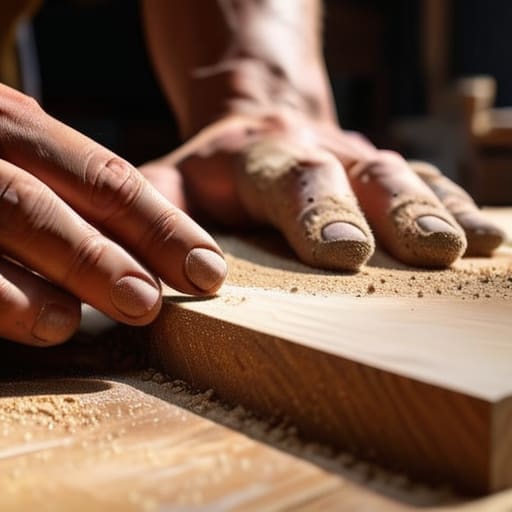
Once you’ve finished removing old varnish, you might feel like the hard part is over, but I promise this is where the magic actually happens. Think of this stage as the foundation of your entire project. If you rush through the sanding, your final finish might end up looking blotchy or uneven, which can be so frustrating after all that hard work. To get that professional look, I always recommend following a consistent furniture sanding grits guide. Start with a coarser grit to level out any bumps, then gradually move to finer grits to smooth everything out. It’s all about patience; you want to transition through the grits slowly so you don’t leave deep scratches behind.
As you move through the process, keep a close eye on the natural texture of the piece. Proper wood grain preparation means more than just smoothing the surface; it’s about opening up the pores of the wood so your finish can really soak in. I like to wipe the piece down with a tack cloth between every single grit change to ensure no dust is trapped in the grain. Trust the process, and remember that a little extra time spent here will pay off immensely when it’s time to apply your stain.
My Little Secrets for a Flawless Finish
- Don’t rush the drying process. I know it’s tempting to jump straight to the fun part (the staining!), but if your stripper or primer hasn’t fully cured, you’ll end up with a sticky mess that’s a total headache to fix. Patience is your best friend here.
- Always work with the grain, never against it. It sounds like common sense, but when you’re in the zone, it’s easy to start sanding in circles. Stick to those long, steady strokes to avoid those annoying scratches that show up once the finish hits the wood.
- Test your colors on a hidden spot first. I can’t tell you how many times I’ve applied a beautiful walnut stain only to realize it looked way too dark on my specific piece of oak. Grab a scrap piece of the same wood if you can—it’s a total lifesaver.
- Keep your workspace tidy as you go. A little bit of dust or a stray hair can feel like a huge disaster once you apply a glossy topcoat. Keep a microfiber cloth handy to give everything a quick wipe-down right before you start painting or staining.
- Invest in decent quality brushes. You don’t need the most expensive professional kit out there, but those cheap, scratchy brushes can leave streaks that drive you crazy. A good, soft brush makes the application feel much more like a relaxing ritual and much less like a chore.
Wrapping Up: My Top Tips for Your Furniture Journey
Remember that patience is your best tool; rushing through the sanding or stripping phases is usually where things go sideways, so take your time and enjoy the process.
Don’t be afraid to experiment with different finishes, but always test a small, inconspicuous spot first to see how the wood actually reacts.
View every imperfection as part of the piece’s unique story—the goal isn’t perfection, but rather creating something that feels soulful and brings you joy.
Finding Beauty in the Layers
“Refinishing a piece of furniture isn’t just about changing its color; it’s about having the patience to peel back the old layers and rediscover the soul of something that was once overlooked.”
Emma Thompson
The Beauty of a Job Well Done
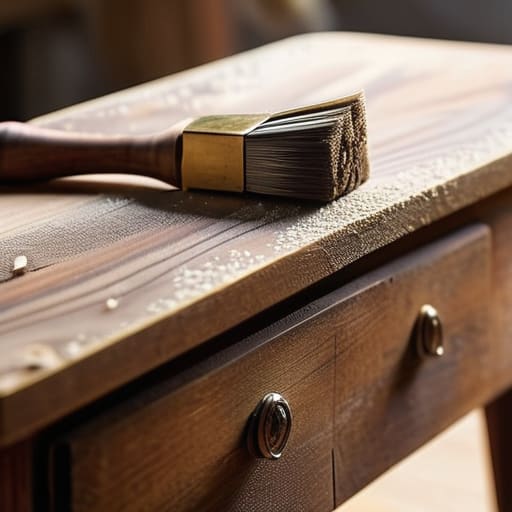
I know that seeing all those layers of old paint and dust can feel a bit daunting at times, but look how far you’ve come! By taking the time to carefully strip away the past and truly mastering that grain preparation, you haven’t just cleaned a piece of wood; you’ve laid the foundation for something beautiful. Remember, the secret to a professional-looking finish isn’t about having expensive tools or a perfect workshop; it’s really about the patience you pour into the prep work and the steady, gentle way you treat the material. You’ve done the heavy lifting, and now the fun part—the transformation—is finally within reach.
As you move into the staining and sealing stages, try to take a moment to just breathe and appreciate what you’ve accomplished. There is something so incredibly grounding about working with your hands and breathing new life into something that others might have simply thrown away. Refinishing furniture is about so much more than just home decor; it’s a lesson in finding potential in the overlooked and realizing that with a little bit of care, almost anything can be renewed. I am so proud of you for tackling this project, and I can’t wait to see how your beautifully transformed space makes you feel!
Frequently Asked Questions
What kind of mask or ventilation should I use to stay safe while stripping the old finish?
Safety first, friends! Since we’re dealing with chemicals that can be pretty harsh on your lungs, please don’t skip the protection. I always grab a respirator with N95 or P100 particulate filters—a simple dust mask just won’t cut it for chemical fumes. Also, try to work near an open window or even out on the porch if you can. It’s all about keeping your space breathable so you can enjoy the process!
Is it better to use a stain or just a clear wax if I want to keep the natural look of the wood?
That is such a great question! If you’re truly aiming for that raw, organic look, I’d recommend going with a clear wax. It highlights the wood’s natural character without masking it under pigment. However, keep in mind that wax offers less protection than a stain or sealer. If the piece gets a lot of use, you might want a clear matte topcoat instead—it keeps that “natural” vibe but adds a little extra peace of mind!
How can I tell if the wood is actually ready for the new finish, or if I need to do more sanding?
This is such a common worry, and trust me, I’ve been there! The best way to tell is the “touch and light” test. Run your hand over the surface; it should feel as smooth as silk, with no visible scratches or “pitting” from the sandpaper. Then, shine a flashlight at an angle across the wood. If you see any tiny swirl marks or uneven shadows, it’s telling you it needs a little more love with a finer grit!
