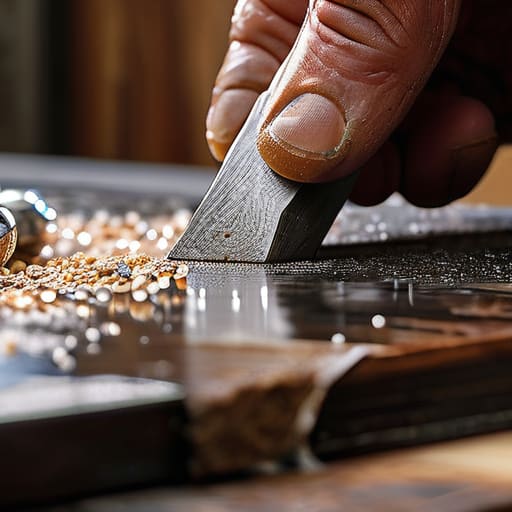
I was halfway through upcycling an old mid-century coffee table last weekend when my chisel suddenly gave up on me, tearing through the wood instead of slicing it. It was one of those incredibly frustrating moments where you realize your equipment is working against you, not with you. Most people think you need an expensive, high-tech setup or a specialized workshop to fix this, but that’s a total myth. Learning how to sharpen tools is actually much more about rhythm and patience than it is about owning a mountain of fancy gadgets. Once you find that flow, it feels less like a chore and more like giving your tools a second life.
In this guide, I’m stripping away all the intimidating jargon to give you a straightforward, no-nonsense approach to maintenance. I’ll walk you through the essential supplies you actually need and the simple techniques to get a professional-grade edge right at your kitchen table. My goal is to show you that mastering how to sharpen tools can be a calming, rewarding ritual that saves you money and makes your DIY projects feel completely effortless. Let’s get those edges back!
Table of Contents
- Step-by-Step Instructions
- Mastering Whetstone Sharpening Techniques With Ease
- Understanding Honing vs Sharpening for a Balanced Life
- Little Wins: My Top Tips for Keeping Your Tools in Peak Shape
- Quick Wins for Your Toolkit
- Finding Your Edge
- Finding Your Rhythm with Well-Maintained Tools
- Frequently Asked Questions
Guide Overview
Tools & Supplies
- Handheld knife (Target for sharpening)
- Garden trowel (Target for sharpening)
- Combination whetstone (1 unit)
- Honing strop (1 unit)
- Lubricating oil or water (1 bottle)
- Microfiber cloth (1 unit)
Step-by-Step Instructions
- 1. First things first, you’ll need to gather a few supplies so you aren’t hunting through your garage mid-project. I always keep a whetstone (a combination coarse and fine grit one is perfect) and a small container of water or honing oil nearby. Depending on what you’re working on, you might also want a piece of leather or even an old denim scrap to act as a strop for that final, silky-smooth finish.
- 2. Before you even touch the stone, give your tools a good cleaning. It sounds simple, but trying to sharpen a blade covered in dried mud or sap is a recipe for frustration. Use a stiff brush or a bit of soapy water to clear away any debris, then dry everything thoroughly. You want a clean surface so you can actually see the edge you’re working on.
- 3. Now, let’s talk about the most important part: finding your angle. This is where most people get a little nervous, but I promise it’s easier than it looks. For most garden tools or kitchen knives, you’re looking for about a 20-degree angle. A little trick I use is to imagine a coin standing on its edge under the blade; that’s a great visual starting point to help you maintain a consistent tilt.
- 4. Once you’ve found your angle, start with the coarse side of your whetstone. Using steady, even pressure, sweep the blade across the stone in a smooth, rhythmic motion. You aren’t trying to hack away at the metal; rather, you want to gently shave off tiny amounts of steel to reset that edge. Think of it like a meditative movement—keep your breathing steady and your strokes consistent.
- 5. After you’ve worked the coarse side, it’s time to switch to the fine-grit side of the stone. This step is all about polishing and removing those tiny burrs (those little curls of metal that form on the edge) that we created in the previous step. This part of the process is what really makes the tool feel effortlessly sharp when you finally put it to use.
- 6. If you want to take your tools from “good” to “professional grade,” finish up with a strop. Take your leather scrap or denim and pull the blade backward across the surface. This final bit of friction helps align the microscopic teeth of the edge, giving you that perfectly smooth glide that makes DIY projects so much more satisfying.
- 7. Finally, always do a quick safety check before putting your tool away. Never test a sharp edge with your thumb! Instead, try the “paper test”—gently see if the tool can slice through a single sheet of scrap paper without snagging. If it does, you’ve nailed it, and you’re ready to get back to work with total confidence.
Mastering Whetstone Sharpening Techniques With Ease
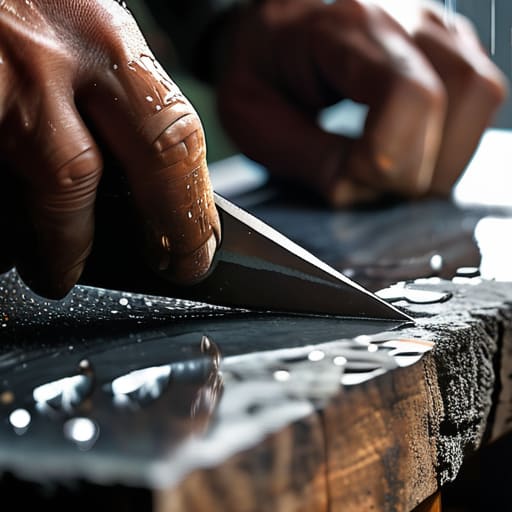
If you’re feeling a little intimidated by the idea of using a stone, take a deep breath—you’ve got this! One of the biggest hurdles I faced when I first started was understanding the difference between honing vs sharpening. Think of honing as a quick “refresh” to realign the edge, while sharpening actually removes a tiny bit of metal to create a brand-new, crisp edge. If your tools feel truly dull, you’ll want to lean into those deeper sharpening techniques rather than just trying to polish them up.
When you’re actually at the stone, the secret sauce is all about your sharpening tool angles. It’s tempting to wobble around, but try to find a consistent angle and stick with it throughout the entire stroke. It takes a bit of muscle memory, but once you find that sweet spot, the results are incredibly satisfying. Also, if you’re just starting out, don’t feel pressured to buy a professional kit; looking for the best sharpening stones for beginners—usually a dual-grit combination stone—will give you everything you need to find your rhythm without breaking the bank.
Understanding Honing vs Sharpening for a Balanced Life
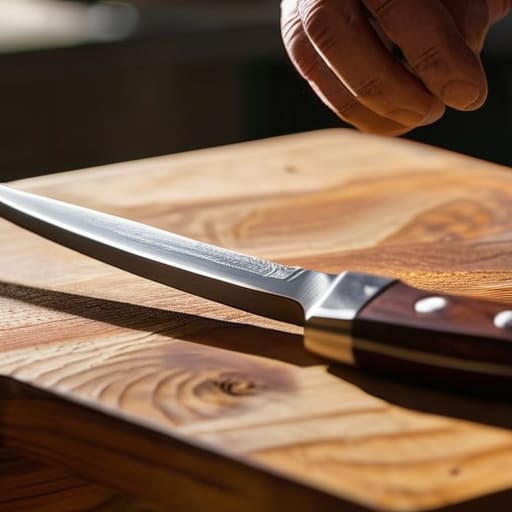
I used to get so frustrated when I’d pick up a pair of shears or a kitchen knife only to find they felt “dull,” even though I’d just sharpened them a week ago. That’s usually when I realize I’ve missed a crucial distinction: honing vs sharpening. Think of sharpening as the heavy lifting—it’s when you actually remove metal to create a brand-new edge. Honing, on the other hand, is much gentler; it’s about realigning the microscopic teeth of the blade that have folded over during use.
If you want to keep your workflow smooth without constantly grinding away your precious tools, I recommend making honing a regular part of your routine. It’s a bit like skincare; sharpening is the deep exfoliation, while honing is your daily moisturizer that keeps everything in tip-top shape. By mastering this balance, you’ll spend much less time struggling with maintaining blade edge integrity and more time actually enjoying your projects. It’s a small habit that saves so much time and prevents that overwhelming feeling of working against your equipment.
Little Wins: My Top Tips for Keeping Your Tools in Peak Shape
- Find your rhythm with the movement. Whether you’re using a stone or a file, try to keep your strokes consistent and steady. It’s a lot like finding your flow in a morning yoga session—once you find that steady pace, the work becomes much more meditative and way less frustrating.
- Don’t forget the importance of lubrication. If you’re working with a whetstone, a little water or honing oil goes a long way in preventing buildup and keeping the surface smooth. Think of it like a good moisturizer for your skin; it keeps everything moving exactly how it should.
- Listen to your tools. It might sound a little silly, but you can actually feel the difference in resistance when you’re hitting the right angle. If it feels like you’re fighting the metal, take a breath, reset your stance, and try again. It’s all about working with the tool, not against it.
- Safety first, always. I know it’s tempting to rush when you’re in the middle of a DIY project, but please, make sure your workspace is clear and your hands are protected. A little bit of preparation prevents a lot of unnecessary stress later on.
- Clean up as you go. After you’ve finished sharpening, give your tools a quick wipe down to remove any metal filings or grit. It’s a small habit, but it keeps your gear in great condition and makes your next project feel so much more organized and ready to go.
Quick Wins for Your Toolkit
Remember that sharpening isn’t just about the edge; it’s about making your work feel smoother and more enjoyable, reducing that unnecessary frustration during your DIY projects.
Don’t skip the distinction between honing and sharpening—using the right method at the right time will save you so much effort and keep your tools in great shape for longer.
Start small and be patient with yourself; mastering the rhythm of the whetstone takes a little practice, but once you find your flow, it becomes a calming, meditative part of your routine.
Finding Your Edge
“Sharpening your tools is a lot like tending to your own well-being; when we take those small, intentional moments to refine our edges, the work we do feels less like a struggle and more like a flow.”
Emma Thompson
Finding Your Rhythm with Well-Maintained Tools
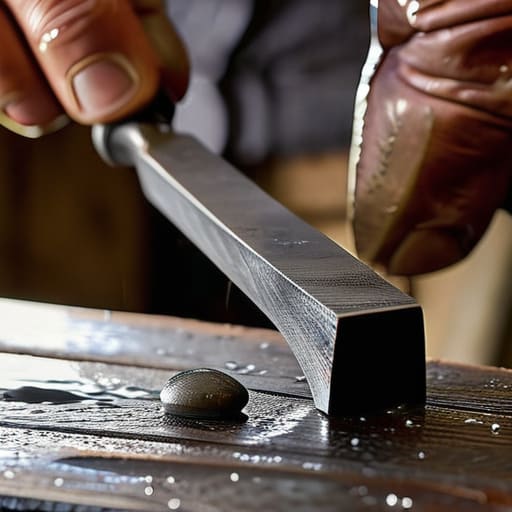
Taking the time to sharpen your tools might feel like just another task on an endless to-do list, but as we’ve explored, it’s really about more than just metal and stone. By understanding the difference between honing and sharpening, mastering your whetstone technique, and staying consistent with your maintenance, you’re actually investing in your own efficiency. When your tools are in peak condition, you aren’t just working harder; you are working smarter. It transforms a frustrating, clunky chore into a seamless part of your creative or productive flow, ensuring that your projects—whether in the garden or around the house—feel much more rewarding and significantly less stressful.
At the end of the day, I truly believe that the small, intentional habits we cultivate are what lead to a more balanced and fulfilling life. Learning to care for the things you use every day is a beautiful way to practice mindfulness and self-sufficiency. Don’t feel like you have to be a master craftsman overnight; just take it one stroke at a time. As you refine your skills and your tools, you’ll likely find that you’re refining your own sense of calm and capability too. So, grab your gear, find a quiet moment, and enjoy the process of bringing your tools back to life. You’ve got this!
Frequently Asked Questions
How often should I actually be sharpening my tools to keep them in good shape without overdoing it?
It’s so easy to fall into the trap of overthinking this, but honestly, there’s no magic number. I’ve found that the best approach is to listen to your tools rather than a calendar. If you notice a blade tugging instead of slicing, or if a garden trowel feels like it’s fighting you, that’s your cue. A quick hone after every few uses keeps things smooth, saving you from heavy-duty sharpening later!
Is it safe to sharpen my expensive kitchen knives using the same methods I use for my garden shears?
That is such a great question, and I’m so glad you asked before diving in! The short answer is: please, please don’t! While it’s tempting to use one method for everything, your garden shears and your chef’s knives are worlds apart. Garden tools are much more rugged, whereas kitchen knives require precision and a much finer edge. Using heavy-duty techniques on your expensive cutlery could actually damage the blade. Let’s keep those two worlds separate!
What are some beginner-friendly tools I can use if I'm feeling a bit intimidated by the idea of a whetstone?
I totally get it—staring down a whetstone can feel a little daunting when you’re just starting out! If you’re looking for a gentler entry point, I’d recommend starting with a simple handheld pull-through sharpener or a basic honing rod. They’re incredibly user-friendly and great for quick touch-ups. Think of them as your “training wheels” for maintenance; they help build your confidence before you dive into the more meditative, precise world of stones.
