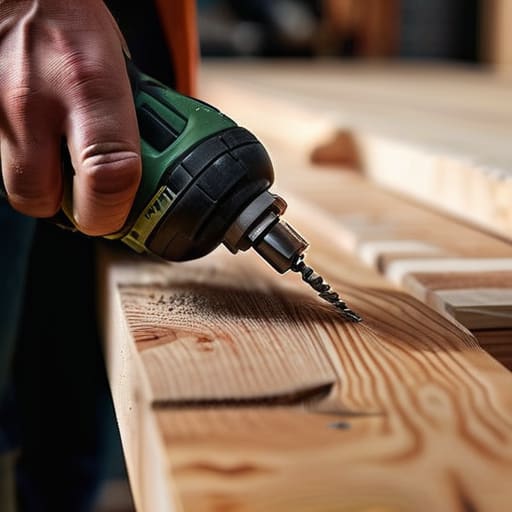
I still remember standing in my tiny first apartment, staring at a half-assembled bookshelf and a heavy, intimidating power tool I’d borrowed from a neighbor. I was convinced that I was going to accidentally drill a hole straight through the floor or, even worse, ruin my only decent piece of furniture. It turns out, the biggest barrier to DIY isn’t a lack of talent; it’s just that we’ve been told that learning how to use a drill has to be this scary, high-stakes ordeal. Honestly? Once you strip away the noise, it’s actually one of the most empowering skills you can master for your home.
In this guide, I’m stripping away all the technical jargon and the overwhelming manuals to give you the real deal. I’ll walk you through the basics—from picking the right bit to finding that perfect, steady pressure—so you can tackle your next project with total confidence. Whether you’re hanging a heavy mirror or finally starting that upcycled coffee table I’m always raving about, we’re going to take it one step at a time. Let’s turn that intimidation into something truly productive.
Table of Contents
- Step-by-Step Instructions
- Mastering Your Tools Essential Cordless Drill Safety Precautions
- Small Steps to Success Understanding Drill Bit Types and Uses
- Pro Tips for a Smooth (and Stress-Free) Drilling Experience
- Quick Tips to Keep You Confident and On Track
- ## A Little Encouragement for Your Next Project
- You've Got This: Final Thoughts on Your New Skill
- Frequently Asked Questions
Guide Overview
Tools & Supplies
- Power Drill (cordless or corded drill)
- Drill Bits (set of various sizes for wood, metal, or masonry)
- Safety Glasses (1 pair)
- Work Material (wood, metal, or plastic to be drilled)
Step-by-Step Instructions
- 1. First things first, let’s talk about your gear. Before you even pull the trigger, you need to pick the right bit for the job. If you’re drilling into wood, you’ll want a standard wood bit, but if you’re tackling a wall, you’ll need a masonry bit. Once you’ve chosen, insert the bit into the chuck (that’s the adjustable part at the tip) and tighten it securely by turning the chuck by hand or using the included key. I always give the bit a little tug just to make sure it isn’t going anywhere.
- 2. Safety is my absolute priority, so please, put on some eye protection before you start. Even a tiny splinter of wood or a flake of drywall can be a real pain if it lands in your eye. I like to keep a pair of stylish safety glasses right in my toolkit so I’m never tempted to skip this step. It’s a small habit that makes a huge difference in staying comfortable while you work.
- 3. Now, let’s get your mark ready. It’s super easy to accidentally drill somewhere you didn’t intend to if you just wing it. Take a pencil and make a small “X” where you want the hole to go. If you want to be extra fancy (and precise!), use a center punch or even a nail to create a tiny indentation in the material. This gives your drill bit a little “home” to sit in so it doesn’t skitter across the surface when you start spinning it.
- 4. It’s time to get into position. Hold the drill firmly with both hands—one on the handle and the other on the back of the drill if it has a secondary grip. This gives you much better control over the pressure you’re applying. Place the tip of the bit directly onto your mark and lean in slightly. You want to apply steady, even pressure, but don’t go overboard; let the tool do most of the heavy lifting for you.
- 5. Here comes the fun part: the actual drilling! Squeeze the trigger slowly to start the motor. You don’t want to go full throttle immediately, or you might crack the material or lose your place. As the bit starts biting into the surface, gradually increase your speed until you’ve reached the depth you need. If you feel the drill struggling or getting too hot, take a little breather and let it cool down.
- 6. Once you’ve reached the desired depth, don’t just yank the drill out. This is a common mistake that can cause the bit to catch and splinter the material. Instead, slowly release the trigger to let the drill come to a complete stop, and then pull the bit straight out of the hole. It’s much smoother and keeps your finished project looking polished and professional.
- 7. Finally, take a quick moment to clean up. Use a damp cloth or a small brush to sweep away any dust or debris from your workspace. I find that cleaning up as I go helps me stay in a positive headspace and prevents my DIY area from feeling cluttered and overwhelming. Plus, it makes it so much easier to see if your hole turned out exactly the way you wanted it to!
Mastering Your Tools Essential Cordless Drill Safety Precautions
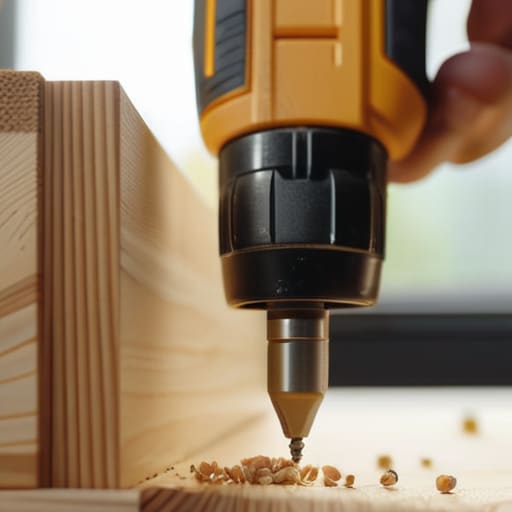
Before we dive into the fun part of seeing those holes appear, I want to take a quick second to talk about safety. I know, I know—it sounds a little serious, but trust me, it’s what keeps a fun afternoon project from turning into a headache. First things first, always make sure you’re wearing your eye protection. Even if you’re just doing a quick fix on a bookshelf, a tiny splinter or a stray piece of metal can fly up unexpectedly. Also, take a moment to practice a proper drill grip technique; holding the tool firmly with both hands—or one hand and a steady supporting hand—gives you much better control and prevents the drill from “jumping” when it first catches the material.
Another thing I learned the hard way is that not all surfaces are created equal. You’ll want to be mindful of drilling into wood vs metal, as the speed and pressure you use will change significantly between the two. If you’re working with something tougher, don’t try to force it! Instead, focus on adjusting your drill torque settings to match the task at hand. This prevents the bit from slipping and protects your hardware. Stay steady, stay focused, and you’ll do great.
Small Steps to Success Understanding Drill Bit Types and Uses
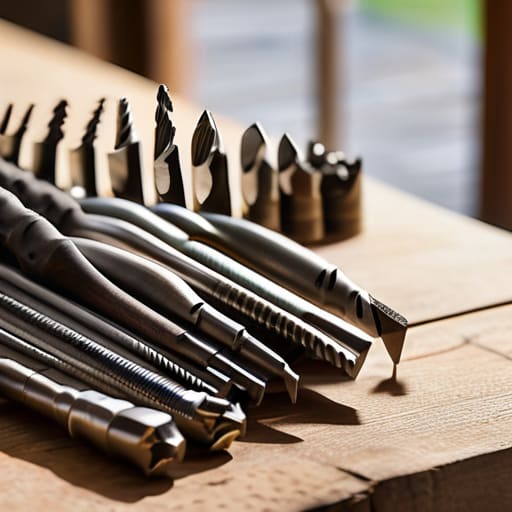
Now, I know walking into the hardware aisle can feel a little like stepping into a maze, especially when you’re staring at a wall of shiny metal bits. But honestly, once you understand the basics of drill bit types and uses, everything becomes so much more intuitive. Think of your bits like your kitchen tools—you wouldn’t use a butter knife to slice a steak, right? For your weekend upcycling projects, you’ll mostly lean on twist bits for wood, but if you’re working on something sturdier, you’ll want to switch to high-speed steel bits.
One thing I learned the hard way during my early DIY days is that the material dictates your approach. There is a massive difference between drilling into wood vs metal; wood allows for a bit more speed, while metal requires a slower, steadier hand to prevent overheating. Also, if you find yourself tackling a brick wall or a stone patio, don’t panic! You’ll just need a masonry bit and a bit of patience to learn how to drill into masonry without cracking the surface. Just take it one hole at a time!
Pro Tips for a Smooth (and Stress-Free) Drilling Experience
- Mark your spot twice, drill once! I always use a pencil to make a tiny dot where I want the hole to go, and if I’m feeling extra cautious, I’ll even use a nail to make a little “starter dent” so the bit doesn’t skitter across the surface when I start.
- Don’t be afraid to lean into it—but gently. You want to apply steady, even pressure rather than pushing with all your might. Let the drill do the heavy lifting; if you find yourself straining, it’s usually a sign you might need a different bit or a bit more patience.
- Keep your eyes on the prize (and your hands away from the action!). It sounds obvious, but when we get excited about a DIY project, we sometimes lose focus. Always make sure your grip is firm and your body is positioned so you won’t lose your balance if the drill catches on something.
- Listen to your drill. It actually “talks” to you! If you hear a high-pitched screeching or a sudden grinding sound, it’s the tool’s way of telling you to slow down, adjust your speed, or check if your bit is getting too hot.
- Mind the “exit wound.” When you’re drilling all the way through a piece of wood, the back side can sometimes splinter. To keep your project looking polished, try placing a scrap piece of wood tightly against the back of your main piece to catch those stray splinters as you finish the hole.
Quick Tips to Keep You Confident and On Track
Remember that patience is your best friend; start with a slower speed and a shallow hole to get the hang of it before you go full speed ahead.
Always match your bit to your material—using a wood bit on metal is a recipe for frustration, so take a second to double-check before you pull the trigger.
Don’t skip the safety steps or the prep work; a little bit of stability and the right protective gear makes the whole process much more enjoyable and stress-free.
## A Little Encouragement for Your Next Project
“Don’t let the noise or the power of a new tool intimidate you; once you find your rhythm, you’ll realize that a drill isn’t just a piece of hardware—it’s the key to finally bringing all those wonderful DIY ideas in your head into the real world.”
Emma Thompson
You've Got This: Final Thoughts on Your New Skill
We have covered a lot of ground today, from the fundamental mechanics of operating the drill to the crucial safety steps that keep you protected while you work. Remember, the secret to success isn’t having every single attachment in your toolbox; it’s about understanding your specific project and choosing the right bit for the job. Whether you are securing a shelf or starting a larger upcycling project, always keep your safety gear close and your movements steady. By mastering these basics, you are no longer just someone looking at a tool with intimidation—you are someone with the practical knowledge to actually get things done.
I know that picking up a power tool for the first time can feel a little daunting, but I promise you that the sense of accomplishment is so worth it. There is something truly magical about seeing a piece of furniture you’ve restored or a new organizer you’ve built and knowing, I did that myself. Don’t worry about being perfect on your first try; every DIY enthusiast started exactly where you are right now. Just take it one screw at a time, keep that positive mindset, and embrace the learning process. I can’t wait to hear about the amazing things you’re going to create!
Frequently Asked Questions
How do I know how much pressure to actually apply without slipping or stripping the screw?
This is such a common worry! I used to get so nervous about ruining a project before it even started. Think of it like this: you want enough pressure to keep the bit seated firmly in the screw head, but you don’t want to be leaning your entire body weight into it. Aim for a firm, steady push—like you’re pressing a button—and let the motor do the heavy lifting. If you feel the bit “skating,” back off and reset!
Is it okay to use a regular drill bit for everything, or am I going to ruin my project if I don't switch it up?
Oh, I’ve definitely been there! When I first started upcycling old side tables, I tried to use one bit for everything, and let me tell you—it was a disaster. Using a wood bit on metal or masonry is a recipe for frustration (and a ruined project). Think of your bits like your wardrobe; you wouldn’t wear hiking boots to a wedding, right? Using the right bit makes the job easier and keeps your materials looking beautiful!
My drill keeps making a weird clicking noise when I'm working—is that normal or should I be worried?
Oh, I’ve been there! That clicking sound can definitely be a bit startling when you’re in the middle of a project. Usually, it’s just the clutch engaging—it’s actually a built-in feature designed to prevent you from over-tightening a screw and stripping it. However, if it’s a loud, grinding noise, it might mean something is loose or the motor is struggling. Take a breather, check your settings, and let’s figure it out together!