I was sitting on my sofa last Tuesday, wrapped in my thickest wool blanket and nursing a mug of tea, when I realized I could actually feel a tiny, icy draft dancing right across my ankles. It was one of those annoying, subtle chills that makes your living room feel less like a sanctuary and more like a wind tunnel. I used to think that fixing a drafty entrance required a massive weekend renovation or a pricey contractor, but I quickly learned that weatherstripping a door is actually one of those tiny, low-effort wins that makes a massive difference.
I’m not here to sell you on expensive, complicated home improvement projects that leave you feeling more stressed than when you started. Instead, I want to walk you through the simple, no-nonsense steps to sealing those gaps properly so you can finally stop shivering. I’ll show you exactly what materials to grab at the hardware store and how to get a perfect fit without any of the usual DIY headaches. Let’s get your home feeling cozy and efficient again—one door at a time!
Table of Contents
Guide Overview
Tools & Supplies
- Measuring tape for determining door dimensions
- Scissors or utility knife for trimming materials
- Screwdriver for securing door sweeps or hardware
- Weatherstripping roll or strips (adhesive or screw-on)
- Door sweep (one per door)
- Cleaning solution or rubbing alcohol to prep surface
Step-by-Step Instructions
- 1. First things first, grab a flashlight and a candle (or even just a lighter) to find those sneaky drafts. On a breezy day, hold the flame near the edges of your door; if the flame flickers, you’ve found a leak. It’s also helpful to run your hand along the frame to feel for any unwelcome little gusts of air.
- 2. Once you know where the culprits are hiding, you’ll need to clear the way. Take a damp cloth and some mild cleaner to wipe down the door frame and the door itself. You want to make sure there’s no dust, grease, or old adhesive left behind, otherwise, your new weatherstripping won’t stay put for long.
- 3. Now, it’s time to measure twice and cut once! Grab a measuring tape and find the exact length of the sides and the top of your door frame. I always like to add an extra inch or two to my measurements just to be safe—it’s much easier to trim a little bit off at the end than to realize you’re short by a fraction of an inch.
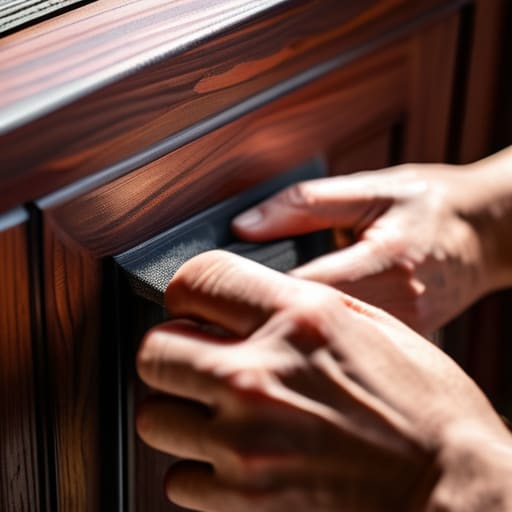
- 4. If you’re using the adhesive-backed foam or rubber strips (which are super beginner-friendly), peel off just a small section of the backing at a time. Start at the top corner and press the strip firmly into the frame. Try to keep your movements steady so the strip stays perfectly straight as you go.
- 5. For the bottom of the door, you might want to look into a “door sweep.” This is a slightly different beast than the side strips, but it’s a total game-changer for drafts. Depending on the model you bought, you’ll either screw it directly into the bottom of the door or slide it onto the edge. Just be sure to align it carefully so the door still closes smoothly without catching.
- 6. Once everything is in place, give the whole thing a little “stress test.” Close your door firmly and check to see if you can still see any daylight peeking through the cracks. If you do, you might need to adjust the position of your strips or perhaps add a slightly thicker piece of foam to fill that gap.
- 7. Finally, take a moment to appreciate your hard work! Not only does your home feel much more snug, but you’ve also just taken a small, proactive step toward lowering your energy bills. It’s these little DIY wins that really make a big difference in the long run.
Choosing the Best Weatherstripping Materials for Exterior Doors
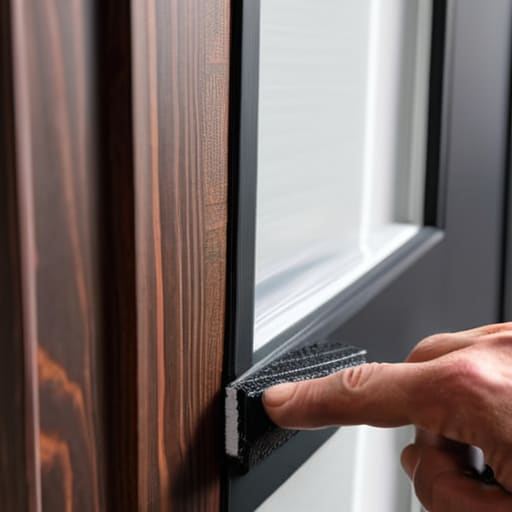
Before you head to the hardware store, I’ll let you in on a little secret: not all seals are created equal. When you’re looking at the various weatherstripping materials for exterior doors, it can feel a bit overwhelming with all the foam, rubber, and silicone options staring back at you. If you’re dealing with a door that sees a lot of heavy use, I highly recommend going with high-quality silicone or heavy-duty rubber. They tend to hold up much better against the elements and won’t crack as easily as the cheaper foam strips.
One thing I always tell my friends is to pay close attention to the very bottom of the door, too. Often, the biggest culprit for drafts isn’t the sides, but the gap at the floor. This is where a door sweep replacement can be a total game-changer. While you’re at it, don’t forget to figure out how to measure for door weatherstripping accurately before you buy; there is nothing more frustrating than getting home with a roll that’s just a few inches too short! Taking that extra minute to measure ensures a snug, seamless fit.
Preventing Air Leaks Around Doors With Ease
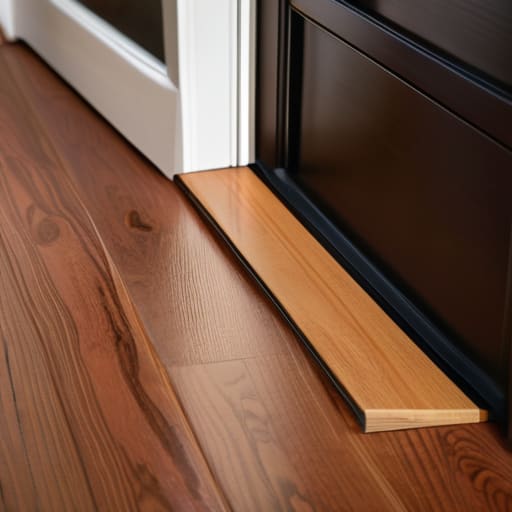
While we’ve talked about the materials, I’ve found that the real secret to success is looking at the “big picture” of your entryway. It’s easy to get hyper-focused on the sides of the frame and completely forget about the gap at the floor. If you feel a draft hitting your ankles, you’re likely looking at a door sweep replacement job. Adding a new sweep is one of those quick, satisfying DIY wins that makes a massive difference in how much heat stays inside your home.
Another thing I always tell my friends is to take a moment to really inspect the threshold. Sometimes, the issue isn’t actually the weatherstripping itself, but a door that has slightly sagged over time. Before you dive into the installation, I highly recommend how to measure for door weatherstripping by using a thin piece of paper; if you can slide the paper through the gap with zero resistance, you’ll know exactly where you need more coverage. Taking these extra few minutes ensures your energy-efficient door sealing actually holds up when the wind starts picking up outside.
A Few Pro-Tips to Make Your Hard Work Last
- Don’t skip the cleaning phase! Before you even think about sticking that new weatherstripping down, grab some rubbing alcohol and a cloth to wipe away every bit of dust and old residue. If the surface isn’t spotless, that adhesive is going to give up on you faster than a New Year’s resolution.
- Do the “Light Test” to find the sneaky spots. Turn off the lights in your house during the day and stand inside your door looking out. If you see any slivers of sunlight peeking through the cracks, you’ve found a leak that needs extra attention.
- Test your door’s “swing” before you commit. Once you’ve applied your new seals, make sure the door still opens and closes smoothly without needing a shoulder nudge. You want a tight seal, but you don’t want to be fighting your own hardware every time you come home.
- Check your threshold, too! We often get so focused on the sides of the door that we forget about the bottom. Make sure your door sweep or threshold is adjusted correctly so there isn’t a gap between the door and the floor where cold air can just waltz right in.
- Keep an eye on things as the seasons change. I like to do a quick “feel test” once or twice a year—just run your hand around the edges of the door on a breezy day. If you feel a tiny chill, it might be time for a quick touch-up or a replacement.
Quick Wins for a Cozier, Cheaper Home
Don’t underestimate the power of a little DIY; spending an afternoon weatherstripping your doors is a tiny investment that pays off big in lower energy bills and a much more comfortable living space.
The secret to success is all in the prep work—taking that extra moment to clean your door frames ensures your new seals actually stick and do their job for years to come.
Keep it simple by matching your materials to your specific door type, because even the best weatherstripping won’t help if it isn’t the right fit for your home’s unique nooks and crannies.
A Little Love for Your Home
“I’ve learned that sometimes the biggest improvements in our daily comfort don’t come from massive renovations, but from these tiny, quiet fixes—like sealing a drafty door—that finally let us breathe a little easier in our own space.”
Emma Thompson
Small Wins for a Cozier Home
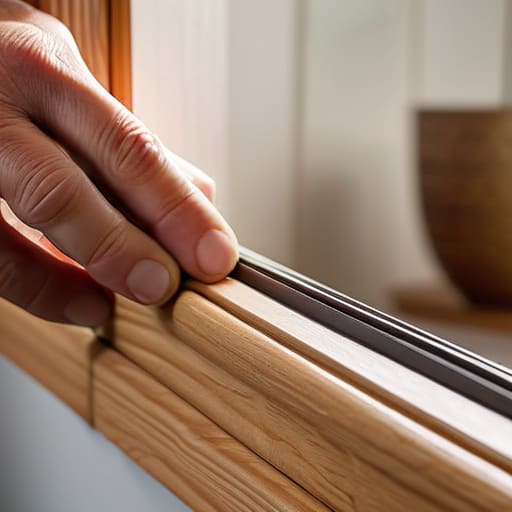
Taking the time to weatherstrip your doors might feel like just another weekend chore, but it really is one of those tiny investments that pays off immediately. By picking the right materials—whether that’s a sturdy foam tape or a classic door sweep—and making sure you’ve sealed those pesky gaps around the frame, you’ve effectively turned your home into a much more efficient sanctuary. You’ve tackled the drafts, lowered your energy bills, and most importantly, you’ve taken a proactive step toward making your living space feel more intentional and comfortable. It’s all about those little details that collectively make a huge difference in your daily environment.
I know that sometimes the list of things to fix around the house can feel absolutely endless, but I hope this project reminds you that you don’t have to tackle everything at once. Progress isn’t about a complete home renovation; it’s about these small, manageable victories that build momentum. Every time you close that door and feel a steady, warm breeze instead of a chilly draft, I want you to take a second to celebrate that win. You’re doing a great job navigating the ups and downs of homeownership, and I am so proud of you for showing up for yourself and your space today. Let’s keep moving forward, one small project at a time!
Frequently Asked Questions
How do I know if the draft is actually coming from the door itself or if it's just a gap in the floorboards?
That is such a great question! It’s so easy to misidentify where that chilly breeze is actually coming from. I usually grab a lit incense stick or even a candle and slowly move it along the door frame. If the flame flickers or the smoke dances wildly right at the door’s edge, you’ve found your culprit! If it only happens down by your feet, you’re likely dealing with those pesky floorboard gaps instead.
Is it worth it to weatherstrip my interior doors, or should I just focus on the ones leading outside?
That’s such a great question! Honestly, if you’re looking for the biggest bang for your buck, I’d say focus on your exterior doors first. That’s where the real energy hogs live. However, if you have a room that’s always freezing or a noisy home office where you need a little more peace, weatherstripping an interior door can be a total game-changer for comfort and privacy. It’s all about your specific needs!
How often do I actually need to replace the stripping once it's installed?
That’s a great question! Honestly, it’s not something you need to think about every day, but I usually recommend giving your seals a quick “health check” once a year—maybe when the seasons shift. If you notice the material feels brittle, looks cracked, or if you suddenly feel a draft while standing near the door, that’s your sign. Most good quality stripping lasts a few years, but replacing it early is such a tiny task compared to the comfort it provides!