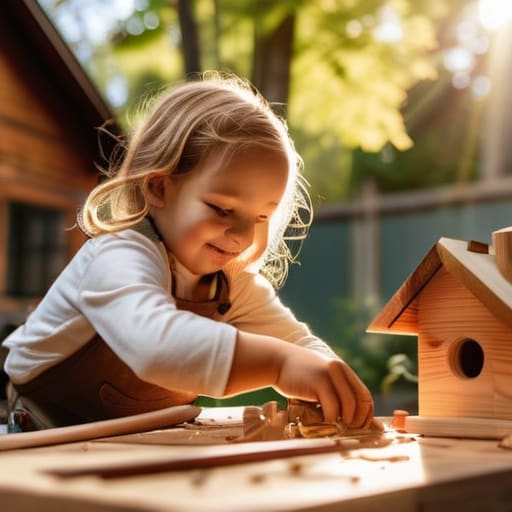
I was standing in my tiny urban garden last Saturday, covered in sawdust and sporting my favorite bright yellow polka-dot socks, when a tiny chickadee landed right on the edge of my workbench. It was a moment of pure, unscripted magic, but it also reminded me of how intimidating DIY projects can feel when you’re staring at a pile of lumber and a confusing instruction manual. A lot of people think you need a professional-grade workshop or years of carpentry experience to create something beautiful for your backyard, but I’m here to tell you that learning how to build a birdhouse is actually much simpler than the experts make it out to be.
In this guide, I’m stripping away all the unnecessary jargon and complicated blueprints to give you a straightforward, stress-free approach to woodworking. I’ll walk you through selecting the right wood, gathering basic tools, and assembling a sturdy little sanctuary that your local feathered friends will actually love. My goal is to help you find a little bit of creative calm while building something meaningful, proving that you don’t need a massive budget or a master’s degree to achieve something wonderful with your own two hands.
Table of Contents
- Step-by-Step Instructions
- Choosing the Best Wood for Birdhouses and Lasting Calm
- Essential Woodworking Tools for Birdhouses Made Simple
- Little Details, Big Differences: 5 Pro-Tips for a Happy Bird Home
- Quick Tips for Your Birdhouse Success
- ## More Than Just Wood and Nails
- Bringing Your Birdhouse Home
- Frequently Asked Questions
Guide Overview
Tools & Supplies
- Handsaw or miter saw to cut wood pieces
- Hammer to drive nails
- Drill with spade bit for the entrance hole
- Tape measure to ensure accurate dimensions
- Untreated cedar or pine board (approx. 1x6x4 feet)
- Galvanized finishing nails (small box)
- Exterior wood glue (small bottle)
- Sandpaper (medium grit)
Step-by-Step Instructions
- 1. First things first, let’s gather our supplies. You don’t need a massive workshop for this; a simple set of hand tools will do just fine. Grab some untreated cedar or pine boards—cedar is my personal favorite because it naturally resists rot without needing harsh chemicals—a hammer, some galvanized nails, a drill with a spade bit, and a measuring tape. I always like to double-check my list before I head to the hardware store so I don’t have to make a second trip.
- 2. Once you have your wood, it’s time to get measuring. Grab your tape measure and a pencil to mark out your pieces: a base, four walls (with one being the front piece), and a roof. When you’re marking the front piece, make sure to leave enough space at the top for the roof to overhang slightly. I find that marking everything twice before making a single cut saves me so much frustration in the long run.
- 3. Now, let’s get to the fun part—the cutting. If you aren’t super comfortable with a power saw, don’t sweat it; you can often ask the folks at the local hardware store to make the basic cuts for you. Once your pieces are sized, take your drill and create an entrance hole on your front panel. The size of this hole is actually super important because it determines which specific bird species will feel safe enough to move in.
- 4. With our pieces ready, we can start the assembly. Start by nailing the sides to the base, then attach the front and back panels. I like to use a little bit of wood glue along the edges before nailing to give the structure some extra stability. Just be careful not to over-hammer; we want a sturdy home, not a smashed-up box!
- 5. Next up is the roof. When you attach the roof piece, try to angle it slightly so that rain will run off rather than pooling on top. A little overhang at the front is a total game-changer for keeping the interior dry during those unexpected spring showers. If you’re feeling extra crafty, you could even use a piece of scrap tin to give it a cute, rustic look.
- 6. Before we hang it up, let’s add a few finishing touches for the birds’ comfort. I highly recommend drilling a few tiny holes in the bottom of the base for drainage and a couple near the top for ventilation. It might seem like a small detail, but proper airflow is what keeps the nestlings healthy and happy throughout the season.
- 7. Finally, it’s time to find the perfect spot in your garden. Look for a quiet, somewhat sheltered area that’s away from heavy foot traffic or where cats might easily prowl. Mount your birdhouse on a post or a tree about five to ten feet off the ground. Now, grab a cup of tea, sit back, and wait for your new neighbors to arrive!
Choosing the Best Wood for Birdhouses and Lasting Calm
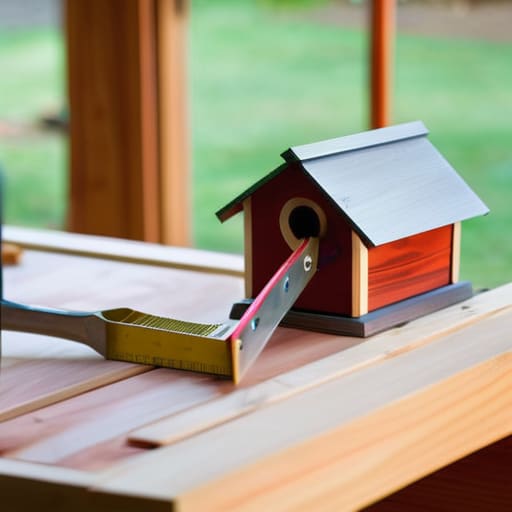
When you’re standing in the hardware store aisle, staring at a mountain of lumber, it can feel a little overwhelming. But don’t worry—I’ve been there! For this little project, you really want to prioritize durability and safety. In my experience, cedar birdhouse construction is definitely the way to go. Cedar is naturally resistant to rot and insects, meaning your little feathered friends will have a sturdy home for seasons to come without you needing to slather it in messy, chemical-laden stains.
If you can’t find cedar, pine is a budget-friendly alternative, though it might not last quite as long against the elements. Whatever you choose, just make sure the wood is untreated; we want to keep the environment completely safe and non-toxic for our new neighbors. While you’re gathering your supplies, don’t forget that having the right woodworking tools for birdhouses, like a sharp hand saw and a reliable drill, will make the whole process much more relaxing. Think of this as your creative escape—a chance to slow down and build something meaningful.
Essential Woodworking Tools for Birdhouses Made Simple
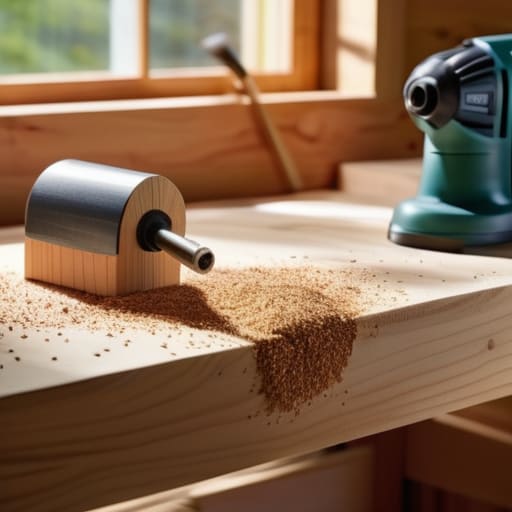
Now, don’t let the idea of a tool shed intimidate you! You don’t need a professional workshop to get started; honestly, a few basic woodworking tools for birdhouses are all you really need to bring this project to life. I always suggest starting with a reliable handsaw or a circular saw for your cuts, a hammer, and some weather-resistant nails. If you want to make the process a bit smoother, a cordless drill is a total game-changer for pre-drilling holes, which prevents your wood from splitting—especially when you’re working with something beautiful like cedar.
I also highly recommend picking up a good quality tape measure and a carpenter’s square. Precision might sound a bit intimidating, but having those straight edges is what ensures your little feathered friends stay cozy and dry inside. If you’re feeling extra ambitious, a piece of sandpaper is perfect for smoothing out any rough edges so nobody gets a splinter. Remember, the goal isn’t perfection; it’s about creating a safe and sturdy sanctuary that feels just right for your new backyard neighbors.
Little Details, Big Differences: 5 Pro-Tips for a Happy Bird Home
- Keep the entrance hole just the right size. It might be tempting to make a huge opening so you can see the birds better, but a hole that’s too large can let in predators or bigger birds that might bully your feathered guests out of their new home.
- Skip the perch! I know, it looks adorable in those classic birdhouse sketches, but most songbirds don’t actually need a perch to get inside, and it actually gives predators a convenient little place to hang onto while they’re snooping.
- Give them some breathing room with ventilation. When you’re putting the pieces together, try to leave a tiny gap near the top of the walls or drill a few small holes just under the roof. It helps keep the interior from getting too stuffy on those warm summer afternoons.
- Don’t forget the drainage! A little bit of rain can inevitably find its way inside, so drilling a few small holes in the floor of the birdhouse ensures that any moisture can drain out, keeping the nesting area dry and cozy.
- Think about easy cleaning for your future self. If you can design your birdhouse with a side panel that opens—maybe with a simple hinge or a couple of screws—it makes it so much easier to tidy up the old nesting material at the end of the season.
Quick Tips for Your Birdhouse Success
Don’t sweat the perfection—birds care much more about a sturdy, safe shelter than whether your saw lines are perfectly straight.
Prioritize natural, untreated wood to keep your new feathered neighbors safe and healthy from harsh chemicals.
Remember that this project is as much about your own peace of mind as it is about the birds, so take your time and enjoy the process!
## More Than Just Wood and Nails
“Building a birdhouse isn’t really about the carpentry; it’s about carving out a little pocket of peace for yourself and creating a tiny, welcoming sanctuary for the world around you.”
Emma Thompson
Bringing Your Birdhouse Home
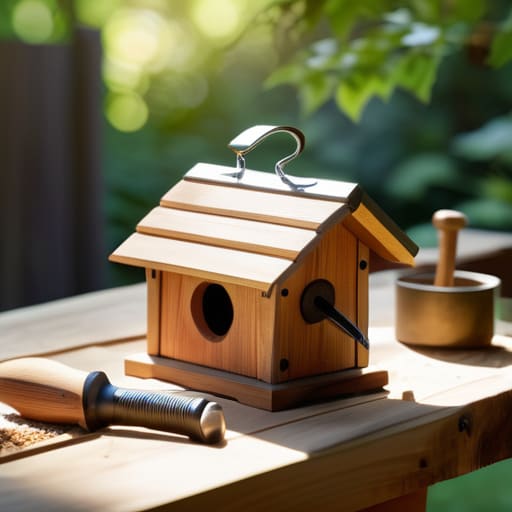
As you wrap up your project, take a second to look at what you’ve actually achieved. You’ve gone from a pile of raw lumber to a functional, charming little sanctuary using nothing more than some basic tools and a bit of patience. Remember, it’s not about having a workshop full of expensive machinery; it’s about selecting the right kind of wood that can withstand the elements and having the right simple tools to bring your vision to life. By focusing on these foundational steps, you’ve created something that isn’t just a craft project, but a lasting contribution to your local ecosystem.
Once you find the perfect spot in your garden to hang your new creation, I want you to take a deep breath and just enjoy the view. There is something so incredibly grounding about watching a pair of birds move into a home you built with your own two hands. It’s a small win, sure, but in a world that often feels like it’s moving way too fast, these quiet moments of connection with nature are what truly help us find our balance. So, go ahead, hang that birdhouse high, and let the peaceful sounds of your backyard become your new favorite way to unwind.
Frequently Asked Questions
How do I know which specific bird species I’m building this for so they actually want to move in?
That is such a great question! It’s easy to get caught up in the building process, but knowing your “target audience” makes all the difference. I always recommend checking your local garden centers or even a quick search for birds native to your specific region. Each little feathered friend has a preference—some love a deep entrance hole, while others prefer a wide platform. Matching the design to the species ensures your backyard sanctuary actually gets occupied!
Do I really need to paint or stain the outside, or will that scare the birds away?
That’s such a great question! Honestly, you don’t have to paint or stain it. In fact, leaving the wood natural is often the safest bet for our feathered friends. If you do decide to add some color, please skip the inside entirely and stick to non-toxic, water-based finishes on the exterior only. I usually recommend avoiding bright, flashy colors—sticking to earthy tones helps the house blend into nature, making those little birds feel much more secure.
Where is the best spot in my yard to hang the birdhouse so it stays safe from predators?
Finding the perfect spot is such a crucial step! You’ll want to aim for a location that’s about five to ten feet off the ground to keep those little ones out of reach. Try to find a sturdy branch or a mounting post in a quiet area, ideally facing away from prevailing winds. Most importantly, keep an eye out for cats or squirrels; placing the house near some natural cover—but not so close that a predator can hide—is the sweet spot for safety.
